Advertisement
Table of Contents
Philips Consumer Lifestyle
Service Manual
Product information
Fast & powerful crease removal
• Continuous steam output: 85 g/min
• OptimalTEMP technology
• Power: 2400 W
• Safe rest
• Soleplate: SteamGlide Plus
• Steam boost: 150 g
• Steam tip
• Variable steam settings
• Vertical steam
• Turbo steam
• Pressure: Max 3.5 bar pump pressure
Easy to use
• Cord storage: Cord clip
• Heat up time: 2 min
• Hose length: 1.6 m
• Hose storage: Hose storage compartment
• Open handle
• Power cord length: 1.8 m
• Refi ll any time
• Safe for all fabrics: Even for delicates like silks
• Storage solution: Carry lock
• Water tank capacity: 1700 ml
• Filling and emptying water: Extra large fi lling hole
Published by Philips Consumer Lifestyle
CSW-07-081-18218
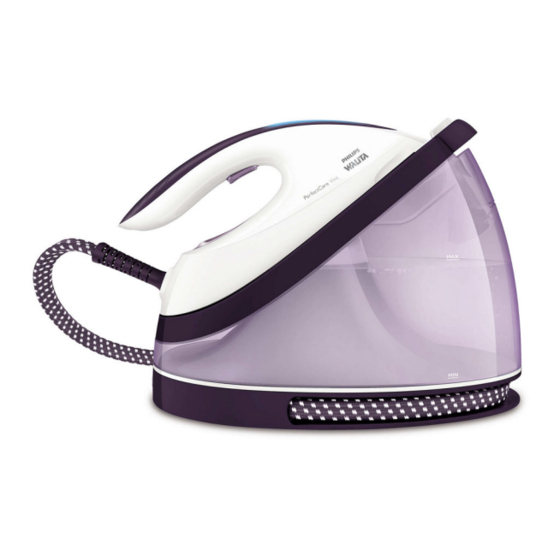
PerfectCare Viva Steam Generator
Sustainability
• Energy saving mode
• User manual: 100% recycled paper
Calc management
• Calc clean reminder
• Calc clean solution: Smart Calc Clean
• Suitable for tap water
Safety Information
• This product meets the requirements regarding
interference suppression on radio and TV.
• After the product has been repaired, it should function
properly and has to meet the safety requirements and
legal regulations as officially laid down at this moment.
Technical information
• Voltage : 220 - 240 V
Weight and dimensions
• Packaging dimensions (WxHxL) : 42.7 x 23.8 x 33.5 cm
• Product dimensions (WxHxL)
• Weight of iron
• Weight of iron + base
Accessories
• Calc clean container
Printed in the Netherlands
RI7035/34
: 32.2 x 19.4 x 23.6 cm
: 1.24 kg
: 4.1 kg
© Copyright reserved
Version 8
Subject to modification
Advertisement
Table of Contents

Related Manuals for Philips PerfectCare Viva RI7035/34


Summary of Contents for Philips PerfectCare Viva RI7035/34
- Page 1 • Storage solution: Carry lock • Water tank capacity: 1700 ml Accessories • Filling and emptying water: Extra large fi lling hole • Calc clean container Published by Philips Consumer Lifestyle Printed in the Netherlands © Copyright reserved Subject to modification CSW-07-081-18218...
- Page 2 Disassembly advice Iron RI7035/34 INLAY 10 COVER RUBBER CAP IRON PCBA 6 RUBBER BUNG TRIGGER SPRING SCREW & CAP COVER 3 TRIGGER 9 CHASSIS 8 IRON BOTTOM CAP IRON BOTTOM CAP RUBBER CAP SOLEPLATE ASSY 1 Remove Screw A1 DECO PLATE 11 Remove INLAY 10 DOSING HEAD 2...
- Page 3 Disassembly advice Stand RI7035/34 TRAY CAP FILLING DOOR BUTTON FRAME ASSY 24 TRAY RUBBER TRAY HOSECORD CLAMP LOCK ASSY HOSECORD 7 HOSE GUIDE PCBA 25 STAND BOTTOM CAP 13 PUMP ASSY 14 STAND BOTTOM HOSE GUIDE ASSY 12 Remove TRAY CAP Remove Screw A1, A2 STAND TOP ASSY 21...
-
Page 4: Part Lists
Part lists RI7035/34 Iron RI7035/34 886703534240 Description Remark Brazil Service code 4239 021 93892 Zulu S/P MTD Assy 4239 026 53722 Dosing head 4239 026 58863 Cover 4239 021 90311 Housing Printed 4239 026 65021 LED holder 4239 021 83112 Iron PCBA 4239 021 92971 Hose Cord MTD Assy Zulu... - Page 5 Exploded view Iron RI7035/34 Iron Bottom Cap CSW-07-081-18218 5-10...
- Page 6 Exploded view Stand RI7035/34 Front Lock Assy Tray Cap Filling Door Tray CSW-07-081-18218 6-10...
-
Page 7: Wiring Diagram
Wiring diagram RI7035/34 3002 Pump L (Red wire) 1M(MF),5% 0.5W 9002 9012 Jumper-15mm 3001 3003 LIVE 2002 8001 56R(WW),5% 3W 75R(WW),5% 1W 9001 Net L 470nF/275V 1N4007 (MKP),10% 3007 2003 8003 100µF/63V(RE),20% 20V, 1W (0805),5% 7001 BSS84 STDBY CTRL 2001 STDBY CTRL 100nF/275V (MKP),10%... -
Page 8: Repair Instruction
Repair Instruction RI7035/34 • Due to the high wattage of the iron, only the specified cord set must be used. • Should damage be observed on the POWER CORD 23, it must be replaced. Continued usage is not allowed. • If STAND BOTTOM Hose Guide Assy 12 is provided without type plate information eg. Type number, voltage etc. When replacing the cover, engrave the type number &... - Page 9 Repair Instruction RI7035/34 Pump - Cleaning restrictor Service center to perform pump restrictor cleaning via following step if observe pump not pumping water: 1) De-assemble water tube of pump. 2) Clean restrictor via sharp object. 3) Re-assemble stand CSW-07-081-18218 9-10...
-
Page 10: History Record
History record RI7035/34 CSW-07-081-18218 10-10...
Need help?
Do you have a question about the PerfectCare Viva RI7035/34 and is the answer not in the manual?
Questions and answers