Advertisement
Advertisement
Table of Contents

Summary of Contents for Cyclamatic Power Plus CX1
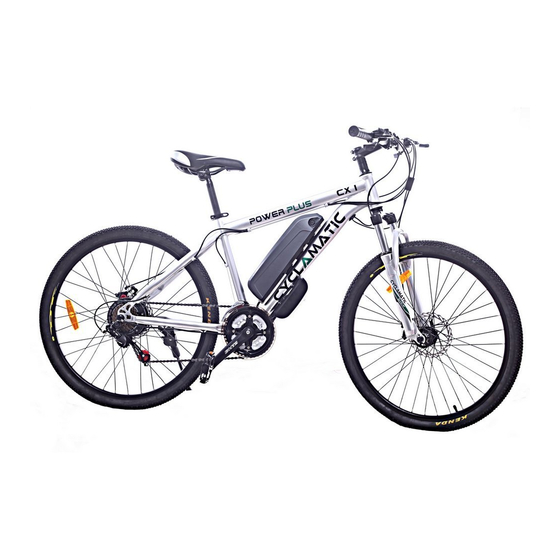
- Page 1 CYCLAMATIC Power Plus CX1 Operating Manual...
- Page 2 Important Safeguards: Electrical Safety: Personal Safety: • This eBike is intended for use as a commuter and • Only use batteries and chargers supplied. leisure bicycle. Using the eBike for any other purpose • Don’t modify the charger in any way. may result in serious injury.
- Page 3 eBike Safety Battery Safety: You must be over 14 to ride an eBike. • This appliance includes Li-Ion batteries; do not incinerate batteries or expose to high temperatures, • The drive assist system is limited to a maximum as they may explode. continuous power rating of 0.25kW (250W) and a maximum speed of 25Km/h, (15.5 mph).
-
Page 4: Table Of Contents
Table of Contents Preparation Unpacking Front Wheel Assembly Installing the Handlebars Adjusting Saddle Height Pedal instillation Installing/ Removing Battery Operation Charging the Battery Turning on your eBike Brake and Derailleur Controls Check List Before Riding Maintenance Troubleshooting Technical Specification... -
Page 5: Unpacking
Unpacking Packaging – Remove packaging materials and dispose of in a responsible manner. Remove all materials and set parts aside for assembly. Should your model be a foldable or non-foldable, minimal assembly is required for your bicycle. However, please follow the guidelines below for correct assembly. -
Page 6: Front Wheel Assembly
Front Wheel Assembly 1. Remove the plastic bar at the 2.Mount the Front Wheel into the bottom of the fork. groove of the fork. 3.Take the Quick Release Pin and unscrew the end. Note the 4.Put the quick Release pin through direction of the springs, one goes the center of the wheel. -
Page 7: Installing The Handlebars
Installing the Handlebars 1.Remove the four bolts that hold the handlebar clamp to the bike. 2. Slightly loosen the bolts starting with A and work your way down. Insert the handlebar and ensure the brake and shifter lines are properly routed to Rotate the handle bar clockwise and prevent interference when the handlebars position at 90°... -
Page 8: Adjusting Saddle Height
Adjusting Saddle Height 1. Sit on the bike saddle 2. Try to reach the pedal with your heel when it is in the bottom position. Your knee should be stragiht 4. Close the quick release, firmly 3. To adjust, pull back the quick release pushing down so the lever lies flat leave and adjust the saddle to the against the frame. -
Page 9: Installing/Removing Battery
Installing/Removing Battery 1. Unlock the battery by inserting 2. Slide the battery up towards the top the key on the left side and turn tube. Then pull the battery away from counter clockwise. the frame. 3. The battery is installed in the reverse, ensure the tabs on the battery line up with the notches on the frame to properly secure and lock the battery by... -
Page 10: Charging The Battery
Charging the Battery 1. Safely remove the battery from 2. Plug the charger into the mains the eBike and gently remove the outlet, the LED light on the charger rubber cover from the right side of will turn green. the battery to access charging port. 4.Once fully charged the LED on 3.Connect the charger to the the charger switches back to green. -
Page 11: Turning On Your Ebike
Turning on your eBike 1. Ensure the battery is securely 2. Press the red power button and locked into the frame by turning the battery gauge will light up and the key clockwise. Riding with the indicate the approximate charge key in the lock is not advised. - Page 12 Brake Controls The Left brake level activates front brakes The Right brake lever activates Rear brake Always use both brakes together The left derailleur shifts the front chainring (1-3), the right shifts the rear freewheel (1-7). To shift, you must be pedaling. The lower thumb switch will click when it shifts down, the top trigger shifts up. Checklist before you start riding 1.
-
Page 13: Maintenance
Maintenance Wipe the bike with a dry cloth or a neutral detergent. Check the pressure and profile of the tires. Check the brakes for wear and adjust or replace them if necessary. Check the wheels for buckles or damaged spokes and have them repaired immediately by a qualified bike repair specialist. -
Page 14: Troubleshooting
Troubleshooting Problem Check Action Battery Power. Charging. Tire Pressure. Inflate the tire. Low Speed. Is tire flat? Repair the tire. Load. Do not overload. The motor is not working. Ensure every plug is connected. If the Every Plug. situation does not improve, please Power indicator light does not shine. -
Page 15: Technical Specification
Technical Specification eBike Model Battery Model Battery Charging Period Battery Charger Output Weight Frame Motor Range Modes Drive Train Brakes Wheels Tires... - Page 16 UK & Europe Phone 01527 941150 Email help@thesportshq.com Address Unit 2, Enfield Industrial Estate, Redditch, Worcs B97 6BG Phone 1-800-603-0004 Email help@shop247.com Address 16 Sunset Way, Suite 110 Henderson, Nevada 89014...
Need help?
Do you have a question about the Power Plus CX1 and is the answer not in the manual?
Questions and answers