Advertisement
Quick Links
• READ ALL INSTRUCTIONS BEFORE ASSEMBLY AND USE OF GATE.
• KEEP INSTRUCTIONS FOR FUTURE USE.
www.regalo-baby.com
Regalo International, LLC.
3200 Corporate Center Drive, Suite 100 / Burnsville, MN 55306, USA
866.272.5274 (U.S. only) or 952.435.1080
Made in China
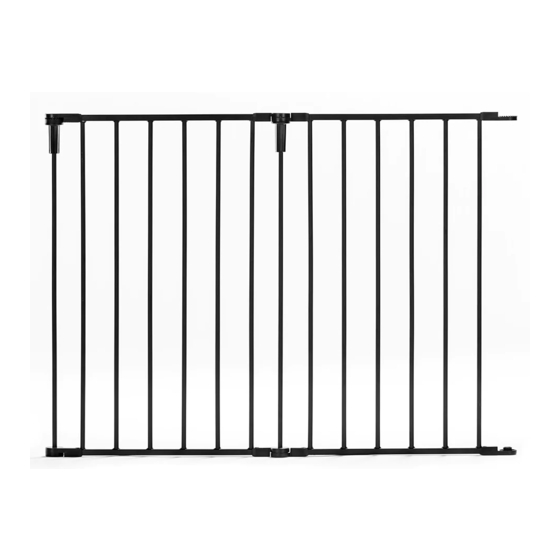
Home Accents
Extension Kit
OWNER'S MANUAL MODEL:
™
0076
Advertisement

Related Manuals for Regalo Home Accents 0076


Summary of Contents for Regalo Home Accents 0076
- Page 1 OWNER’S MANUAL MODEL: • READ ALL INSTRUCTIONS BEFORE ASSEMBLY AND USE OF GATE. • KEEP INSTRUCTIONS FOR FUTURE USE. www.regalo-baby.com Regalo International, LLC. 3200 Corporate Center Drive, Suite 100 / Burnsville, MN 55306, USA 866.272.5274 (U.S. only) or 952.435.1080 Made in China...
-
Page 2: Before Using Product
Improper installation could result in the gate becoming unstable or dislodged from the doorway. The safety of your child is your responsibility. Please keep these instructions for your reference. IMPORTANT • Will only work with Regalo Home Accents Superwide Safety Gate model number 1176 English... - Page 3 WARNING • Install according to manufacturer's instructions. • Children have died or been seriously injured when gates are not securely installed. ALWAYS install and use gate as directed using all required parts. • STOP using when a child can climb over or dislodge the gate.
- Page 4 MODEL NO. 0076 Manufacturer recommendations: • For children ages 6 months to 24 months • When mounting: • The minimum opening allowed is 18.5". • The maximum opening allowed is 36". English...
-
Page 5: Before Assembly
Before Assembly PLEASE CHECK TO MAKE SURE YOU HAVE THE FOLLOWING PARTS: Main Gate Assembly(1) English... - Page 6 Extension Gate Installation STEP 1 Start with the main gate assembly. Loosen the hinge knob in the clockwise direction. Doing this will let main gate assemblies unfold. STEP 2 Remove the wall mounts from your Home Accents Superwide Safety Gate. Loosen the hinge knob in the clockwise direction.
- Page 7 Extension Gate Installation STEP 3 Remove the hinge cover cap from the bottom of the Home Accents Superwide Safety Gate. STEP 4 Place the extension gate of the Home Accents Superwide Safety Gate on top of the Home Accents Extension Gate. English...
- Page 8 Extension Gate Installation STEP 5 Place the tube with the hinge knob on it into the hole in the bottom of the extension gate. Slide the tube into place and screw the hinge knob in the counter clockwise direction to tighten. STEP 6 Take the wall mounts you removed in step 2 from the Home Accents Superwide Safety Gate and add them to the end of the Home Accents Extension Kit.
- Page 9 Mounting of the Gate STEP 1 Determine what side you wish to have the hinge of the door on. Place the wall mounts on that end of the gate against the wall. Using the wood screws, screw into the wall. Turning the a screwdriver in the clockwise direction will tighten the screws.
-
Page 10: Care And Maintenance
Regalo International, LLC, will replace or repair it at Regalo’s option. PROOF OF PURCHASE REQUIRED. -
Page 11: Replacement Parts
Replacement Parts Cap, Hinge Cover, Female Endcap, Disc Hinge, #301312-002 Bottom, Male #300322-002 Tube, Steel, Ø10mm x 683mm #301273-001 Endcap, Disc Hinge, Toothed, Doorframe, Female #300781-002 Endcap, Disc Hinge, Toothed, Doorframe, Male #300779-002 Knob Hinge #300778-002 Disc, Hinge Toothed #300783-002 English...