Advertisement
Quick Links
Advertisement

Related Manuals for Avue HD Analog Series

Summary of Contents for Avue HD Analog Series
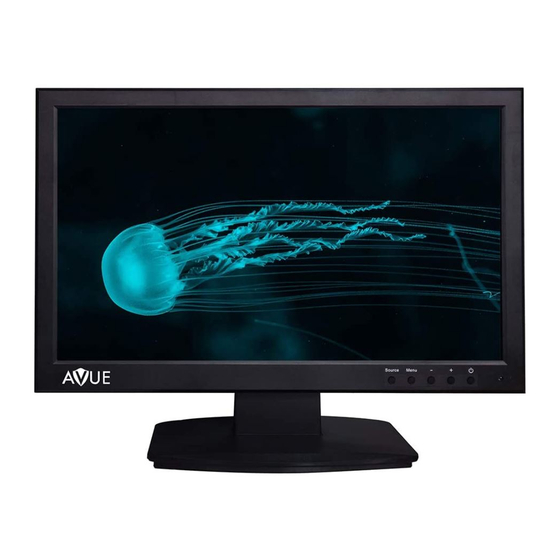
- Page 1 CCTV Monitor HD Analog Series...
-
Page 2: Important Safety Information
Dear Customer Using a Wall Mount Caution: Any wall mount must bear a minimum of 5x the monitor’s net weight to Thank you for purchasing this product. For optimum performance and safety, please mount safely. The stand must be removed rst before mounting this way. read these instructions carefully before connecting, operating or adjusting this product. -
Page 3: Source Menu
Panel Descriptions How to Connect Your Monitor 1. Connecting using HDA - Analogue HD Video. Rear Interface Connect your video cable with a BNC connector to the HDA1/HDA2 connector on the rear of the monitor, and the other end to your camera. Connect power to the monitor and video source, and switch on. - Page 4 Remote control 2. Menu Language: OSD language selection. POWER Turn on & off the monitor OSD H Pos.: OSD horizontal position adjustment (0-100). OSD V Pos.: OSD vertical position adjustment (0-100). MENU Display or exit the main menu OSD Time: OSD display dwell time selection (5-30s). VIDEO Source switching / Cursor Reset: OSD setting data recovery factory settings.
- Page 5 HDMI Input Con guration 3. Information Display information about the current source. 1. Picture Picture: Setting the image brightness (0-100). Picture Contrast: Setting the image contrast (0–100). Saturation: Setting the image Saturation (0–100). Menu HDMI 1 Hue: Setting the image hue (0–100). Information Brighten Picture...
- Page 6 HDA1/2 has tested the list of supported devices and modes LIMITED WARRANTY LIMITS AND EXCLUSIONS Dahua/HIKVISION/Longse/RUISION/XM/TVT 1. This limited warranty only covers failures due to defects in materials or workmanship, and does not cover normal wear and tear or cosmetic damage. The limited warranty also does not Resolution cover damages which occurred in shipment, or failures which are caused by products not Brand...
Need help?
Do you have a question about the HD Analog Series and is the answer not in the manual?
Questions and answers