Furrion FOS48TAPK-BL Operating And Installation Instruction
Wireless observation system
Hide thumbs
Also See for FOS48TAPK-BL:
- Operating and installation instructions (16 pages) ,
- Operating and installation instructions (16 pages)
Advertisement
Table of Contents
- 1 Table of Contents
- 2 Welcome
- 3 Important Safety Instructions
- 4 System Parts
- 5 Installation
- 6 Installation & Operation Overview
- 7 Operation
- 8 Troubleshooting
- 9 Problems and Solutions
- 10 Verifying if the Camera Is on - Method 1
- 11 Specifications
- Download this manual
See also:
Operating and Installation Instruction
Advertisement
Table of Contents

Related Manuals for Furrion FOS48TAPK-BL


Summary of Contents for Furrion FOS48TAPK-BL
- Page 1 Wireless Observation System Operating and Installation Instructions This manual is for use with ® Furrion FOS48TAPK-BL Wireless Observation System ® Furrion FOS48TA-BL Wireless Observation System With FRCBRKT-BL Mounting Bracket pre-installed.
-
Page 2: Table Of Contents
Verifying if the Camera Is ON - Method 1 ........... 24 interferences which other analogue signal systems are subject to, meaning the Furrion digital system gives you a clearer picture of what is behind you no matter Verifying if the Camera Is ON - Method 1 ........... 25 where you are. -
Page 3: Important Safety Instructions
Use a wet cloth to clean the cam- • There are no user serviceable parts cables. era lens. A dry cloth may scratch the in the Furrion Wireless Observation camera lens. • Ensure correct polarity of DC power Camera System. Do not disassemble supply to the camera. -
Page 4: System Parts
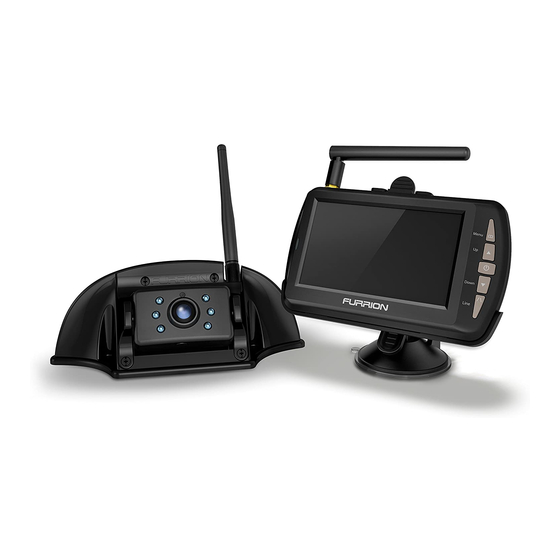
System Parts System Parts FOS48TAPK-BL FOS48TA-BL Wireless Observation Camera System Wireless Observation Camera System For vehicles with FRCBRKT-BL Mounting Bracket pre-installed. LCD Monitor Monitor Stand LCD Monitor Monitor Stand Camera Monitor Power Cable Camera Monitor Power Cable The FOS48TA-BL is for customers who have the FRCBRKT-BL Mounting Bracket already installed on their vehicle. -
Page 5: Installation
Installation Installation NOTE: It is recommended to pair the camera and monitor before permanently Mounting Bracket mounting the camera and monitor (See page 18). Proximity To Lights Mounting Bracket (If the FRCBRKT-BL Mounting is pre-installed please go to page 12) Caution Suitable installation position. - Page 6 Installation Installation Mounting Bracket Mounting Bracket If only installing the FRCBRKT-BL Use the Bracket Gasket to mark Feed the supplied 6 Camera Mounting Bracket, secure the Camera and outline where the center hole Power Cable through the gasket. Power Cable inside the mounting and will be drilled then drill a 5/8 Ensure the bare wire end of the cable th”...
- Page 7 Installation Installation Camera Installation Camera Installation Remove the Bracket Cover by Pull out the Camera Power Now place the Camera Cable Filter Making sure that the connections unscrewing the four screws. Cable, leaving approx 2 inches in the left of the Bracket Housing. are secure and the camera antenna of slack.
- Page 8 Electrical Power Positioning the Camera • • The Furrion Wireless Observation Camera System can be connected to an Adjust the camera up or down then electrical power source via a 7 Way Connector. check the view via the monitor. •...
-
Page 9: Installation & Operation Overview
Installation Installation & Operation Overview Monitor Installation This troubleshooting document helps to resolve Furrion FOS48TA-BL Wireless Observation System connectivity issues. Positioning the Monitor • Ensure the Monitor is placed so that it does not obstruct vision when driving. Vehicle manufacturers differ in the way they install cameras to the electrical •... -
Page 10: Operation
Operation Operation Monitor Controls Pairing After installation, the camera & monitor need to be paired in order to work. Pairing procedure Ensure both the Camera & Monitor Menu/ Return have power supplied. (The vehicle may need to be running) Power/ Confirm Down Line Press the... - Page 11 Operation Operation Pairing Settings Once you press the POWER/ Picture Control CONFIRM button the screen will display PAIRING For optimum viewing, the monitor’s picture settings can be adjusted PAIRING Picture Settings MENU to bring up the Menu. Press the Select the PICTURE SETTINGS icon.
-
Page 12: Troubleshooting
Problems and Solutions Troubleshooting Problem Solution / Issue Monitor won’t turn on Check that power cable is connected (no flashing Blue LED) NO PI C TURE Check the cigarette lighter has 12-24V DC Menu Output Check the fuse in the cigarette socket adaptor Camera &... -
Page 13: Verifying If The Camera Is On - Method 1
Verifying if the Camera Is ON- Method 1 Verifying if the Camera Is ON- Method 2 If your camera is not fitted with a Blue power indication LED, the first method The second method involves checking the INFRARED LED’s manually. involves checking the INFRARED LED’s with a digital camera. -
Page 14: Specifications
Specifications Specifications Camera Monitor Operating Voltage DC8-30V DC8-30V Operating Current ≤500mA@12V ≤300mA@12V Standby Current ≤2mA@12V Wireless Range ≤300ft (Open area) ≤300ft (Open area) Wireless Frequency 2.4Ghz 2.4Ghz Image Sensor 1/4” Color CMOS VGA LCD Display 4.3” 480*272 Camera Max 25 frames/sec QVGA f1.7mm, F2.0 850nm filter View Distance ≥1.5m... - Page 15 Furrion Innovation Center & Institute of Technology ● 52567 Independence Ct., Elkhart, IN 46514, USA ● Toll free:1-888-354-5792 ● Email: info@furrion.com ©2007-2018 Furrion Ltd. Furrion® and the Furrion logo are trademarks licensed for use by Furrion Ltd. and registered in the U.S. and other countries. FURRION.COM...
Need help?
Do you have a question about the FOS48TAPK-BL and is the answer not in the manual?
Questions and answers