KG Cams Instruction Book 
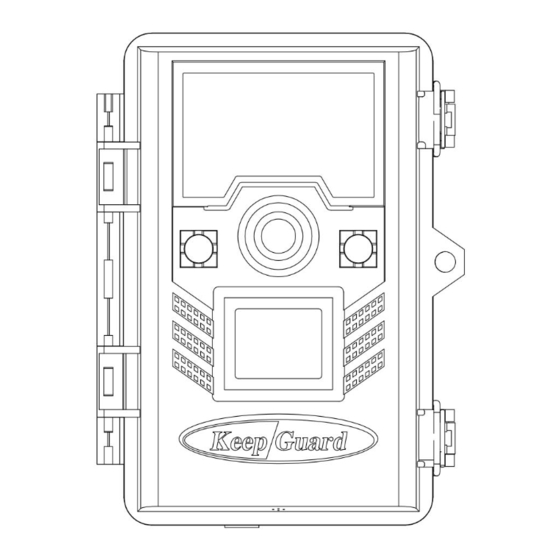
This KeepGuard cam is the best-selling scouting camera which is designed for activity and is resistant against water and snow. It is equipped with built-in infrared LEDs, so that it can be triggered by any movement in a location, then take high quality pictures or video clips.
Quick Start → Move the latches and open the front cover → Load 8 lithium AA or alkaline AA batteries → Insert the SD card → Switch to the SETUP Mode → Press MENU button → Press UP or DOWN key to select Camera or Video Mode →...
Operation Part OK Button Menu Camera Mode/UP REPLAY LEFT Video Mode/DOWN RIGHT/SHOT MENU SHOT Power Switch SETUP Accessories 8×AA Batteries 1×Belt 1×Security Case 1×Adapter 1×Cradle Head KEEPTIME...
Power Supply After opening the two latches on the right side of the camera, you will see that it has 8 battery slots. For maximum battery life, we recommend using 8 lithium AA or alkaline AA batteries. The cam may also be operated by just four batteries installed in the first slots only (starting on the right-see photo).
Operational Modes The cam has three basic operational modes: 「OFF」, 「ON」 and 「SETUP」 ●「OFF 」Mode When cam in OFF mode, you can do the following: • replacing the SD card or batteries • connecting cam with other device by USB port It will occur a little of power consumption under OFF mode.
Settings Set Clock Press OK and use UP/DOWN keys ( to change the setting ) and LEFT/RIGHT keys ( to move to the next field ) to set the hour ( 24-hr format only, “00”=midnight,“12”=noon) Clock and minute, and then (on the lower row ),the year,month and date.
Page 8
Settings Capture Number Selects how many photos are taken in sequence per trigger in Camera mode. This setting affects photos taken in Field Capture Number Scan mode as well. Exit MENU Video Size 640*360 Selects video resolution (in pixels per frame). Higher resolution produces better quality videos, but creates larger Video Size 1280*720...
Page 9
Settings Camera Name Allows the user to set a custom name for the camera. Useful for ID purposes when multiple cameras are setup, since each Camera Name Input camera will imprint its name on all photos (but not videos) it captures.
Page 10
Settings Time Period Set Press OK and use UP/DOWN keys ( to change the setting ) and LEFT/RIGHT keys ( to move to the next field ) to set time. Once all settings are made, press OK to save. Time Period Set Note: two time blocks can not appear overlap section, or you will not set it successfully.
Page 11
Settings Format SD Card Deletes (erases) all files stored on a card to prepare it for reuse. Always format a card that has been previously used in other devices. Caution! Make sure you have downloaded and Format SD Card Execute backed up any files you want to preserve first! Press OK to execute, press MENU (or select NO then press OK) to exit without formatting.
MOUNTING and POSITIONING Mounting We recommend mounting cam on a sturdy tree with a diameter of about 6 in. (15cm). To get the optimal picture quality, the tree should be about 16-17 ft(5 meters) away from the place to be monitored, with the camera placed at a height of 5-6.5 ft.
Warranty Card Warranty Warranty State Model Serial No During warranty, hardware failure occurring, which caused by product itself, we will provide free Date of Purchase maintenance service for the customer. Free warranty is for the first year. If there is a need for repair, you Your Name should offer this warranty card, please take care of this card.