Makita M8701 Instruction Manual
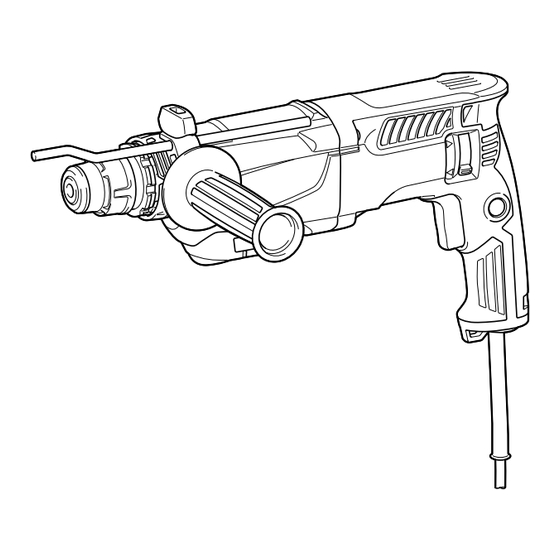
Combination hammer
Hide thumbs
Also See for M8701:
- Instruction manual (53 pages) ,
- Instruction manual (52 pages) ,
- Instruction manual (29 pages)
Table of Contents
Advertisement
Quick Links
Advertisement
Table of Contents

Related Manuals for Makita M8701


Summary of Contents for Makita M8701
- Page 1 INSTRUCTION MANUAL Combination Hammer M8701 DOUBLE INSULATION Read before use.
- Page 2 SPECIFICATIONS Model: M8701 Drilling capacities Concrete 26 mm Core bit 68 mm Diamond core bit (dry type) 80 mm Steel 13 mm Wood 32 mm No load speed 0 - 1,200 min Blows per minute 0 - 4,500 min Overall length...
- Page 3 Use personal protective equipment. Always SAFETY WARNINGS wear eye protection. Protective equipment such as dust mask, non-skid safety shoes, hard hat, or hearing protection used for appropriate conditions General power tool safety warnings will reduce personal injuries. Prevent unintentional starting. Ensure the WARNING: switch is in the off-position before connecting Read all safety warnings and to power source and/or battery pack, picking all instructions.
- Page 4 Service FUNCTIONAL Have your power tool serviced by a qualified repair person using only identical replacement DESCRIPTION parts. This will ensure that the safety of the power tool is maintained. Follow instruction for lubricating and chang- CAUTION: Always be sure that the tool is ing accessories.
- Page 5 ► 1 . Reversing switch lever ► 1 . Action mode changing knob This tool has a reversing switch to change the direc- Hammering only tion of rotation. Move the reversing switch lever to the position (A side) for clockwise rotation or to the posi- For chipping, scaling or demolition operations, rotate tion (B side) for counterclockwise rotation.
- Page 6 Side grip (auxiliary handle) CAUTION: Always use the side grip to ensure safe operation. CAUTION: After installing or adjusting the side grip, make sure that the side grip is firmly secured. Install the side grip so that the protrusions on the grip fit in between the grooves on the tool barrel. Then tighten the thumb screw clockwise to fix the grip at the desired position.
- Page 7 Depth gauge Set the action mode changing knob to the symbol. Position the drill bit at the desired location for the hole, then pull the switch trigger. Do not force the tool. Light The depth gauge is convenient for drilling holes of uniform depth. Loosen the thumb screw and adjust pressure gives best results. Keep the tool in position the depth gauge to the desired depth. After adjusting, and prevent it from slipping away from the hole.
- Page 8 To remove the drill bit, turn the chuck key counterclock- carbon brush inspection and replacement, any other wise in just one hole, then loosen the chuck by hand. maintenance or adjustment should be performed by Makita Authorized or Factory Service Centers, always using Makita replacement parts. ► 1 . Chuck key Jan-Baptist Vinkstraat 2, Makita Europe N.V.
Need help?
Do you have a question about the M8701 and is the answer not in the manual?
Questions and answers