Advertisement
Quick Links
Advertisement

Related Manuals for KIDSMILL Up!


Summary of Contents for KIDSMILL Up!
- Page 1 Dinner Tray - User manual AUS...
- Page 2 IMPORTANT! RETAIN THESE INSTRUCTIONS FOR FUTURE REFERENCE AND READ CAREFULLY...
- Page 3 INDEX Congratulations (EN) Warnings/Safety measures/Maintenance Parts Assembly Warranty (EN)
-
Page 4: Maintenance
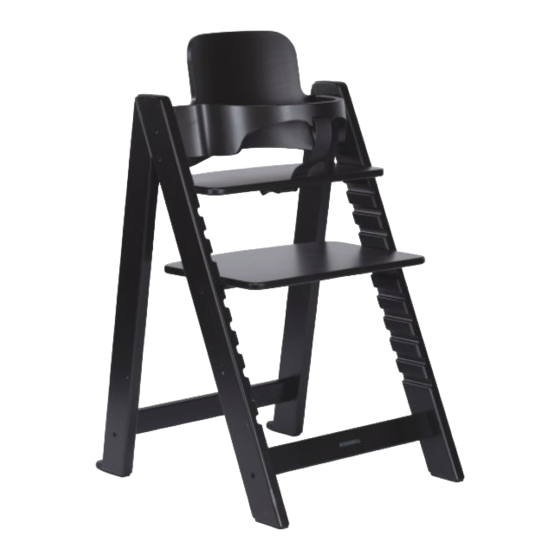
KIDSMILL DINNER TRAY UP! CONGRATULATIONS Congratulations on the purchase of this Kidsmill Up! Dinner tray. This product meets the most stringent safety requirements and is approved according to the Australian Standard AS 4684:2009. Using this tray can only be safe when used according to these instructions. - Page 5 PARTS Sliding Hook Screw D3x10,5 (4x) Screw ST4,2x25 (2x) Sliding hook mounting bracket Clip safety bar Hinge Bush...
- Page 6 ASSEMBLY Step 1: Screw the hinge bushes to the (disassembled) legs. If the chair is already assembled, remove only one leg at the time. Step 2: Screw down the sliding hook at the bottom of the seat. Step 3: Attach the clip for the safety bar to the bottom of the dinner tray.
- Page 7 ASSEMBLY Step 4: Click the dinner tray onto the hinge bushes of the high chair. ´Click´ ´Click´ Step 5: Now lock the dinner tray, slide it firmly backwards until you hear a clear 'Click' ´Click´ on both sides. ´Click´ Step 6: Slide de clip against the safety bar and tighten the screws so the clip is fixed.
- Page 8 Step 1 and 2: Placing and locking the dinner tray, see 'Installation' step 4 and 5. Step 3: Unlock the dinner tray by pinching the two release buttons, located at the bottom of the dinner tray, at the same time. Step 4: Pull the dinner tray to the front.
- Page 9 Step 6: To lock the dinner tray, first pull out the sliding hook from underneath the seat. Step 7: Now push the dinner tray up into ´Click´ the lock until you hear a clear 'Click' on both ´Click´ sides. Step 8: Unlock the dinner tray by pinching the release buttons and pushing it down.
-
Page 10: Warranty
WARRANTY Validity: 2 years from date of purchase. The warranty is only valid in conjunction with proof of purchase. The warranty covers the replacement of the entire product or parts when there a manufacturing defect. After the expiration of the warranty there are costs attached to any repairs. The supplier takes no responsibility for any damage or injury to persons, animals and belongings due to misuse of the harness or by failure to follow the accompanying instructions. -
Page 11: Warranty Form
WARRANTY FORM EN - In case of damaged or missing parts, please fill in this form and send Anstel Nominees Pty Ltd to the following E-mail address: Service department nfo@kidsmill.com.au Product: ..............Article number: ..............Serial number: ............... Part number (p. 4) - Page 12 The information contained herein is subject to change without notice. Timgro BV shall not be liable for technical errors or omissions contained herein. The purchased product may differ from the product as described in this user guide. Anstel Nominees Pty Ltd 36 Sunline Drive Truganina VIC 3029 Australia e-mail: info@kidsmill.com.au Version: August 2018...
Need help?
Do you have a question about the Up! and is the answer not in the manual?
Questions and answers