
Related Manuals for DAVIS 6410


Summary of Contents for DAVIS 6410
- Page 1 USER MANUAL Anemometer for Vantage Pro2™ and EnviroMonitor® Product number: 6410 Davis Instruments, 3465 Diablo Avenue, Hayward, CA 94545-2778 U.S.A. • 510-732-9229 • www.davisinstruments.com...
-
Page 3: Contents Of Package
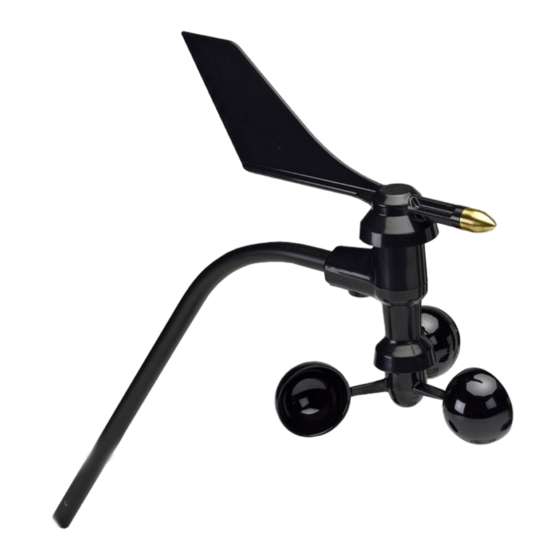
Welcome to Anemometer (6410) The anemometer measures and displays wind speed and direction. The data is used to calculate other wind-related information such as wind run, wind chill, and the temperature-humidity-sun-wind index. This anemometer can be used with EnviroMonitor or any Vantage Pro2-compatible system. Installed in a Sensor Transmitter, it can be used to include additonal wind stations in your existing system when reporting to a WeatherLink Live. -
Page 4: Hardware Kit
Hardware Kit U-Bolt 1/4" x 3" Lag Screws 1/4" Flat Washers 1/4" Lock Washers #4 x 1-1/8" Machine Screw 1/4" Hex Nuts #4 Tooth Lock Washer .05" Allen #4-40 Hex Nut Wrench Tools for Setup • Cable Clips or Weather-Resistant Cable Ties Note: Make sure the clips or ties you use to secure the anemometer cable have screw holes or other means for mounting the cable. -
Page 5: Attach The Wind Cups
Attach the Wind Cups 1. Push the wind cups up onto the anemometer’s stainless steel wind cup shaft. 2. Slide the wind cups up the shaft as far as possible. Wind cup shaft Push cups onto stainless steel shaft Tighten set screw with Allen wrench 3. -
Page 6: Attach The Anemometer Arm To The Base
Attach the Anemometer Arm to the Base 1. Insert the anemometer arm into the base, sliding the cable through the notch in the base as shown in illustration. 2. Be sure to line up the small hole in the arm with the holes in the base. 3. -
Page 7: Installing The Anemometer
For roof mounting, and ease of installation, we recommend using the optional mounting tripod (#7716). For other installations, use the Mounting Pole Kit (#7717). Note: For more detailed siting suggestions, see Application Note #30: Reporting Quality Observations to NOAA on the Davis Support web site (http://www.davisnet.com/support/weather). -
Page 8: Installing The Base On A Wooden Post Or Surface
Installing the Base on a Wooden Post or Surface 1. Use a drill with a 3/16" (5-mm) drill bit to make pilot holes in these locations. 2. Drive the 3" lag screws through the flat washers and the holes in the anemometer base and into the wood. -
Page 9: Securing The Cable
• To mount on a smaller pole, obtain a U-bolt that fits the base openings but that has a shorter threaded section. 1/4" Flat Washer 1/4" Lock Washer 1/4" Hex Nut U-Bolt Anemometer Mounting Base 1. Place the U-bolt around the pole so that its two ends extend through the holes in the mounting base. -
Page 10: Optional: Anemometer Cable Length Considerations
Considerations • Your anemometer includes a 40' (12 m) cable. This can be extended up to 540' (165 m) using optional extension cables purchased from Davis Instruments. • If most of the anemometer cable length is unused, the coiled cable... -
Page 11: Troubleshooting
Remove the wind cups (loosen the set screw) and clear out any bugs or debris. Turn the shaft the cups rotate on. If it feels gritty or stiff, contact Davis Technical Support. Note: Do not lubricate the shaft or bearings in any way. -
Page 12: Contacting Davis Technical Support
Envoy are trademarks of Davis Instruments Corp., Hayward, CA. © Davis Instruments Corp. 2019 All rights reserved. Information in this document subject to change without notice. Davis Instruments Quality Management System is ISO 9001 certified. ® 3465 Diablo Avenue, Hayward, CA 94545-2778 U.S.A.
Need help?
Do you have a question about the 6410 and is the answer not in the manual?
Questions and answers