Table of Contents

Summary of Contents for Ista optosonic u 3 radio net
- Page 1 Device Manual Chapter 4.1-R optosonic u 3 radio net L.83.0072 - Release 8.0.1 CH 2013 ista International GmbH - Grugaplatz 2 - 45131 Essen http//www.ista.com Nur für den internen Gebrauch—For internal use only—Uniquement pour utilisation interne...
-
Page 2: Table Of Contents
L.83.0072 - Release 8.0.1 CH 2013 ista International GmbH - Grugaplatz 2 - 45131 Essen http://www.ista.com Table of contents Device data General information Device display Technical data Main and connection dimensions Item numbers Installation Screwed installation Installation with cable ties 3.2.1... -
Page 3: Device Data
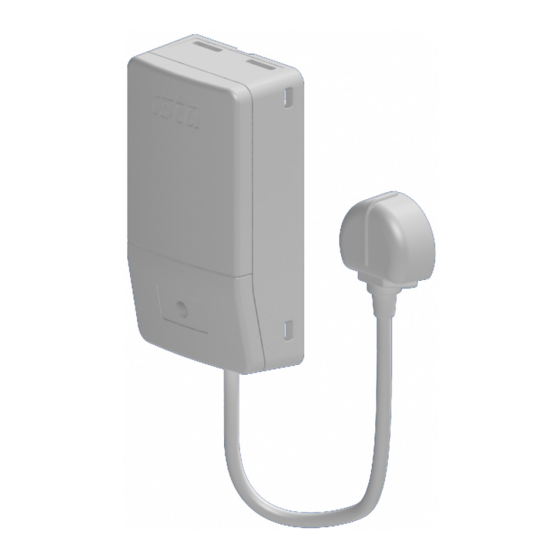
III into the radio system symphonic sensor net. For this, the opto head of the optosonic u 3 radio net is connected to the optical interface of the ultego III. The optosonic u 3 radio net reads out the measured values of the ultego III via the interface. - Page 4 L.83.0072 - Release 8.0.1 CH 2013 ista International GmbH - Grugaplatz 2 - 45131 Essen http://www.ista.com Compatible heat meter h le . . 8 ¡C In fo F Ÿ . . .1 -P T I I I e ¨ rj a...
-
Page 5: Device Display
L.83.0072 - Release 8.0.1 CH 2013 ista International GmbH - Grugaplatz 2 - 45131 Essen http//www.ista.com Device display Type plate ® optosonic u 3 radio net S/N: XXX XXX XXX Art. N°: 19449 Display No display Error status Error status... -
Page 6: Technical Data
Functional principle Optical read-out of connected counters Output: Interfaces ▪ Radio interface for the ista radio system symphonic sensor net. Input: ▪ Opto head (protected against reversed polarity), cable length 0.5 m. Radio interface Compatible with symphonic sensor net ▪... -
Page 7: Main And Connection Dimensions
L.83.0072 - Release 8.0.1 CH 2013 ista International GmbH - Grugaplatz 2 - 45131 Essen http//www.ista.com Recorded data Administrative data Serial number, device-ID ▪ Current date and time ▪ Next target date ▪ Serial number of the connected ultego III ▪... -
Page 8: Item Numbers
L.83.0072 - Release 8.0.1 CH 2013 ista International GmbH - Grugaplatz 2 - 45131 Essen http://www.ista.com Item numbers Devices 19449 optosonic u 3 radio net Accessories 19452 optosonic/pulsonic 3 radio mounting plate 19455 Adhesive pad for optosonic u 3 radio net... -
Page 9: Installation
3.2.2 Without mounting plate 1. Connect cable ties to optosonic u 3 radio net . Continue with "Final steps", step 2. 2. Fasten the optosonic u 3 radio net with cable ties (e.g. with a pipe). Device Manual 2.4-Y optosonic u 3 radio net... -
Page 10: Final Steps
L.83.0072 - Release 8.0.1 CH 2013 ista International GmbH - Grugaplatz 2 - 45131 Essen http://www.ista.com Final steps 01 234 567 2013 M-Bus 01 234 01 234 567 2013 M-Bus 1. Position module on mounting plate (if installing with mounting plate). -
Page 11: Commissioning
The device sends installation beacons for 4 minutes. 3. Jumper in as delivered condition. 8. Parameterise the optosonic u 3 radio net with the PDA. 4. Pull off the jumper. 9. The device will go into the measuring mode after parame- After maximum 20 seconds, the optosonic u 3 radio net terisation or 4 minutes. -
Page 12: Exchange
5.1.1 Preparatory steps 1. Disconnect the opto head from ultego III. 5.1.2 For installation on mounting plate 1. Remove old optosonic u 3 radio net from the mounting 2. Continue with Installation "Final steps", step 1. plate. 5.1.3 During installation without mounting plate 1. -
Page 13: Replace Ultego Iii
L.83.0072 - Release 8.0.1 CH 2013 ista International GmbH - Grugaplatz 2 - 45131 Essen http//www.ista.com Replace ultego III NOTICE If the optosonic u is to be used further, the ultego III may be replaced only by a device of the same type. -
Page 14: Reading
L.83.0072 - Release 8.0.1 CH 2013 ista International GmbH - Grugaplatz 2 - 45131 Essen http://www.ista.com Reading Radio reading AMM 1. Readout via symphonic sensor net. Radio reading Walk by 1. Read off appliances 2. Check data in the PDA... -
Page 15: Disposal
L.83.0072 - Release 8.0.1 CH 2013 ista International GmbH - Grugaplatz 2 - 45131 Essen http//www.ista.com Disposal 1. Do not dispose of the old device in the household waste. They will ensure proper disposal. 2. Send obsolete devices to the main warehouse via outlet.
Need help?
Do you have a question about the optosonic u 3 radio net and is the answer not in the manual?
Questions and answers