Table of Contents
Advertisement
Quick Links
IMPORTANT : Read manual thoroughly for full safety and product information.
.
Package contents
1 x Main unit
1 x Controller
1 x Router
1 x PoE adaptor
2 x LAN cable
1 x Controller cable
Connection diagram
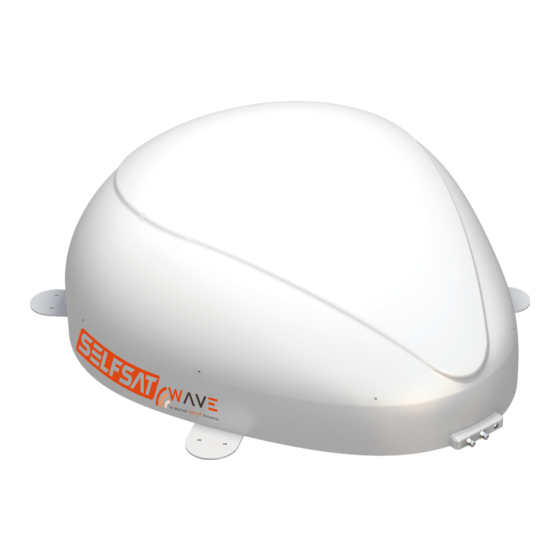
MAIN UNIT
QUICK START GUIDE
1 x Power input cable
1 x Cable holder
1 x Cable gland
1 x Screw set
1 x User manual
CONTROLLER
www.selfsat.com
WLAN router
LAN
WAN
Power
Advertisement
Table of Contents

Subscribe to Our Youtube Channel
Summary of Contents for SELFSAT WAVE
-
Page 1: Package Contents
QUICK START GUIDE IMPORTANT : Read manual thoroughly for full safety and product information. www.selfsat.com Package contents 1 x Main unit 1 x Power input cable 1 x Controller 1 x Cable holder 1 x Router 1 x Cable gland... -
Page 2: Product Specifications
1. Product specifications Parts of Main unit Antenna Mounting plate to Controller ("ANT" port) to router Parts of Controller • Front Satellite LEDs Power S/W USB port SET button TRACKING LED Arrow buttons LOCK LED LED Indicator Blinking • Back IDU cable to Main unit Power port ENGLISH - 2... -
Page 3: Functional Description
2. Functional description A. In-Motion mode (only) When the all cable connections are completed, turn on the power switch ASTRA2 and HOTBIRD LEDs light on while booting the system (15~30 seconds) Default (ASTRA2) or the last status satellite is automatically selected Tracking LED light on since the unit searches the satellite When Lock LED becomes solid this means the satellite is found If the other satellite is desired, move to the correct satellite and press SET to... -
Page 4: Extra Functions
3. Extra functions A. Software upgrade - Controller Transfer “FWUPDATE.BIN” file to a USB stick. Do not place inside a folder Ensure that the unit is turned off and plug the USB into USB port on the back of controller Press and hold SET button and turn on the Power switch MODE LED is on while checking upgrade file Software upgrade takes about 10 seconds... - Page 5 4. Live Satellite Broadcasting with SELFSAT WAVE SELFSAT WAVE client is either a software App or a STB-type device specialized for the IP stream from SAT>IP. SELFSAT WAVE is equipped of two SAT>IP routers, users are able to select one to be connected.
- Page 6 How to use ELGATO Sat>IP App Select Country Setting Scan Channels Auto Scan Select Satellite Scan Live TV Select Satellite Select the channel Watch TV How to use tivizen SAT>IP App New channel scan Select Satellite Channel Scanning Watch TV ENGLISH - 6...
-
Page 7: Installation
5. Installation Driving direction FRONT Clean the surface with cleaner Locate the antenna in the center of car roof Attach friction tape outside of the mounting Put aside the antenna to apply silicone inside plate, to be 4mm away from the plate edge the guided tape line ENGLISH - 7... - Page 8 Put back the mounting plate on the silicone Apply silicone on the holes applied and make 2holes (2mm) with power drill Assemble mounting plate using 2 M4x20 screws Re-apply silicone to cover tightened screws Apply silicone around the mounting plate Tidy the area silicone applied The image you will see.
- Page 9 Equipment to initiate cable holder installation Put the cable inside the cable holder as above picture Arrange cable holder in front of (30cm apart Make 15mm drill hole in the center of the tape from) antenna center by facing open side of marking cable holder toward projected part of the mounting plate.
- Page 10 Apply silicone around and on the top of screws Tidy silicon Connect the cable to the controller and router Remove friction tape Get power input cable for battery connection Match the power cables polarities to the battery polarities, red to red / black to black Plug the other end of power input cable to the Place the controller at where user wants controller...


Need help?
Do you have a question about the WAVE and is the answer not in the manual?
Questions and answers