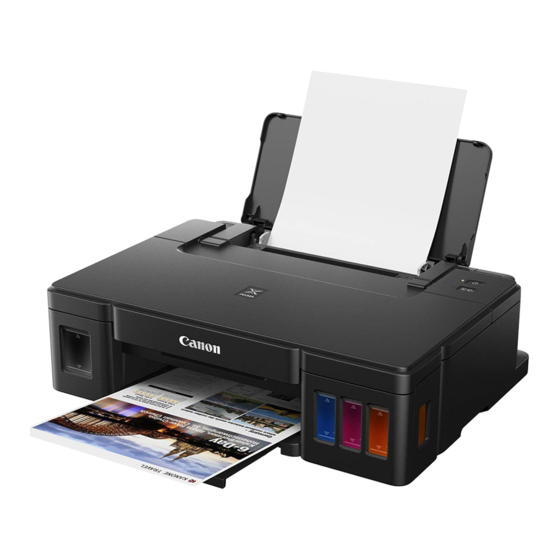
Summary of Contents for Canon Pixma G1010 Series
- Page 1 Mari Memulai Getting Started Baca Keamanan dan Informasi Penting (lampiran) terlebih dahulu. Read Safety and Important Information (addendum) first.
- Page 2 Memasang Pencetak ...........halaman 1 Installing the Printer ............page 1 Menghubungkan dengan Komputer ......halaman 4 Connecting with Computer ..........page 4 Cara Memegang Video Penjelasan Pencetak How to Hold Printer Explanatory Movies...
- Page 3 Lepaskan pita pelindung. 1. Memeriksa Item yang Tersedia Jangan sentuh. □ Kartrij □ Botol tinta □ Kabel listrik □ Setup CD-ROM untuk PC Windows □ Keamanan dan Informasi Penting □ Mari Memulai (petunjuk ini) Masukkan kartrij C (warna) pada sebelah kiri dan kartrij B (hitam) pada sebelah kanan.
- Page 4 4. Menyalakan Pencetak 5. Menuang Tinta Tutup penutup atas. Produk ini membutuhkan penanganan tinta yang seksama. Tinta mungkin terpercik ketika kotak tinta diisi. Jika tinta menodai pakaian Anda atau benda lain, mungkin tidak akan dapat dibersihkan. Buka penutup atas. Buka penutup unit kotak tinta. Hubungkan kabel listrik.
- Page 5 6. Menyiapkan Sistem Tinta Tuangkan semua tinta ke dalam kotak tinta. Pastikan bahwa tinta telah diisikan sampai garis batas atas (A). Tekan tombol RESUME/CANCEL, kemudian pastikan bahwa lampu DAYA telah berubah dari menyala ke berkedip. Pasang kembali penutup kotak dengan hati-hati. Penyiapan tinta membutuhkan waktu sekitar 5 sampai 6 menit.
- Page 6 Mengunduh dari Internet a Buka browser web ( dll.) pada komputer Anda. e Klik Pengesetan. b Masukkan URL berikut ini dan akses situs web Canon. Prosedur untuk Windows ditunjukkan di bawah ini. Jika Anda menggunakan komputer dengan OS selain c Pilih Mengeset. Windows, lakukan pengesetan berdasarkan instruksi pada layar.
- Page 7 c Jika layar berikut ini muncul, klik Jalankan Msetup4.exe(Run Msetup4.exe). d Jika kotak dialog Kontrol Akun Pengguna(User Account Control) muncul, klik Ya(Yes). Lanjutkan ke langkah untuk meneruskan. ■ Ketika menggunakan Windows 7: a Masukkan Setup CD-ROM ke komputer Anda. b Ketika layar AutoMain(AutoPlay) muncul, klik Ketika Layar AutoMain(AutoPlay) Tidak Muncul Jalankan Msetup4.exe(Run Msetup4.exe).
- Page 8 Memuatkan Kertas Buka pendukung kertas. a M uatkan kertas dengan sisi cetak menghadap ke atas. b G eser pemandu kertas sebelah kanan untuk mengepaskannya dengan sisi tumpukan kertas. Geser pemandu kertas kanan ke ujung. a T arik keluar tatakan keluaran kertas. b B uka perpanjangan tatakan keluaran.
-
Page 9: Checking Included Items
Remove the protective tape. 1. Checking Included Items Do not touch. □ Cartridge □ Ink bottle □ Power cord □ Setup CD-ROM for Windows PC □ Safety and Important Information □ Getting Started (this manual) Insert the C (color) cartridge on the left and the B (black) cartridge on the right. - Page 10 4. Turning on Printer 5. Pouring Ink Close the top cover. This product requires careful handling of ink. Ink may splatter when the ink tanks are filled with ink. If ink gets on your clothes or belongings, it may not come off. Open the top cover.
- Page 11 6. Preparing the Ink System Pour all ink into the ink tank. Confirm that the ink has been filled to the upper limit line (A). Press the RESUME/CANCEL button, and then confirm that the ON lamp has changed from lit to flashing.
-
Page 12: Connecting To Computer
Downloading from the Internet a Open a web browser ( etc.) on your computer. e Click Setup. b Input the following URL and access the Canon website. The procedures for Windows are shown below. If you are using a computer with an OS other than Windows, do the setup according to the on-screen c Select Set Up. - Page 13 c If the following screen appears, click Run Msetup4.exe. d If the User Account Control dialog box appears, click Yes. Proceed to step to continue. ■ When using Windows 7: a Load the Setup CD-ROM in your computer. b When the AutoPlay screen appears, click Run When AutoPlay Screen Does Not Appear Msetup4.exe.
-
Page 14: Loading Paper
Loading Paper Open the paper support. a L oad paper with the print side facing up. b S lide the right paper guide to align it with the side of the paper stack. Slide the right paper guide to the end. a P ull out the paper output tray. - Page 15 Jl. Selaparang Blok B-15 Kav.9 Kompleks Kemayoran Jakarta 10610 : (62-21) 6544515 : (62-21) 6544811-13 Email : info@datascrip.co.id Website : www.canon.co.id Pendaftaran Petunjuk Penggunaan dan Kartu Jaminan / Garansi dalam Bahasa Indonesia No. : I.24.D4.02613.0817 RMC (Regulatory Model Code): K10469...
- Page 16 Akses Petunjuk Daring Access Online Manual Dari browser From browser Dari pintasan desktop Windows 10 From desktop shortcut Dari browser From browser QT6-2282-V02 XXXXXXXX © CANON INC. 2018 PRINTED IN XXXXXXXX...


Need help?
Do you have a question about the Pixma G1010 Series and is the answer not in the manual?
Questions and answers