Table of Contents
Advertisement
Advertisement
Table of Contents

Subscribe to Our Youtube Channel
Related Manuals for Garmin BC 40


Summary of Contents for Garmin BC 40
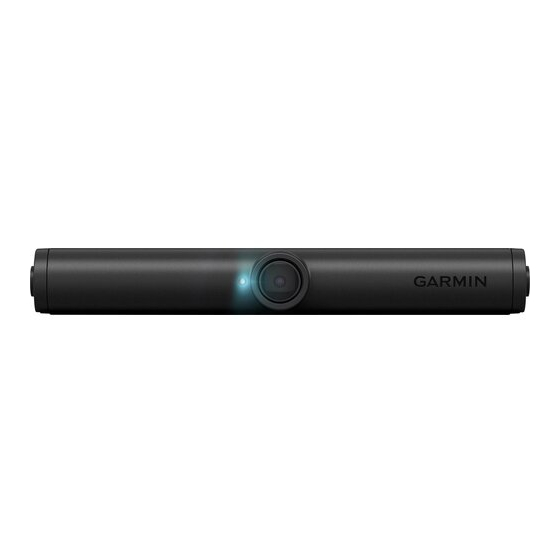
- Page 1 40 WIRELESS BACKUP CAMERA ™ Owner’s Manual...
- Page 2 © 2019 Garmin Ltd. or its subsidiaries All rights reserved. Under the copyright laws, this manual may not be copied, in whole or in part, without the written consent of Garmin. Garmin reserves the right to change or improve its products and to make changes in the content of this manual without obligation to notify any person or organization of such changes or improvements.
-
Page 3: Table Of Contents
Vehicle Mount Installation for Europe ......... 2 Installing AA Batteries ..............3 Installing the Camera in the Mount ..........3 Pairing the Camera with a Garmin Navigation Device ................3 Pairing Additional Cameras with a Garmin Navigation Device ..................4 Viewing the Backup Camera......... -
Page 5: Introduction
Some jurisdictions prohibit covering any portion of the license plate. It is your responsibility to follow license plate mounting Rotate the camera clip 180 degrees, so the Garmin logo is regulations. facing right-side-up. -
Page 6: Vehicle Mount Installation For Europe
Fully tighten the screws. Installing the Camera at the Top of Your License Plate When the mount is installed on your vehicle, the Garmin logo on the camera clip must be right-side up. Out of the box, the mount is assembled for installing the camera at the bottom your license plate. -
Page 7: Installing Aa Batteries
Update your navigation device to the latest software. Your device may not support the BC 40 camera without the latest software. For more information about updating the On each battery cover, verify the gasket is clean and fully software, see the owner's manual for your navigation device. -
Page 8: Pairing Additional Cameras With A Garmin Navigation Device
Pairing Additional Cameras with a Garmin Navigation Device You can adjust the camera angle up and down to provide the You can pair up to 4 BC 40 wireless backup cameras with a best view for your vehicle. compatible Garmin navigation device. -
Page 9: Aligning The Guidance Lines
The navigation device downloads updates for itself and updates Use the arrows in the center of the screen to move the for your BC 40 camera, if available. The next time the device colored distance guidance lines up or down. -
Page 10: Specifications
2.4 GHz ® Failure to heed the installation considerations could result in damage to the camera or the vehicle. Garmin is not responsible for any damage caused to the camera or vehicle during Troubleshooting installation or as a result of the camera mount detaching from the vehicle. - Page 11 Remove the mount base from the mounting surface, and use a 3.2 mm (1/8 in.) drill bit to drill pilot holes in the two locations you marked. NOTICE If you are drilling into a fiberglass surface, you may need to use a specialized drill bit or drill counter-clockwise to avoid damaging the fiberglass.
-
Page 12: Index
Index backup camera 4, 5. See cameras batteries, installing 3 camera pairing 3, 4 viewing 4 cameras 4, 5 backup 4 guidance lines 5 pairing 5 switching 4, 5 guidance lines, aligning 5 mount adjusting 4 removing 4 mounting the device 1–3, 6 software 5 updating 5 specifications 6 troubleshooting 6 updating, software 5 wireless camera 4, 5. See cameras Index... - Page 14 TA-2018/331 March 2019 190-02365-00_0A...
Need help?
Do you have a question about the BC 40 and is the answer not in the manual?
Questions and answers