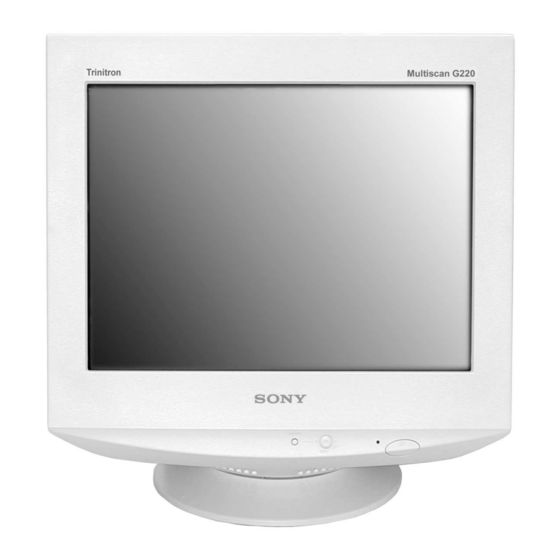
Sony Trinitron CPD-G220R Operating Instructions Manual
Trinitron color computer display
Hide thumbs
Also See for Trinitron CPD-G220R:
- Service manual (66 pages) ,
- Service bulletin (9 pages) ,
- Specifications (2 pages)
Summary of Contents for Sony Trinitron CPD-G220R
- Page 1 Trinitron Color Computer Display Operating Instructions Mode d’emploi Manual de instrucciones CPD-G220R CPD-G220S © 2000 Sony Corporation 4-081-489-11 (1) â...
-
Page 2: Owner's Record
Corporation has determined that this product meets the guidelines for energy efficiency. This monitor complies with the TCO’99 guidelines. For questions regarding your product or for the Sony Service Center nearest you call: 1-800-222-SONY(7669) or write to: Sony Customer Information Center 1 Sony Drive, Mail Drop #T1-11, Park Ridge, NJ 07656 USA The number below is for FCC related matters only. -
Page 3: Table Of Contents
Table of Contents â â • Trinitron and FD Trinitron registered trademarks of Sony Corporation. • Macintosh is a trademark licensed to Apple Computer, Inc., registered in the U.S.A. and other countries. â • Windows and MS-DOS are registered trademarks of Microsoft Corporation in the United States and other countries. -
Page 4: Precautions
Precautions Warning on power connections • Use the supplied power cord. If you use a different power cord, be sure that it is compatible with your local power supply. For the customers in the U.S.A. If you do not use the appropriate cord, this monitor will not conform to mandatory FCC standards. -
Page 5: Identifying Parts And Controls
Identifying parts and controls See the pages in parentheses for further details. Front MENU MENU 1 MENU/OK button (page 9) The MENU/OK button is used to display the main MENU on your screen. 2 Joystick (page 9) The joystick is used to navigate the menu and make adjustments to the monitor, including brightness and contrast adjustments. -
Page 6: Setup
Setup Before using your monitor, check that the following accessories are included in your carton: • Power cord (1) • Audio miniplug cord (1) for CPD-G220S model only • Warranty card (1) • Notes on cleaning the screen’s surface (1) •... -
Page 7: Step 3: Turn On The Monitor And Computer
Step 3: Turn on the monitor and computer First turn on the monitor, then turn on the computer. The installation of your monitor is complete. If necessary, use the monitor’s controls to adjust the picture. If no picture appears on your screen •... -
Page 8: Customizing Your Monitor
Customizing Your Monitor You can make numerous adjustments to your monitor using the on-screen menu. Navigating the menu Press the MENU/OK to display the main MENU on your screen. See page 9 for more information on using the MENU/OK button. MENU Use the joystick to select one of the following menus. -
Page 9: Adjusting The Brightness And Contrast
x Using the MENU/OK button Display the main MENU. Press the MENU/OK button to display the main MENU on your screen. MENU Select the menu you want to adjust. Highlight the desired menu by moving the joystick towards the top to go up (M), towards the bottom to go down (m). Press the MENU/OK button to select the desired menu. -
Page 10: Adjusting The Shape Of The Picture (Geometry)
Adjusting the shape of the picture (GEOMETRY) The GEOMETRY settings allow you to adjust the rotation and shape of the picture. (rotation) setting is stored in memory for all input signals. All other settings are stored in memory for the current input signal. -
Page 11: Additional Settings (Option)
Additional settings (OPTION) You can manually degauss (demagnetize) the monitor, adjust the moire cancellation level, reset to factory setting, and lock the controls. Press the MENU/OK button. The main MENU appears on the screen. Move the joystick m/M to highlight press the MENU/OK button. -
Page 12: Technical Features
Technical Features Preset and user modes When the monitor receives an input signal, it automatically matches the signal to one of the factory preset modes stored in the monitor’s memory to provide a high quality picture at the center of the screen. -
Page 13: Trouble Symptoms And Remedies
Trouble symptoms and remedies If the problem is caused by the connected computer or other equipment, please refer to the connected equipment’s instruction manual. Use the self-diagnosis function (page 15) if the following recommendations do not resolve the problem. Symptom No picture If the 1 (power) indicator is not lit If the NO INPUT SIGNAL message... - Page 14 • This is the sound of the auto-degauss cycle. When the power is turned on, the monitor is automatically degaussed for five seconds. If the problem persists, call your authorized Sony dealer and give the following information. • Model name: CPD-G220 •...
-
Page 15: Self-Diagnosis Function
Count the number of seconds between orange flashes of the 1 (power) indicator and inform your authorized Sony dealer of the monitor’s condition. Be sure to note the model name and serial number of your monitor. Also note the make and model of your computer and video board. -
Page 17: Appendix
Appendix Preset mode timing table No. Resolution Horizontal Vertical (dots lines) Frequency Frequency 31.5 kHz 60 Hz 43.3 kHz 85 Hz 31.5 kHz 70 Hz 53.7 kHz 85 Hz 49.7 kHz 75 Hz 1024 60.0 kHz 75 Hz 1024 68.7 kHz 85 Hz 1280 1024... -
Page 18: Environmental Requirements
The environmental demands impose restrictions on the presence and use of heavy metals, brominated and chlorinated flame retardants, CFCs (freons) and chlorinated solvents, among other things. The product must be prepared for recycling and the manufacturer is obliged to have an environmental policy which must be adhered to in each country where the company implements its operational policy. - Page 19 Sony Corporation Printed in U.S.A.


Need help?
Do you have a question about the Trinitron CPD-G220R and is the answer not in the manual?
Questions and answers