
Related Manuals for Osmio D7


Summary of Contents for Osmio D7
- Page 1 Installation, Operation & Maintenance Manual for: D7 Direct Flow Reverse Osmosis System For more details, please visit: www.osmiowater.co.uk...
- Page 2 Revitalised mind, body and spirit Pure hydration by Smart water technology for point of use and point of entry www. osmiowater. c o. u k...
- Page 3 The Osmio D7 Direct Flow Reverse Osmosis System High quality Reverse Osmosis water filtration system that is specifically designed for safer, healthier waer. Revitalise your mind, body and spirit with the Osmio D7 Reverse Osmosis System. Product Features: • Small footprint, under counter mounted system for ease of use.
-
Page 4: Table Of Contents
4.5 - Drain Saddle Connection 4.6 - Faucet Connection 4.7 - Pre-Filter Installation 4.8 - Membrane Installation 4.9 - Osmio D7 Direct Flow Reverse Osmosis System Diagram 4.10 - Osmio D7 Direct Flow HUD Icons 4.11 - Verifiying The Installation 5. Maintenance 5.1 - Reccomended Filter Change Durations... -
Page 5: Introductions
Technical Specifications, Connection Diagrams, Installation Procedures, System Operation and System Maintenance of their Osmio D7 Direct Flow Reverse Osmosis System. The essential information contained in this manual will allow the user to make full use of the system. For special situations, it is recommended that the user contact their authorized dealer or Osmio Water Technology (www.osmiowater.co.uk). -
Page 6: Filters
• Reverse Osmosis Membrane Filter (RO membrane) • Post-Filters This Osmio D7 System will consist of five filters, which we will detail below. 1.4 Pre-Filtration The main purpose of pre-filters is to protect the more expensive RO membrane from specific contaminants. Traditional RO systems have pre-filters which only target sediment down to 5 microns and... -
Page 7: Reverse Osmosis Membrane
1.5 Reverse Osmosis Membrane At the heart of every Reverse Osmosis system is the membrane filter. The membrane filter consists of microporous, semipermeable membrane sheets. The average pore sizes on the RO membrane is in the range of 0.0005 mm (0.5 nanometers). The sheets are glued to each other around three edges with a thin spacer in between (this prevents the sheets from sticking to each other) to form a “leaf”. - Page 9 Reverse Osmosis Membrane Filter Purified Water Perforated Tube Waste Water Double Sided Membrane Sheet With Spacer in Between Feed water Purified Water Flow Single Leaf Semipermeable Membrane Pores Dissolved Solids Spacer Bacteria Bacteria Pressure Pressure Perforated Tube Contaminants Purified Water Schematic of a Reverse Osmosis Membrane Filter...
-
Page 10: Specifications
2. Specifications 2.1 Technical Requirements The technical requirements for this system can be found in the table below. Electricity 220 VAC/50 Hz* Feed Water Pressure 1 Bar Min. - 4 Bar Max.** Feed Water Temperature 5 - 38 Feed Water Connection 1/2"... -
Page 11: Planning The Installation
Tools Required for Installation and Their Functions 3.2 Electrical Connection This Osmio D7 Direct system comes with all of the internal electrical connections manufactured, installed and tested. It is equipped with an SMPS type power supply which is rated for 3.0 Amps 100-240V~50/60Hz. -
Page 12: Checking The Parts
Helps to open filter housings during replacements 3.4 Making Space for The System This Osmio D7 system if you see the figure below, you will have the dimensions of the unit, please take note that the system once full of water will weigh around 18 kilograms. - Page 13 Tube Cutter 1/2” Diverter Valve PTFE Tape Faucet Assembly Filter Housing Wrench Drain Saddle Assembly Metal Ball Valve 1.5 Meter 1/4” Tubing 400 GPD Reverse Osmosis Membrane Filter Osmio D7 Direct Flow Installation Parts...
-
Page 14: How To Use Quick Connect Fittings
Body Exploded Diagram of a Quick Connect Fitting All Osmio D7 Direct systems take advantage of quick connect fittings. To make a connection, the tubing is simply pushed into the fitting. The unique locking system holds the tubing firmly in place without deforming it or restricting flow. - Page 15 Step 1: It is essential that the outside diameter of the tubing being inserted into the fitting is completely free of scratch marks, dirt and any other material. Inspect the outside of the tubing carefully. Step 2: It is also very important that the sliced edge of the tubing is cut cleanly.
-
Page 16: System Water Connections
Water that is purified and ready for consumption Faucet Drain Drain from Reverse Osmosis membrane filters Drain Function of System Water Connections 4.3 Water Connection Schematic Below is a water connection diagram can be found for the Osmio D7 Direct Flow reverse osmosis system. -
Page 17: Feed Water Connection
4.4 Feed Water Connection The purpose of the feed water connection is to feed the system with water which is to be purified by tapping the cold water supply which is usually located under the kitchen counter. Please see the figure below for instructions on how to make the feed water connection. -
Page 18: Drain Saddle Connection
4.5 Drain Saddle Connection The purpose of the drain saddle is to prevent the tubing connected to drain from popping out of place and potentially leaking where the system is installed. Please see the figure below for instructions on how to make the drain saddle connection. Step 1: Select a location for the drain hole based on the design of the plumbing. -
Page 19: Faucet Connection
4.6 Faucet Connection The purpose of the faucet connection is to have access to water on-demand. A proper location needs to be selected on the sink. Special attention needs to be given to the stem on the faucet which will be under the counter, it will need to be accessed in order to fix the tubing nut with a wrench. -
Page 20: Pre-Filter Installation
4.7 Pre-filter Installation The pre-filters are packaged in hygienically sealed bags. Do not break the seal of the bags until right before their installation. Wash the hands with soap before handling the pre-filters. Any bacteria that is passed to the pre-filters can limit their lifetime and performance. 4.8 Membrane Installation The RO membrane is packaged in a hygienically sealed bag. -
Page 21: Osmio D7 Direct Flow Reverse Osmosis System Diagram
4.9 Osmio D7 Direct Flow Reverse Osmosis Diagram... -
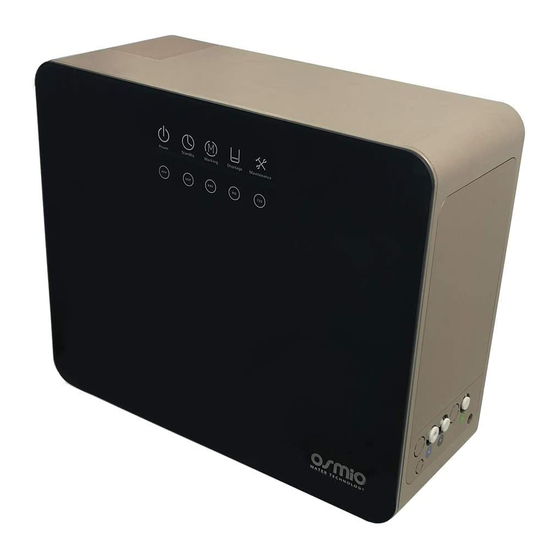
Page 22: Osmio D7 Direct Flow Hud Icons
4.10 Osmio D7 Direct Flow HUD Icons Ordinal Icon Status description This icon indicates that the internal tank is full and the system is now in standby The “Working” icon indicates that the machine is producing water and flushing rejected water... -
Page 23: Verifiying The Installation
4.11 Verifying the Installation To begin please plug the power cord of the Osmio D7 into a well maintained electrical socket. bringing the faucet handle down so that it is perpendicular to the faucet stem. Now slowly open the feed water valve in order to prevent the hammer effect. -
Page 24: Maintenance
The filters for the Osmio D7 Direct Flow system have individual lifespans which you can see on the table below Filter Stage... -
Page 25: Changing The Filters
5.2 Changing the Filters In order to have a successful filter change for this Osmio Direct Flow Reverse Osmosis System, please follow the steps on the next page carefully Filter Change Procedure For pump based systems unplug the electrical cord from the socket. -
Page 26: Going On Holiday
5.3 Going on Holiday The Osmio D7 Direct reverse osmosis system may go through prolonged periods of time (+2 weeks) when it will not be used. It is important to note that once the filters touch water the life span of the filter starts. -
Page 27: After Sales
6.1 Warranty Registration Please fill out the information below and keep for your records. Please also send a copy to your Osmio D7 System dealer or Osmio Water headquarters by simply taking a picture of it with your smart phone and mailing it to info@osmiowater.co.uk... - Page 28 5.4 Service Log Table SERVICE LOG TABLE Model Date of Purchase Date of Install Installed By Serial Number Date Pre-Filter + Post-Filter Change Membrane Change Other...
Need help?
Do you have a question about the D7 and is the answer not in the manual?
Questions and answers