Table of Contents
Advertisement
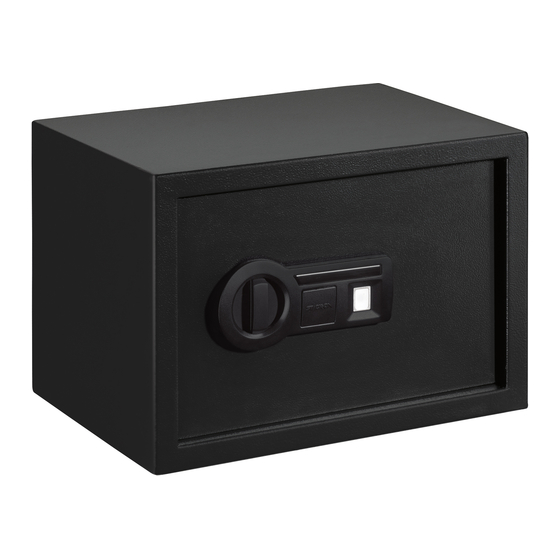
PS-15-20-B
PS-15-10-B
IMPORTANT
Record the serial number from the tag on the
door front.
Keep keys in a secure place away from children.
DO NOT STORE KEYS INSIDE
Hardware Included:
(4) M6 x 50 mm (2" long) Lag Screws
(4) Washers
(4) M6 x 40 mm (1-1/2" long) Plastic masonry anchors
Tools Required:
Drill
Thin Bladed Flat Head Screwdriver
10 mm Wrench
3/8" (9.5 mm) masonry drill bit for drilling into masonry
3/16" (5 mm) drill bit for drilling into wood and wall studs
®
Instructions
SAFE
GETTING STARTED
When you rst receive your safe you will need to
open the door with the key in order to install the
ba eries. Ba eries are included and are located
inside the safe.
To open the door with the key, rst remove the
lock cover from the front of the faceplate using a
thin bladed athead screwdriver as shown. Insert
the key and turn counterclockwise. Hold the key
in the open position and turn the knob to the
right to open the door.
NOTE:
is key has also been provided in case the
ba eries run low. If you lose your key, you may
purchase a replacement key by referencing the serial
number located under the removable central panel.
See section at the bo om of this instruction
regarding replacement keys.
Locate the ba eries inside the safe. Open the
ba ery compartment on the back of the door by
pushing the tab in the direction of the arrow and
install the ba eries.
NOTE:
e reset bu on located on the inside
of the door, is covered with a removable cap.
When you use the reset bu on while recording
your ngerprint, remove the cap to access the
bu on. Use a pen tip to push the reset bu on.
Replace the cap securely over the reset bu on
a er recording your ngerprint. Failure to do
so will compromise the safety and security of
the safe.
Lock Cover
Advertisement
Table of Contents

Related Manuals for Stack-On PS-15-20-B


Summary of Contents for Stack-On PS-15-20-B
- Page 1 When you rst receive your safe you will need to open the door with the key in order to install the ba eries. Ba eries are included and are located inside the safe. PS-15-20-B To open the door with the key, rst remove the Instructions PS-15-10-B lock cover from the front of the faceplate using a thin bladed athead screwdriver as shown.
- Page 2 RECORDING FINGERPRINTS OPENING THE SAFE USING YOUR FINGERPRINT When you rst receive your safe there are no recorded ngerprints. For security you must record a ngerprint. Failure to do so will To open the safe, press the scanner with a recorded compromise the safety and security of the safe.
- Page 3 LOCKING THE SAFE CLEARING THE MEMORY To lock the safe, close the door and turn the knob to To clear the memory of all recorded ngerprints, the le to the 12:00 position. locate the reset bu on on the inside of the safe and press this bu on for about 5 seconds until the green light ashes 10 times with 10 beeps (if NOTE ON LOCKING THE SAFE: Because the...
- Page 4 1, for the locking mechanism to function properly. Failure to mount the safe in the correct upright position will compromise the safety and security of the safe. PS-15-10-B PS-15-10-B PS-15-20-B PS-15-20-B Figure 2 Figure 1...
- Page 5 MAINTENANCE TURNING THE SOUND OFF/ON Your safe comes with the beep sound turned on. Tools Required: Phillips screwdriver 5mm Allen wrench To turn the sound o , press the scanner with a recorded ngerprint for 10 seconds until the green If the door of the safe starts to rub on the door light ashes twice.
Need help?
Do you have a question about the PS-15-20-B and is the answer not in the manual?
Questions and answers