Table of Contents
Advertisement
CP2
2 Channel HD Recorder
Installation Guide
Model #: CP2-NA
v1.1.1
WARNING: SmartWitness installations should be performed by a qualified individual or
installation professional only. Working with a vehicle's power system can be dangerous to both
you and your vehicle. This installation is intended only to be a guide since vehicle designs and
power/input sources can vary significantly from vehicle to vehicle.
If you need to schedule a professional installation service in the USA for your SmartWitness
device(s), please visit
smartwitness.com/request-install
and submit the online form.
All cellular-enabled CP2 devices must use the installation wizard for proper onboarding and
activation, please visit
install.smartwitness.com
to register, login, and use the SmartInstall
wizard.
www.smartwitness.com
Advertisement
Table of Contents

Summary of Contents for SmartWitness CP2 Series
- Page 1 This installation is intended only to be a guide since vehicle designs and power/input sources can vary significantly from vehicle to vehicle. If you need to schedule a professional installation service in the USA for your SmartWitness device(s), please visit smartwitness.com/request-install...
- Page 2 1. Overview: The SmartWitness CP2 is the world’s most advanced incident camera with powerful 3G video transmission, built-in GPS tracking and drive data. Developed to provide evidence of events leading up to and during a road traffic accident, the CP2 provides instant notifications and videos of incidents in less than a minute.
- Page 3 Compatible with SmartMail, SmartView, and SmartGuard supported) Solutions 30 Frames per second recording (FPS is adjustable). Compatible with SmartWitness Smart API for AVL/Telematics Integration (RESTful/JSON API) Dual Record mode (Continuous + Event). Real-time notification of events and images during road incidents.
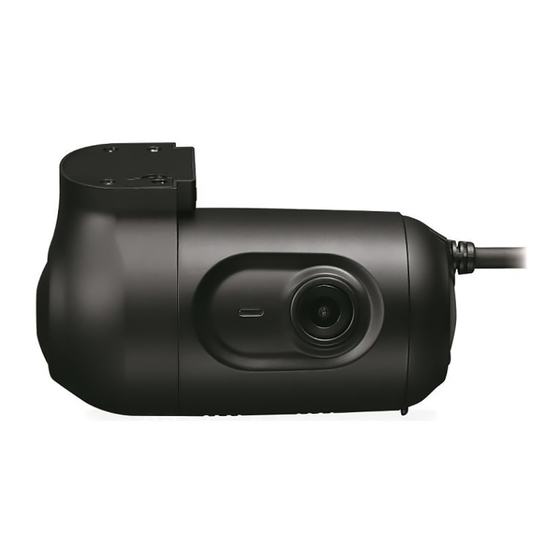
- Page 4 2. CP2 Hardware Overview Watch 360° Hardware Overview Video Online here: https://youtu.be/cYPIBZ9rGoU a. Front View b. Side View www.smartwitness.com...
- Page 5 Rear View d. Top View www.smartwitness.com...
- Page 6 Then insert the provided Sim card into the second, smaller slot as seen below After instructing the SD & SIM cards, attach the side cover plate as seen below. Use the provided torx screw & key to secure the side cover plate to the CP2: www.smartwitness.com...
- Page 7 IMPORTANT: Make sure that the glass is clean and dry before attaching. Hold the camera in position with firm pressure for 30 seconds. The glass temperature should not be too hot or cold. Please install in moderate temperature (recommended between 50°F ~ 80°F). www.smartwitness.com...
- Page 8 / power source. Make sure the vehicle is off and then connect the 4 required wires to the vehicle, as shown below in the wiring diagram. a. Wiring Harness Diagram Power Specifications Input: DC 10~32V, 2A Output: DC 5V, 3A www.smartwitness.com...
- Page 9 The CP2 is equipped with a simple plug & play connection to a variety of SmartWitness 5V cameras. Simply connect the 2.5mm male stereo connector of the SmartWitness camera (any model ending in “-S”, such as the SVA030-S) into the female stereo input on the CP2 and mount the camera to the customer- specified location in or around the vehicle.
- Page 10 If blue and green LEDs are not both solid after 5 minutes, there is an error. Please refer to the LED reference table in section 9. If you still cannot resolve the issue, contact your supplier or SmartWitness. After the camera has been booted...
-
Page 11: Troubleshooting
If CP2 Green LED is also blinking, it may be a camera configuration issue or server issue. Please contact SmartWitness. The CP2 RED LED is blinking a. There is an SD card error/corruption. Please replace/repair the SD card after contacting SmartWitness Support for instructions. https://support.smartwitness.com www.smartwitness.com... - Page 12 8. CP2 LED Specifications www.smartwitness.com...


Need help?
Do you have a question about the CP2 Series and is the answer not in the manual?
Questions and answers