Advertisement
Quick Links
Advertisement

Subscribe to Our Youtube Channel
Related Manuals for Phottix Juno TTL


Summary of Contents for Phottix Juno TTL
- Page 1 INSTRUCTION MANUAL Phottix Juno TTL Transceiver Flash INSTRUCTION MANUAL 說明書 Trad...
- Page 3 For advanced features please read this manual and be familiar with your camera manual and operations. The Phottix Juno TTL Transceiver Flash for Canon is designed to work with Canon DSLR cameras and features ETTL I/II, Manual, Multi Modes as well as Wireless (Radio and Optical) triggering.
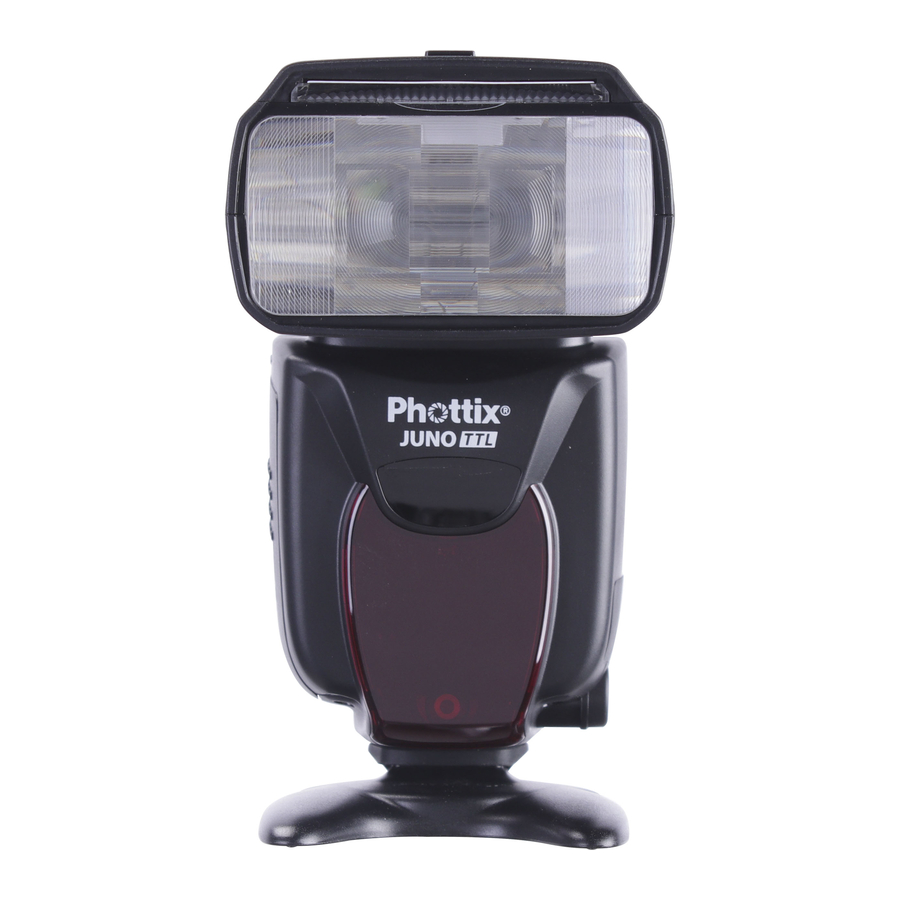
- Page 4 1. Parts Back/Left side 1. LCD Display 2. Mode Button 3. Test Button/ Ready Light 4. Locking Lever 5. Function Button 1 6. Function Button 2 7. Function Button 3 8. Function Button 4 9. Power Switch 10. Selection Dial 11.
-
Page 5: Installing Batteries
- If you do not use the flash for an extended period of time, store with batteries removed. - The Juno TTL Flash circuitry is designed to be used with either Alkaline, Ni- CD or NiMH rechargeable batteries. Do not use Lithium AA batteries. -
Page 6: Attaching The Flash To The Camera
- Do not use non Canon-compatible battery packs. Overheating Protection The Phottix Juno TTL contains an overheating protection circuit that will slow flash recycle time to avoid overheating-related damage. Approximately 30 full- power flashes in a short amount of time will trigger this protection. Stop using the flash and wait 10 minutes for it to cool down. - Page 7 Using the Bounce Card or Wide Angle Diffuser The Phottix Juno TTL Flash comes equipped with a White Bounce Card and Wide Angle Diffuser Panel in the flash head. 1. The Wide Angle Diffuser Panel will cause the flash to spread light to a 14mm equivalent.
-
Page 8: Modeling Flash
Autofocus (AF) Assist Light 1. In low light/contrast situations the Phottix Juno TTL built-in Auto Focus Assist Light will illuminate to assist with AF. The AF Assist Light on the front of the flash will project a focusing target on the subject. -
Page 9: The Lcd Display
INSTRUCTION MANUAL 3. The LCD Display TTL Auto Flash Mode : Distance Flash Exposure Battery Level Indicator display Bracketing Indicator TTL:TTL Auto First Curtain Sync Mode Flash Mode High Speed Sync Mode Second Curtain Sync Mode Flash Exposure Compensation (FEC) Flash Exposure Sync Mode Azoom:Auto Zoom... -
Page 10: Stroboscopic Flash Mode
Stroboscopic Flash Mode Multi:Stroboscopic Flash Power Level Flash Count Frequency Wireless Flash Selection Menu Radio: SKYPORT Radio: Odin II Receiving Mode Transmitter Mode Optical Mode: Infrared Transmitter Wireless Function off (Master) Mode Radio: Odin II Receiver Mode Optical Mode: Optical Slave Optical Mode:... - Page 11 INSTRUCTION MANUAL Wireless Mode : Odin II Transmitter Mixed TTL/M Mode Flash Mode: Selectable between Master Flash Group Channels TTL/M/OFF Odin II Transmitter Flash Group Wireless Radio Mode : Odin II Transmitter Ratio Mode :Master Flash On :Master Flash Off Flash Exposure Compensation of the Ratio Flash Ratio...
- Page 12 Wireless Radio Mode : Ares II Receiver Mode Wireless Radio Mode: Ares II Receiver Mode Wireless radio Mode : Skyport RX Receiver Mode Signal Transmit Rate: Wireless Radio Mode: Normal/Speed Skyport Receiver Mode Optical Mode: Infrared Transmitter (Master) Mode : Master Flash On : Master Flash Off...
- Page 13 INSTRUCTION MANUAL Flash Ratio Master Flash Infrared Transmitter Group Flash Power Optical Mode : Infrared Receiver (Slave) Mode Optical Mode: Infrared Receiver Optical Slave Group (Slave) Mode...
- Page 14 Flash Exposure Compensation (FEC) The Juno TTL Flash allows Flash Exposure Compensation (FEC) adjustment from -3 to +3 in 1/3rd stops. This is useful in situations where fine-tuning of the TTL system is needed based on the environment.
- Page 15 Flash Exposure Lock–FEL The Juno TTL is compatible with Flash Exposure Lock (FEL) Functionality. FEL can be used to lock the flash exposure before a photo is taken. See your camera user manual for further details on using FEL.
- Page 16 SCS Function is not available in Stroboscopic Mode M: Manual Mode In Manual Mode the flash will fire at the power level set on the flash. The Phottix Juno TTL Flash can be adjusted from 1/1 (full power) to 1/128 – 8 stops of adjustments in 1/3rd stop increments.
- Page 17 Phottix Juno TTL. Multi Mode is useful for capturing multiple images of a moving subject in the same photo and other special effects. The frequency of the effect (in Hz.
- Page 18 To Use: 1. Press “MODE” Button until the flash displays Multi on the top left corner of the LCD. 2. Press Button to enter Power Adjustment Mode, use the Selection Dial to adjust the flash power 4. Press Button to cycle through Number of Flashes (X) and frequency (Hz), and use the Selection Dial to adjust these settings.
- Page 19 The Juno TTL flash in Odin II Rx Wireless Mode can be triggered by another Juno TTL flash in Odin II Tx Mode or by a Phottix Odin II Transmitter. If using an Odin II Tranmitter (for any brand) the Juno TTL in Odin II Rx Wireless Mode will automatically switch to Canon, Nikon, Sony and Pentax compatibility.
- Page 20 12 seconds the flash will enter the current selected Wireless Mode. OdinII Tx (Transmitter Mode) Using the Juno TTL Flash in Odin II Tx Mode allows for a flash to be used on- camera in TTL or Manual Mode as well as control three groups (A, B, C) –...
- Page 21 INSTRUCTION MANUAL OdinII Tx Mode interface Using OdinII Tx Mode After selecting OdinII Tx Mode (above) 1. Press Function Button 4 until the LCD displays 2. press Function Button 3 (underneath ) to cycle through M (Master flash), A,B,C. 3. Pressing the Mode Button while a Group is selected will change the Mode from TTL, M (Manual) and Off.
- Page 22 Odin II Tx Ratio Mode Ratio Mode Ratio is similar to Canon’s native TTL system. The ratio of Groups A and B can be set from 8:1 to 1:8. EV levels can also be adjusted. Adjustments to the local flash (M) Mode and power can be made.
- Page 23 Button to confirm and exit the ID Selection screen. Odin II Rx(receiver) Mode When the Odin II Rx Wireless Mode is selected the Phottix Juno TTL Flash can be controlled and triggered from another Juno TTL Flash in Odin Tx Mode or an...
- Page 24 In TTL Mode, the effect of EV adjustment is cumulative. If EV adjustment is set on the Odin II Rx screen and on an Odin II Transmitter or Juno TTL in Odin II Tx Mode, and/or in TTL Pref in the Custom Functions menu, all of these settings will be used to calculate final EV.
- Page 25 - In Ares II Rx (Receiver) Mode there are no wireless TTL Functions such as HSS or SCS, or wireless power/zoom control. - Power and zoom levels must be set manually on the Juno TTL flash while in Ares II Rx Mode.
- Page 26 - In Skyport Rx (Receiver) Mode there are no wireless TTL Functions such as HSS or SCS, or wireless power/zoom control. - Power and zoom levels must be set manually on the Juno TTL flash while in Skyport Rx Mode.
- Page 27 INSTRUCTION MANUAL 2. Group setting: Press Function Button 4 to access . Press the Function Button correspond to to cycle through between Master (M) and groups A,B,C. Power can be adjusted by the Selection Dial while a group is selected (see note below) 3.
-
Page 28: Manual Mode
1/1 to 1/128 in 1/3 stop increment) 4. Press the OK Button to confirm and exit. S1 Rx optical slave Mode S1 Rx Optical Slave Mode allows the Juno TTL to be triggered in manual mode by other flashes. Adjusting power and zoom 1. -
Page 29: Other Functions
These will be retained in the flash if it is turned off and then back on. Auto idle Function To save battery power the Phottix Juno TTL Flash is equipped with Idle and Auto Off Modes. 1. In Non-Wireless Slave Modes: The flash will go into Auto Idle Mode after 10 min. - Page 30 Custom Function No. Function Setting options Setting description Off:Flash will not got to sleep Mode 10min Flash will enter sleep Mode in 10 min (default) C.Fn 01 Sleep 30min Flash will enter sleep Mode in 30 min 60min Flash will enter sleep Mode in 60 min Turn off...
-
Page 31: Specifications
INSTRUCTION MANUAL Changes to the Flash Capacitor: If the flash is not used regularly physical changes will take place within the flash’s capacitor. Make sure to turn on the flash a minimum of 10 minutes every three months to prevent any physical changes. 8. - Page 32 9. Apprendix: Juno TTL compatibility and supported feature with Other Phottix products A. When Juno TTL is set to Odin II TX B. When Juno TTL is set to Odin II RX Juno TTL TX Juno TTL RX i. TTL i.
- Page 33 RED 2014/53/EU Declaration of Conformity Hereby, Phottix (HK) Ltd. declares that this product is in compliance with essential requirements and other relevant provisions of Directive 2014/53/EU. This product can be used across EU member states. A copy of the Declaration of conformity can be found at www.phottix.com.
- Page 34 FCC Compliance Information Company: Phottix (HK) Ltd. Phottix Juno TTL Transceiver Flash Name: Model Number: H0301 FCC ID: P9M-JUNOTTL FCC Statement This equipment has been tested and found to comply with the limits for a Class B digital device, pur- suant to part 15 of the FCC Rules.
- Page 35 INSTRUCTION MANUAL What's included: 1. Juno TTL unit X 1 2. Carrying bag. 3. Diffuser cap (white color) 4. Printed user manual. 5. Hot shoe stand. www.phottix.com...
Need help?
Do you have a question about the Juno TTL and is the answer not in the manual?
Questions and answers