Sign In
Upload
Download
Table of Contents
Contents
Add to my manuals
Delete from my manuals
Share
URL of this page:
HTML Link:
Bookmark this page
Add
Manual will be automatically added to "My Manuals"
Print this page
×
Bookmark added
×
Added to my manuals
Manuals
Brands
Daikin Manuals
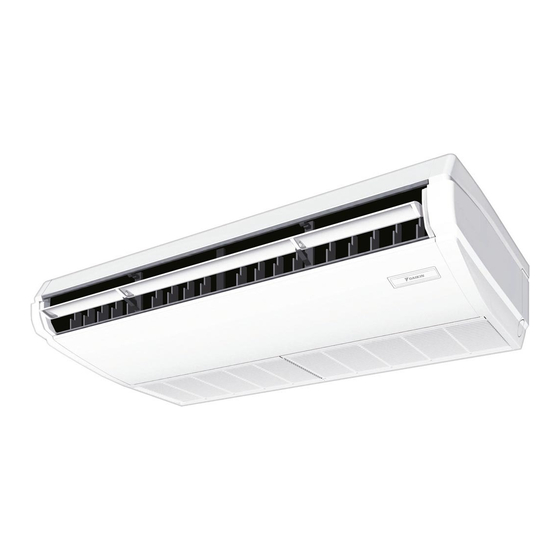
Air Conditioner
FHA35AVEB99
Installation manual
Daikin FHA35AVEB99 Installation Manual
Split system air conditioners
Hide thumbs
1
2
3
Table Of Contents
4
5
6
7
8
9
10
11
12
13
14
15
16
17
18
19
20
21
22
23
page
of
23
Go
/
23
Contents
Table of Contents
Bookmarks
Table of Contents
Table of Contents
Safety Precautions
Before Installation
Selection of Installation Location
Preparation before Installation
Installation of the Indoor Unit
Refrigerant Piping Work
Drain Piping Work
Electric Wiring Work
How to Connect Wirings and Wiring Example
Field Setting
Mounting Suction Grille · Decoration Side Panel
To Perform a Test Run
Unified Wiring Diagram Legend
Advertisement
Quick Links
1
Table of Contents
2
Selection of Installation Location
3
Installation of the Indoor Unit
4
Refrigerant Piping Work
5
Electric Wiring Work
6
How to Connect Wirings and Wiring Example
Download this manual
INSTALLATION MANUAL
Split System air conditioners
FHA35AVEB99
FHA50AVEB99
FHA60AVEB99
FHA71AVEB99
FHA100AVEB9
FHA125AVEB9
FHA140AVEB9
Table of
Contents
Previous
Page
Next
Page
1
2
3
4
5
Advertisement
Table of Contents
Need help?
Do you have a question about the FHA35AVEB99 and is the answer not in the manual?
Ask a question
Questions and answers
Related Manuals for Daikin FHA35AVEB99
Air Conditioner Daikin FHA35AVEB Operation Manual
Split system air conditioners (20 pages)
Air Conditioner Daikin FHA35AVEB Installation Manual
(26 pages)
Air Conditioner Daikin FHA70AVEB Installation Manual
Split system air conditioner (22 pages)
Air Conditioner Daikin FHA60AVEB99 Installation Manual
Split system air conditioners (23 pages)
Air Conditioner Daikin FHA71AVEB99 Installation Manual
Split system air conditioners (23 pages)
Air Conditioner Daikin FHA125AVEB9 Installation Manual
Split system air conditioners (23 pages)
Air Conditioner Daikin FHA50BVMA Operation Manual
Split system (20 pages)
Air Conditioner Daikin FHA71BVMA Operation Manual
Split system (20 pages)
Air Conditioner Daikin FHA100BVMA Operation Manual
Split system (20 pages)
Air Conditioner Daikin FHA125BVMA Operation Manual
Split system (20 pages)
Air Conditioner Daikin FHA140BVMA Operation Manual
Split system (20 pages)
Air Conditioner Daikin FHA35AVEB98 Installation And Operation Manual
(28 pages)
Air Conditioner Daikin FHA50AVEB98 User Reference Manual
(92 pages)
Air Conditioner Daikin FHQ35BVV1B Technical Data Manual
(27 pages)
Air Conditioner Daikin SkyAir RZR-TA Series Service Manual
Cooling only 60 hz, heat pump 60 hz (331 pages)
Air Conditioner Daikin R-410A Service Manual
Sky-air indoor (381 pages)
This manual is also suitable for:
Fha50aveb99
Fha60aveb99
Fha71aveb99
Fha100aveb9
Fha125aveb9
Fha140aveb9
Table of Contents
Print
Rename the bookmark
Delete bookmark?
Delete from my manuals?
Login
Sign In
OR
Sign in with Facebook
Sign in with Google
Upload manual
Upload from disk
Upload from URL


Need help?
Do you have a question about the FHA35AVEB99 and is the answer not in the manual?
Questions and answers