Huawei B315 Setup Manual
Open serve lte router self help
Hide thumbs
Also See for B315:
- Quick start manual (144 pages) ,
- Quick start quide (23 pages) ,
- Quick start manual (21 pages)
Table of Contents
Advertisement
Advertisement
Table of Contents

Related Manuals for Huawei B315


Summary of Contents for Huawei B315
- Page 1 Self help and Huawei B315 LTE setup...
- Page 2 The following items are supplied in your box. Remove the SIM cover of the router.
- Page 3 Insert the SIM card into the router and replace the cover. Insert the power supply into the power supply source. Connect the power supply cable to the router.
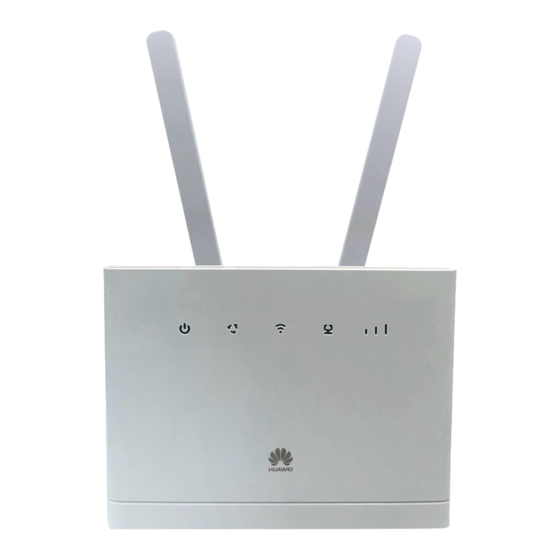
- Page 4 Make sure the power light is on. Attach both aerials to the router. Plug the LAN cable to the first port of the router marked LAN.
- Page 5 Plug the other end into a LAN port on your computer. Plug a telephone cable into the port of the router marked T-E-L or TEL. Plug the other end of the cable into a telephone.
- Page 6 This is a battery backup in case of any power outages. Remove the power plug from the router and plug it into the battery back-up.
- Page 7 Now connect the battery back up cable to the router. Open your browser and type 192.168.8.1 into the address bar and press enter.
- Page 8 Select settings and type in admin for both username and password, then click log in. Click on new profile to configure the FLLA profile.
- Page 9 Enter FWB on profile name and Telkominternetflla on the APM. Click save and next. The APM is case sensitive so enter it as indicated above. Click next on the following page.
- Page 10 You may use the default SSID and key found underneath the modem by skipping this step and clicking finish or you can change the key as indicated in the next section. Edit your SSID name to your preferred Wi-Fi name and edit the WPA pre-shared key to your preferred key.
- Page 11 It is important to reconnect to the router using your new Wi-Fi username and password. In order to connect a device to your newly created Wi-Fi network, search for available Wi-Fi networks on your device and select your new SSID and connect. Thank you for using Open Serve.
Need help?
Do you have a question about the B315 and is the answer not in the manual?
Questions and answers