Advertisement
Advertisement
Table of Contents

Related Manuals for Asus Tinker Board Series


Summary of Contents for Asus Tinker Board Series
- Page 1 Tinker Board Series User Manual...
- Page 2 Product warranty or service will not be extended if: (1) the product is repaired, modified or altered, unless such repair, modification of alteration is authorized in writing by ASUS; or (2) the serial number of the product is defaced or missing.
-
Page 3: Table Of Contents
Contents Basic Requirements ..................4 Getting Started ....................5 2.1 Setting up using eMMC (Tinker Board S only) ........5 2.2 Setting up using a microSD card ............6 Writing the OS image ..................7 3.1 Using Etcher (Cross-platform) ............. 7 3.2 Using dd command (Linux) .............. -
Page 4: Basic Requirements
Conventions used in this guide To ensure that you perform certain tasks properly, take note of the following symbols used throughout this manual. DANGER/WARNING: Information to prevent injury to yourself when trying to complete a task. CAUTION: Information to prevent damage to the components when trying to complete a task. IMPORTANT: Instructions that you MUST follow to complete a task. -
Page 5: Getting Started
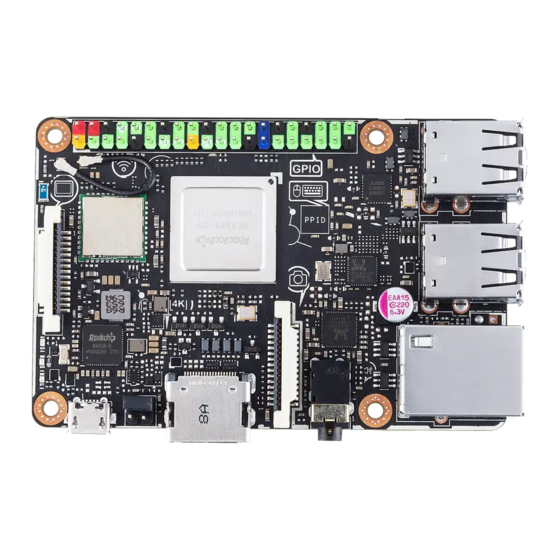
Getting Started Before setting up Tinker Board, please download an operating system image such as the Official ASUS Tinker OS, an Android OS, or other supported OS'. • To download the Official ASUS Tinker OS, please visit https://www.asus.com/Single-Board- Computer/Tinker-Board/HelpDesk_Download/. •... -
Page 6: Setting Up Using A Microsd Card
Setting up using a microSD card You may use a mircoSD card to set up your Tinker Board OS. Please refer to the steps below. Write the downloaded OS image to a microSD card using a third-party ISO software, such as Etcher or Win32DiskImager. You may refer to the Writing the OS image section of this manual for more information on writing the OS image. -
Page 7: Writing The Os Image
Writing the OS image You may write your downloaded OS image to a microSD card or built-in eMMC using Etcher (supports Windows , Mac OS, and Linux), or dd command (Linux only). ® eMMC is only supported on Tinker Board S. Using Etcher (Cross-platform) Etcher is an image file utility used for burning image files, and supports Windows , Mac... - Page 8 Android If a message pops up when booting an Android image, click on Continue. Click on Select drive, then select your connected device. Click on Flash! to start the burning process.
-
Page 9: Using Dd Command (Linux)
Using dd command (Linux) To write an image using dd command: Insert a microSD card to your Tinker Board (or Tinker Board S), connect your Tinker Board S to a PC via a micro USB cable (Tinker Board S only). Please refer to your Tinker Board product manual for the location of the microSD slot. -
Page 10: Os Write Recovery (Tinker Board S Only)
UMS mode from a microSD card: Download a Tinker Board supported operating system image such as the Official ASUS Tinker OS, or an Android OS. Insert a microSD card to a card reader connected to your PC. - Page 11 Disable eMMC booting priority and force boot from the microSD card by setting the jumper to Maskrom Mode as shown below Parking Maskrom (no function) Mode Mode Connect your Tinker Board S to a PC using a micro USB cable, it should be recognized by the PC as a USB Mass Storage device.
Need help?
Do you have a question about the Tinker Board Series and is the answer not in the manual?
Questions and answers