Table of Contents
Advertisement
Quick Links
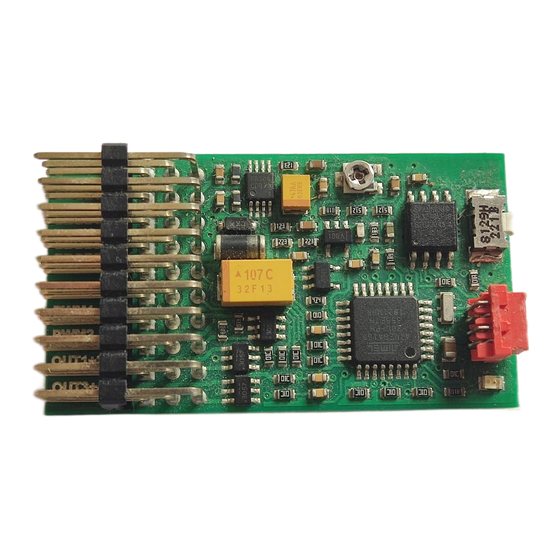
Digital Multifunctional Soundunit
*** FREE OF CHARGE soundlibraries available at
Content
3.1.1 Alternative to the rotary switch encoder
3.3.1. Teaching the sound unit for toggle switch / joystick control
Set control mode at delivery:
O Encoder (Prop3)
O indirect soundselection (Prop3)
Loaded sound: ________________________
Flashing output:
O None
TBS Mini
TBS Mini
O direct soundselection (Prop2)
O Autostart
O Out1
O Out2
www.benedini.de
www.benedini.de
***
Page 1 of 11
Advertisement
Table of Contents

Related Manuals for Benedini TBS Mini


Summary of Contents for Benedini TBS Mini
-
Page 1: Table Of Contents
Digital Multifunctional Soundunit TBS Mini *** FREE OF CHARGE soundlibraries available at www.benedini.de Content 1. Features 2. Connections 2.1. Installation schematic 3. Control modes 3.1. Controlling the soundunit by the 12-positon “encoder” (12-Key coder) 3.1.1 Alternative to the rotary switch encoder 3.1.2. -
Page 2: Features
1. Features The TBS Mini is developed specially for electric powered airplanes or other models having a lot of special functions that need to be operated. This unit is a enhanced version of the proofed TBS Micro soundunit. Fully customer programmable. Your own sounds can be loaded! •... -
Page 3: Connections
All outputs are switching to NEGATIVE! Attention: All plugs must be connected with the signal lead (orange) on TOP and the negative supply lead (brown or black) at BOTTOM !!!! Top: Signal (orange) TBS Mini Center: Power (red) Bottom: GND (black) Speaker PROP 1... -
Page 4: Installation Schematic
2.1. Installation schematic Programmierung über PC (Sound und Parameter) Verstärker (optional ) Akku Regler (BEC) Option Kodierer Schaltausgänge OUT 1 OUT 2 OUT 3 OUT 4 Evtl. Vorwiderstand für LEDs TBS Mini www.benedini.de Page 4 of 11... -
Page 5: Control Modes
Channel of closed app. 5 KOhm your TX. The installation of the encoder in your transmitter is on your own risk Proper functionality is not guaranteed at ALL transmitter brands / types TBS Mini www.benedini.de Page 5 of 11... -
Page 6: Teaching The Sound Unit For Encoder Control
8) After teaching all positions the sound unit beeps 3x and is back in normal operation mode. Hint: If you are using the resistor network shown above instead of the encoder, each rotary switch position is represented by one of the push buttons. TBS Mini www.benedini.de Page 6 of 11... -
Page 7: Direct Sound Selection
This is a alternative method for direct soundselection. In this case the 3pos switch receiver channel must be connected to Prop2 input of the TBS Mini. Prop2 input must be set to Function ½ at the TBS Flash software. The desired sounds must be selected too. -
Page 8: Indirect Soundselection "2-Key Coder
4. Move the throttle stick to full speed position and push the switch/stick of the control channel again -> A short sequence of full speed is played. 5. Soundunit returns to normal operation mode TBS Mini www.benedini.de Page 8 of 11... -
Page 9: Autostart
If you want to switch from autostart to another control mode you need to select a control channel by the optional programming cable! 5. Connecting an external amplifier If you want to connect an external amplifier, other than a Benedini one, please follow this schematic: Watch ground connection !!!! -
Page 10: Configuration Of The Soundunit By The Optional Programming Cable And A Common Pc
Adapting the TBS Micro programming cable to TBS Mini The programming cable of the TBS Micro can be used for the TBS Mini as well. A extra connector at the programmers ribbon cable is necessary to connect the TBS Mini. - Page 11 Standardwiring of TBS Mini in “Autostart” control mode, together with 2x40W amplifier TBS Mini www.benedini.de Page 11 of 11...
Need help?
Do you have a question about the TBS Mini and is the answer not in the manual?
Questions and answers