Sign In
Upload
Download
Table of Contents
Contents
Add to my manuals
Delete from my manuals
Share
URL of this page:
HTML Link:
Bookmark this page
Add
Manual will be automatically added to "My Manuals"
Print this page
×
Bookmark added
×
Added to my manuals
Manuals
Brands
Tri-Clover Manuals
Water Pump
C-Series
Service & installation manual
Tri-Clover C-Series Service & Installation Manual
Centrifugal pump
Hide thumbs
1
2
Table Of Contents
3
4
5
6
7
8
9
10
11
12
13
14
15
16
17
18
19
20
21
22
23
24
page
of
24
Go
/
24
Contents
Table of Contents
Troubleshooting
Bookmarks
Table of Contents
Table of Contents
Safety
Important Safety Information
Introduction
Description
Installation
Installation Guidelines
Piping Hints
Maintenance
Type D or F Seals External Balanced
Type E Water Cooled Balanced Double Seal
Stub Shaft on Model Cc4410 Pumps
Troubleshooting
Troubleshooting Guidelines
Parts List
Advertisement
Quick Links
1
Table of Contents
2
Description
3
Installation
4
Maintenance
5
Type D or F Seals External Balanced
6
Parts List
Download this manual
CSM-97
Tri-Clover
®
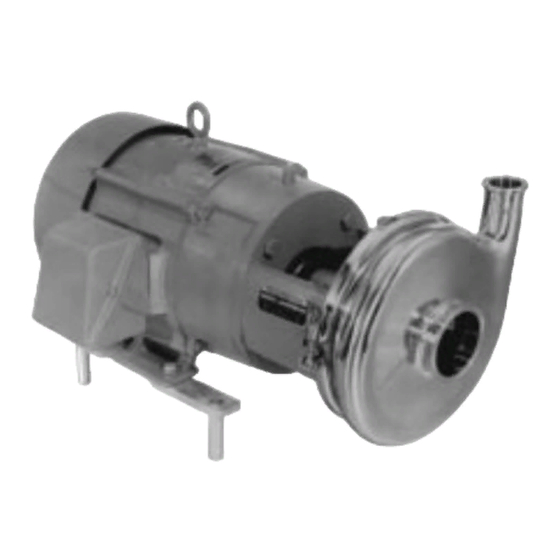
C-Series Centrifugal Pump
Models C114 • 216 • 218 • 328 • 4410
Service & Installation Manual
Table of
Contents
Previous
Page
Next
Page
1
2
3
4
5
Advertisement
Table of Contents
Need help?
Do you have a question about the C-Series and is the answer not in the manual?
Ask a question
Questions and answers
Related Manuals for Tri-Clover C-Series
Water Pump Tri-Clover C114 Service & Installation Manual
Centrifugal pump (24 pages)
Water Pump Tri-Clover C216 Service & Installation Manual
Centrifugal pump (24 pages)
Water Pump Tri-Clover C218 Service & Installation Manual
Centrifugal pump (24 pages)
Water Pump Tri-Clover C328 Service & Installation Manual
Centrifugal pump (24 pages)
Water Pump Tri-Clover Tri-Flo CL Series Service & Installation Manual
Centrifugal pumps (43 pages)
Water Pump Tri-Clover PR Series Service & Installation Manual
Positive rotary pumps (26 pages)
Water Pump Tri-Clover SP Series Manual
Centrifugal pumps (27 pages)
This manual is also suitable for:
C114
C216
C218
C328
C4410
216
...
Show all
218
328
4410
Table of Contents
Save PDF
Print
Rename the bookmark
Delete bookmark?
Delete from my manuals?
Login
Sign In
OR
Sign in with Facebook
Sign in with Google
Upload manual
Upload from disk
Upload from URL


Need help?
Do you have a question about the C-Series and is the answer not in the manual?
Questions and answers