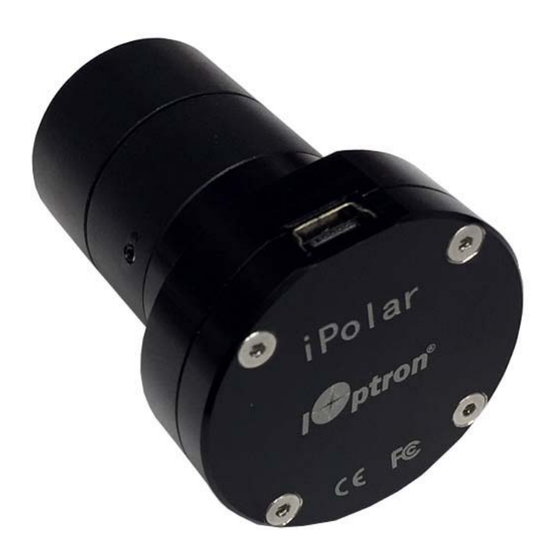
iOptron iPolar Operation Manual
Electronic polar scope
Hide thumbs
Also See for iPolar:
- Replacing instructions (2 pages) ,
- Installation (3 pages) ,
- Operation manual (14 pages)
Table of Contents
Advertisement
Advertisement
Table of Contents

Summary of Contents for iOptron iPolar
- Page 1 ® ® iOptron iPolar Electronic Polar Scope Operation Manual Product #3339 Ver. 1.1 2019.04 iOptron reserves the rights to revise this instruction without notice. Actual color/contents/design/function of a product may differ from those described in this instruction manual.
- Page 2 (2) Click on “Connect” button to connect the iPolar to the computer. The software will start to initialize the process the camera is connected successfully. (3) If this is the first time to use iPolar, a dark frame mage of the camera needs be taken. Click on Settings to bring up Settings Menu.
- Page 3 (4) Adjust Exposure Time and Gain (from 1.0X pull down menu in main display menu) to obtain a sky image with clear stars displayed (5) Click on Take Dark Frame (6) Follow the on screen instruction to cover the camera, finish taking dark frame and uncover the camera (7) You may check the Auto-Load Last Dark Frame for next time use.
- Page 4 (4) Click Confirm to complete the location setting. Read from an ASCOM Supported Mount (1) Click on Settings (2) Click on Read Location from Mounts (3) An ASCOM Telescope Chooser window will occur, if the mount is ASCOM supported and connected to the computer.
- Page 5 Step 4. Plate Solving and Polar Alignment If the iPolar EPS has been calibrated (see Section 3 for calibration), there will be a bright red cross on the screen, which is the polar scope/mount RA axis rotating center. The alignment software will perform plate solving near the pole star area.
- Page 6 When the camera can see more than 4 stars, it will take the images, enhance the star and darken the background, remove the noise and plate solving the area. It will display the pole with a dark read dot. Adjust the altitude and azimuth screws to move the read dot towards read cross. The image will be enlarged when they are moving close.
- Page 7 RAW during polar alignment for better results. 3. iPolar Calibration If do not see the red cross on the screen, the iPolar EPS has not been calibrated. Calibration is only need after iPolar is installed or any mechanical adjustment has been done on iPolar.
- Page 8 For those mounts that the polar scope does not rotate with the RA axis, such as SkyTracker and SkyTracker Pro, the rotating center can be determined by turn the iPolar manually. (1) After insert iPolar into polar scope mounting hole, tighten polar scope locking screw to secure it. Click Confirm Position 1.


Need help?
Do you have a question about the iPolar and is the answer not in the manual?
Questions and answers