Table of Contents
Advertisement
Quick Links
A. How to use these instructions
• Please read these instructions carefully to familiarize yourself with the required tools, materials, and installation sequences. Follow the
sections that pertain to your particular installation. This will help you avoid costly mistakes. In addition to proper installation, read all
operating and safety instructions.
• All information in these instructions is based upon the latest product information available at the time of publication. Kohler Co. reserves
the right to make changes in product characteristics, packaging, or availability at any time without notice.
• These instructions contain important care, cleaning, and warranty information - Please leave instructions for the consumer.
B. Notes
• Observe all local plumbing and building codes.
• Shut off the water supply.
• Carefully inspect the new fixture for any sign of damage.
• Be very careful while hand ling vitreous china products.
C. Required tools and materials
• Drill
• Open end/adjustable wrenches
• Measure tape
• Thread sealant tape
• Basin Wrench
• Screwdriver
• Sealant
• Touchless Urinal Sensor or other assy. for flow controlling (Recommended Kohler Touch-less urinal Sensor K-8787T-C02/K-8791T-C02).
• Recommend the no less than 9mm stainless steel twist pipe as inlet.
ROUGHING-IN
INSTALLATION
A. Install Urinal Sensor
Recommended Urinal Sensor Kohler Urinal Sensor 8787T-C02/8791T-C02
B. Install Outlet Connection
• Ascertain the position for outlet connection according to rough-in.
• Apply sealant on outlet pipe. and connect the outlet connection with outlet pipe. Insert gasket as shown in Fig.2.
• Fix outlet connection on the installing wall.
Note: Fig.2 may be different for different outlet connection.
1063245-T01-B
335
180
35
80
600
370
G1/2
265 5
140
50 ext
145
70
-1-
PATIO
INSTALLATION INSTRUCTIONS
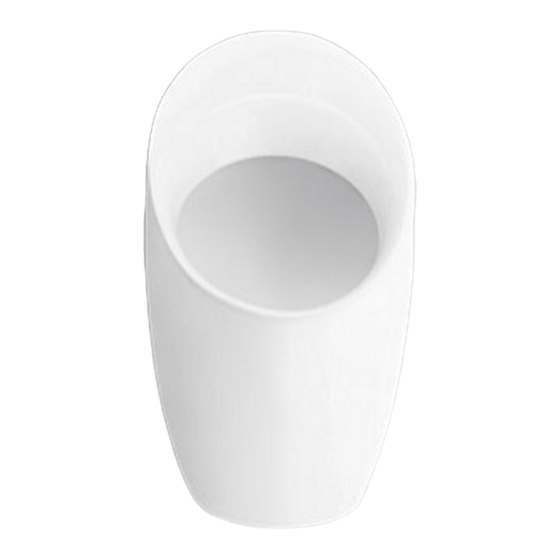
VITREOUS CHINA URINAL
Unit: mm
642
95
300
K18645A
Fig.1
Advertisement
Table of Contents

Summary of Contents for Kohler PATIO URINAL
- Page 1 • All information in these instructions is based upon the latest product information available at the time of publication. Kohler Co. reserves the right to make changes in product characteristics, packaging, or availability at any time without notice.
- Page 2 2~10mm 100 Fig.2 C. Install hook (See Fig.3) Drill 2 mounting holes on the wall and install hook. Fix hook on the wall by tightening screws. 310 X Fig.3 D. Install inlet pipe Insert gasket and nut into the uriral as shown. Connect the inlet connection with inlet pipe. Fig.4 1063245-T01-B...
- Page 3 E. Install urinal (See Fig.5) Lift up the urinal, level the installing hole with the hole on installing. The urinal on the hook secure. Fig.5 F. Install beehive strainer Ascertain the position for beehive strainer as shown. Fix the beehive strainer by tightening screw Fig.6 CONSUMER RESPONSIBILITIES 1.
- Page 4 PATIO SERVICE PARTS PAGE VITREOUS CHINA URINAL K-18645A 1058565 Washer 1058566 1058562 Washer 1058564 Washer 1061479 1061478 Sheath Screw 1058574 1058563 Hook Inlet Pipe 1057917 Hose 1057915 Screw 1057913 Beehive 1057914 Washer 1057916 Collar 1058568 Rubber Ring 1058567 Collar 1058569 Outlet Connection 1063245-T01-B...


Need help?
Do you have a question about the PATIO URINAL and is the answer not in the manual?
Questions and answers