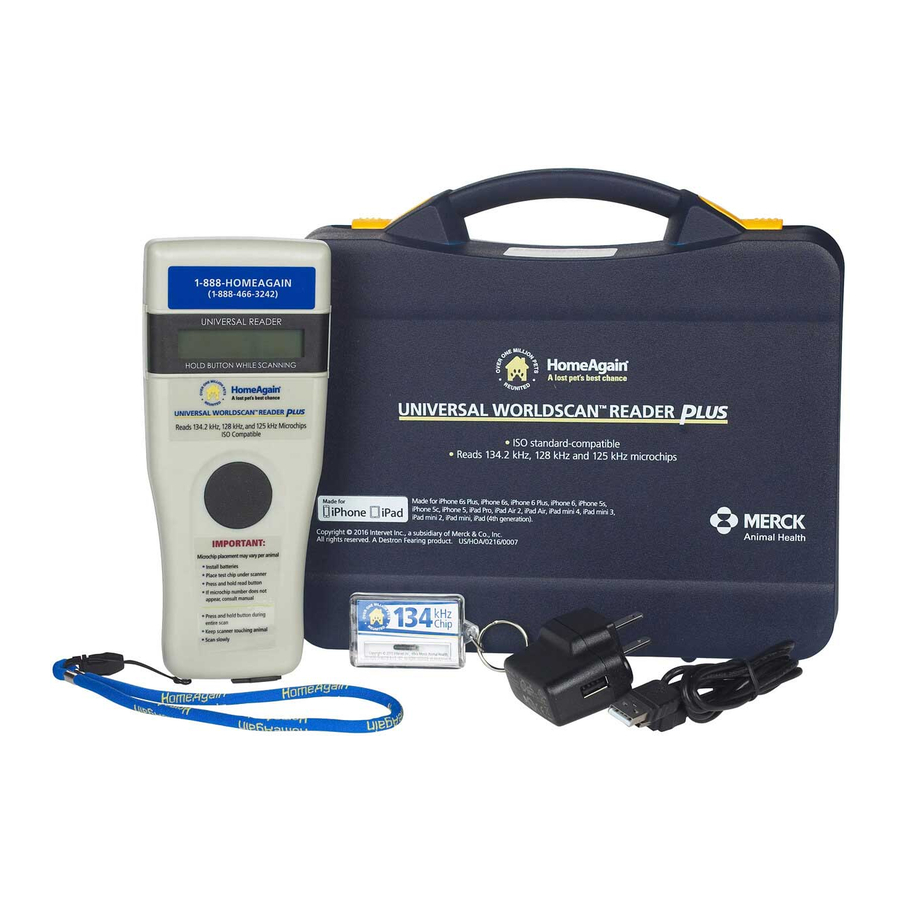
HomeAgain UNIVERSAL WORLDSCAN READER PLUS User Manual
Reads 134.2 khz, 128 khz, and 125 khz microchips iso compatible
Hide thumbs
Also See for UNIVERSAL WORLDSCAN READER PLUS:
- Quick start manual (9 pages) ,
- User manual (14 pages)

Related Manuals for HomeAgain UNIVERSAL WORLDSCAN READER PLUS


Summary of Contents for HomeAgain UNIVERSAL WORLDSCAN READER PLUS
- Page 1 ™ UNIVERSAL WORLDSCAN™ READER Reads 134.2 kHz, 128 kHz, and 125 kHz Microchips ISO Compatible USER MANUAL REV. 1_20.
-
Page 2: Table Of Contents
Table of Contents Description............................ Case and Components....................... Operation and Settings........................ Getting Started..........................Battery handling instructions......................Power on / off instructions......................Reading an implanted microchip....................3.4.1 Scanning and LOCATING AN IMPLANTED MICROCHIP............3.4.2 Read range performances......................Tones............................... Installing Software........................System Requirements........................Program Installation........................ -
Page 3: Description
Description The device can read a wide range of technologies: FDX-B ISO, HDX ISO, FDX-A (FECAVA), Trovan and Avid Encrypted. UWSR+ can also read and display the Microchip Temperature™ when reading microchips with tem- perature sensing implants from Destron Fearing™ or Allflex ®... -
Page 4: Operation And Settings
Operation and settings 3.1 Getting Started UWSR+ comes supplied with six AAA rechargeable NiMH batteries which must be fully charged prior to use, as diagram below (step 1 through 3). If preferred, six standard non-rechargeable AAA Alkaline batteries can also be used and only step 1 should be followed (step 2 and step 3 do not apply). -
Page 5: Reading An Implanted Microchip
3.4 Reading an implanted microchip 3.4.1 Scanning and LOCATING AN IMPLANTED MICROCHIP When searching for implanted microchips, press and hold scan button while placing reader so it touches the animal as shown in diagrams below. Use the following scanning patterns to locate the microchip. Perform pattern 1 and 2 on Left, Top and Right sides of animal’s neck and shoulders, as microchip placement might vary per animal. -
Page 6: Read Range Performances
3.4.2 Read range performances The figure below (Figure. 3) illustrates the reading zone of the reader, within which microchips can be success- fully read. Optimum read distance occurs depending upon the orientation of the microchip. Microchips are best detected when positioned as shown below. Figure 3 - Optimum Read Distance Microchip Orientation (position 1, 2, 3 and 4) Typical read distances will vary when reading different types of microchips. -
Page 7: Program Installation
4.2 Program installation The Microchip Management Software (MM Software) is available for download at http://microchip.homeagain.com/ : Click on SOFTWARE DOWNLOAD, then Save, followed by Run. Follow the steps below to complete the installation process: Double-click on the setup package to start the installation and choose the appropriate language. - Page 8 Then, follow the steps according to screens below:...
-
Page 9: Connecting To A Pc
The USB drivers will then be installed. Then, check “Always trust software…” and click on Install button. Click on Finish at the end of the process to close the installation. Connecting to a PC 5.1 Using USB interface Open the MM Software and connect the reader to a PC with the USB cable by removing the USB port cover and attaching the cable to the UWSR+ connector (after use, replace protective cap to guard the reader against foreign material contamination once the USB cable is... -
Page 10: Using Wireless Bluetooth ® Connection
5.2 Using wireless Bluetooth connection ® 5.2.1 BLUETOOTH management ® The UWSR+ is equipped with a Class 2 Bluetooth module to communicate. This device is compliant with the ® Bluetooth Serial Port Profile (SPP). ® Enable the Bluetooth feature by using the “Microchip Management Software” ®... - Page 11 Your reader should appear in the list. Click on “Pair device” to start the pairing with the reader. Make sure your reader is still on. By default, the pairing code is 1234. Click OK to continue the pairing. At this moment, Windows will install the driver to create a virtual COM port.
-
Page 12: Using Bluetooth ® Interface To Pair, From Windows
5.2.3 Using Bluetooth interface to pair, from Windows ® Alternately, you can pair the reader using Windows Control Panel. Find below the instructions for pairing with Windows 7: Open Window’ Control Panel In “Hardware and Sound” section, select “Add a device” Switch-on the reader and wait until the reader appears in the device list... -
Page 13: Connect By Bluetooth ® When Reader Is Already Paired
NOTE: If the reader is configured with Bluetooth Authentication option enabled, the pairing process is based on a code generated automatically. In this case, click next to continue (the code will not appear on the reader Windows will now install the driver needed as following: “Bluetooth Peripheral Device”... -
Page 14: Memory
Memory 6.1 Memory Management The UWSR+ can store up to 3000 IDs, each associated with a time/date stamp, in its internal memory and transmit them to a personal computer via an USB cable or wirelessly using Bluetooth ® The tool “Microchip Management Software” allows you to enable/disable the memory storage. By default, the memory storage is DISABLED. -
Page 15: Connecting The Reader To An Application On Smart Phone Or Mobile Device
Connecting the reader to an Application on smart phone or on Mobile Device For advanced and technical application development, the UWSR+ was designed with the capability to connect to iPhone, iPad and Android through wireless Bluetooth connection. The current UWSR+ package does not in- ®... -
Page 16: Appendix
Appendix 8.1 .NET Framework 3.5 installation MM Software requires .NET Framework 3.5 to be installed on the machine. If the following message is displayed while running the setup package, click “Yes” and follow the .NET Frame- work 3.5 installation instructions. This message may vary depending on your Operating System. NOTE: The .NET Framework installation requires an internet connection. - Page 17 Click Save on the bottom of the page to start .NET Framework installation. Click Run on the bottom of the page to start .NET Framework installation. Then, click on “Download and install this feature”. At this step, the .NET Framework 3.5 installation program will download the required files from internet and then install the framework.
-
Page 18: Troubleshooting
Make sure your reader is configured to be visible and connectable in Microchip Management Software (refer to Microchip Management Software User Guide available for download at http://micro chip.homeagain.com/ for more information). INCORRECT DATE / TIME Connect the reader to Microchip Management Software. This will synchronize the date and time with... -
Page 19: Specifications
10. Specifications General Norms ISO 11784 and ISO 11785 for HDX, FDX-B, FDX-A (FECAVA), Trovan and Avid Encrypted microchips and implants Special feature: Temperature scanning with TD and BT implants between 33°C and 43°C (between 91.4°F and 109.4°F) User interface Graphical display: 122 x 32 dots - visual area: 56 x 12.7 mm 1 button 1 buzzer... -
Page 20: Regulatory Information
13. Regulatory Information 13.1 USA-Federal Communications Commission (FCC) This device complies with part 15 of FCC rules. Operation is subject to the following two conditions: (1) This device may not cause interference, and (2) this device must accept any interference, including interference that may cause undesired operation of the device.
Need help?
Do you have a question about the UNIVERSAL WORLDSCAN READER PLUS and is the answer not in the manual?
Questions and answers