Table of Contents
Advertisement
Available languages
Available languages
Quick Links
Product manual
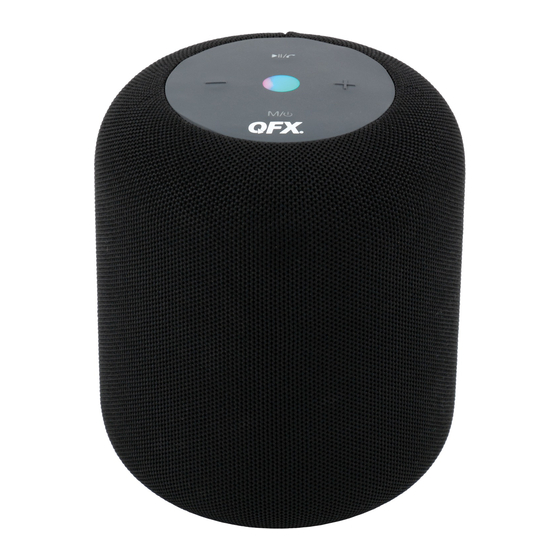
Model No.:BT-600
Operate Instruction
The speaker must be turned on
(Long Push the switch"
") before
using any of the following modes.
1. Bluetooth Mode
1 Turn the speaker on,a tone will be emitted to signal that it is ready to
be paired with a Bluetooth compatible device.
2 Setting the Bluetooth of your phone and tablet PC (Please set it
according to your own device)then begin searching Bluetooth mode and find
the paring name "QFX BT-600" to pair.
3 When the match is finished, there will be warning, you can play
the music as you like by then, the searching time is different for
different branded device, it takes about one-minute general condition.
4 To unpair or remove a Bluetooth compatible device from the speaker, turn off the
Bluetooth function on the device, the speaker can be paired with a new compatible
device now.
Advertisement
Table of Contents

Related Manuals for QFX BT-600


Summary of Contents for QFX BT-600
-
Page 1: Bluetooth Mode
2 Setting the Bluetooth of your phone and tablet PC (Please set it according to your own device)then begin searching Bluetooth mode and find the paring name “QFX BT-600” to pair. 3 When the match is finished, there will be warning, you can play the music as you like by then, the searching time is different for different branded device, it takes about one-minute general condition. -
Page 2: Aux In Mode
Note: Once connected, sound can be controlled using either the speaker or the relevant controls on the Bluetooth compatible device. 2. USB/ TF card Mode 1 To use TF mode, insert a TF card (not included) into the TF card slot on the back of the speaker. - Page 3 Please insert the micro USB end of the charging cable into the port “DC 5V” on the back of speaker. The light keeps on when charging. The light turns off once full charged. Carefully disconnect both ends of the USB charging cable and store it safely for future use.
-
Page 4: Modo Bluetooth
2. Configuración del Bluetooth de su teléfono y tableta (configúrelo de acuerdo con su propio dispositivo) luego comience a buscar el modo Bluetooth y busque el nombre de parchado "QFX BT-600" para emparejar. 3. Cuando el partido haya terminado, habrá una advertencia, puedes jugar la música que quieras para entonces, el tiempo de búsqueda es diferente... - Page 5 Nota: Una vez conectado, el sonido se puede controlar usando el altavoz o los controles relevantes en el dispositivo compatible con Bluetooth. 2. Modo de tarjeta USB / TF 1 Para usar el modo TF, inserte una tarjeta TF (no incluida) en la ranura para tarjeta TF en la parte posterior del parlante.
- Page 6 Nota: Retire la tarjeta USB / TF mientras usa la función de radio FM. 6. Para cargar Inserte el extremo micro USB del cable de carga en el puerto "DC 5V" en la parte posterior del altavoz. La luz se mantiene encendida durante la carga. La luz se apaga una vez cargada por completo.
-
Page 7: Mode Bluetooth
2 Réglage du Bluetooth de votre téléphone et de votre tablette PC (veuillez le définir en fonction de votre propre appareil begin alors commencez à rechercher le mode Bluetooth et trouvez le nom d'appariement «QFX BT-600» à jumeler. 3 Lorsque le match est terminé, il y aura un avertissement, vous pouvez jouer la musique comme vous voudrez alors, le temps de recherche est différent... -
Page 8: Mode Radio Fm
4 Pour dissocier ou retirer un périphérique compatible Bluetooth du haut- parleur, désactivez la fonction Bluetooth sur le périphérique, le haut- parleur peut maintenant être associé à un nouvel appareil compatible. Remarque: Une fois connecté, le son peut être contrôlé à l'aide du haut-parleur ou des commandes correspondantes du périphérique compatible Bluetooth. - Page 9 Pour numériser la fréquence FM, appuyez sur “ bouton. ” Remarque: Retirez la carte USB / TF lorsque vous utilisez la fonction radio 6. Charger Veuillez insérer l'extrémité micro USB du câble de chargement dans le port «DC 5V» situé à l'arrière du haut-parleur. La lumière reste allumée lors du chargement.
Need help?
Do you have a question about the BT-600 and is the answer not in the manual?
Questions and answers