Advertisement
Quick Links
Advertisement

Related Manuals for Gree GWC18MC-K3NNE1D


Summary of Contents for Gree GWC18MC-K3NNE1D
-
Page 1: Service Manual
Change for Life Service Manual (For Argentina NEWSAN) GREE ELECTRIC APPLIANCES,INC.OF ZHUHAI... - Page 4 AUTO HEALTH X-FAN HUMIDITY FILTER TURBO HOUR ON/OFF ON/OFF MODE X-FAN TEMP TIMER TURBO SLEEP LIGHT...
- Page 7 Condition Cooling Indoor:DB27 WB19 Indoor air flow: Super High Pipe length: 5m Outdoor Temp.(...
- Page 8 Φ 55 Φ55...
-
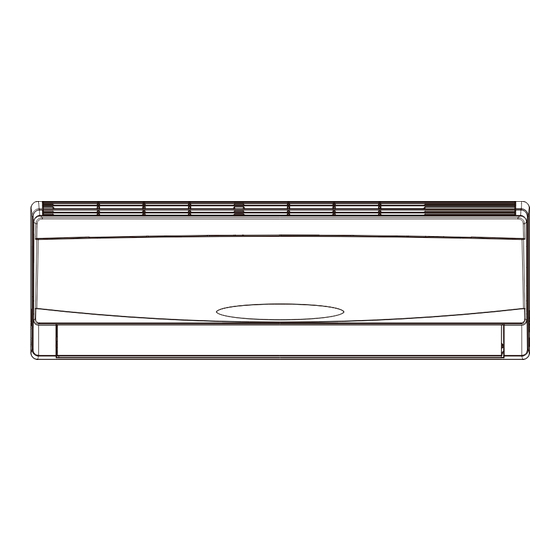
Page 9: Indoor Unit
Outdoor unit Indoor unit Gas pipe side Valve Di s charge Heat exchanger Suction (evaporator) Accumlator Compressor Heat exchanger Liquid pipe (condenser) side Valve Capillary Strainer COOLING... - Page 10 ROOM RECEIVER AND TEMP. TUBE TEMP. BN(BK) SENSOR SENSOR DISPLAY BOARD DISPLAY BU(WH) YEGN(GN) POWER DISP1 DISP2 ROOM TUBE TERMINAL L101 BLOCK AP2 PRINTED CIRCUIT BOARD N(1) COMP JUMP YEGN L(AC-L) (SWING) CONNECTING MAGNETIC CABLE TR-IN TR-OUT PG PGF SWING-UD RING YEGN EVAPORATOR...
- Page 11 C(U) YEGN YEGN COMP MOTOR S(X) MOTOR R(M,V) (BK) N(1) (BN) YEGN...
- Page 12 Interface tube temperature sensor Interface ambient temperature sensor Interface of live wire Feedback interface of PG motor Interface of live wire for health function Interface of compressor Interface of neutral wire Interface of PG motor Interface of neutral wire for health function Interface of transformer Interface of 4-way valve Interface of outdoor fan...
-
Page 13: Mode Icon
ON/OFF Press it to start or stop operation. MODE Press it to select operation mode (AUTO/COOL/DRY/FAN/HEAT). Press it to decrease temperature setting. Press it to increase temperature setting. Press it to set fan speed. Press it to set swing angle. HEALTH SAVE(本机无此功能) Press it to turn on or off health function. -
Page 14: Digital Display
Up & down swing icon: is displayed when pressing the up & down swing button. Press this button again to clear the displa y. Left & right swing icon: is displayed when pressing the left & right swing button.Press this button again to clear the displa y. SET TIME display: After pressing TIMER button, ON or OFF will blink.This area will show the set time. - Page 15 ●In static swing condition, pressing button, the swing angle of left & right louver changes as below: ●If the unit is turned off during swing operation,the louver will stop at present position. X-FAN: Pressing X -FAN button in COOL or DRY mode,the icon "X-FAN" is displayed and the indoor fan will continue operation for 10 minutes in order to dry the indoor unit even though you have turned off the unit.
- Page 16 Display Receiver Operation icon Cooling icon window Dual-8 nixie Heating icon Drying icon tube display (Display content or position may be different from above graphics, please refer to actual products) Start cooling Tamb. Tpreset +1 ˚C Original operating status Tpreset –1 ˚C Stop cooling 6 min.
- Page 17 Freeze protection period 3 min Compressor Outdoor fan motor Indoor fan motor Set fan speed amb. Cooling preset Drying preset- Stop 6 min 6min. 4min. 4min. Compressor Outdoor fan motor Indoor fan motor Low speed...
- Page 18 Stop preset Origi preset Start min. Compressor Outdoor unit Intdoor unit min. Set fan speed Set fan speed min. valve...
- Page 19 Emergency Press OFF status ON status(Auto mode) operation switch Press O(0°)
- Page 23 Space to the ceiling 15cm Above Space to the wall 15cm Above 15cm Above Space to the wall 300cm Above Above Air outlet side Space to the floor The dimensions of the space necessary for correct ● installation of the appliance including the minimum permissible distances to adjacent structures Space to the obstruction Air inlet side...
- Page 24 Start installation Preparation before installation Read the requirements select installation Prepare tools for electric connection location Select indoor unit Select outdoor unit installation location installation location Install the support of outdoor unit Install wall-mounting (select it according to the actual situation) frame, drill wall holes Connect pipes of indoor Fix outdoor unit...
-
Page 26: Outlet Pipe
Above 150 from the celling Open-end Space Space wrench to the to the Union nut wall wall Pipe 1 50 Pipe joint Union nut Pipe above above Torque wrench Φ55X2 Indoor pipe Insulating pipe Indoor Outdoor Φ55 ° 5-10 Drain hose Outlet pipe Tape Drain hose... - Page 27 Panel Screw Wiring cover Indoor and outdoor power cord Indoor unit pipe Cable-cross Liquid hole pipe Band Drain hose Power connection wire Drain hose Connection pipe Band Indoor power cord Cooling only model yellow- blue black green Connect to outdoor unit Wiring board Grounding N(1)
- Page 28 blue black (brown) yellow- green Connect to indoor unit Grounding Wiring board wire ( 1 ) Drain vent Chassis Wire clip Outdoor drain join t Handle Drain hose At least 3cm above the floor Note: the wiring connect is for reference only, please refer to the actual one Foot holes screw...
- Page 29 The drain hose can't be fluctuant The water outlet can't be placed The drain hose in water can't be fluctuant The water outlet can't be fluctuant Liquid valve Piezometer Gas valve Valve cap Refrigerant charging vent Nut of refrigerant Charging vent Vacuum pump Inner hexagon spanner...
- Page 31 Troubleshooting for F1,F2 malfunction the wiring terminal between the temperature sensor and the controller loosened or poorly contacted? Insert the temperature sensor tightly Is malfunction eliminated Is there short circuit due to trip - over of the parts? Make the parts upright Is malfunction eliminated Is the...
- Page 32 Troubleshooting for H6 malfunction Stir the blade with a tool to see whether the blade rotates smoothly Tighten the screw; reassemble the blade, motor and shaft bearing rubber base sub-assy to make sure there is no foreign object between them Is malfunction eliminated Is the...
- Page 33 Troubleshooting for C5 malfunction Appearance of Is there jumper cap on the the jumper cap mainboard ? Assemble the jumper cap with the same model Is malfunction eliminated the jumper cap inserted correctly and tightly ? Insert the jumper cap tightly Is malfunction eliminated...
- Page 34 Troubleshooting for E5 malfunction Is the supply voltage unstable Normal fluctuation is within 10 % of the rated Malfunction is with big fluctuation? voltage on the nameplate eliminated Is the supply voltage too low Malfunction is Adjust the supply voltage to maintain it within Malfunction is with overload? eliminated...
- Page 35 Troubleshooting for U8 malfunction Re-energize1 minute after de-erergization The unit returns to normal. Conclusion:U8 is displayed due U8 is still to instant energization afte de- displayed energization while the capacitor discharges slowly. The zero-cross detection circuit of the mainboard is defined abnormal.Replace the mainboard with the same model...
- Page 49 motor support motor...
- Page 50 liquid valv e gas valve discharge pipe suction pipe...
- Page 52 Pipe Pipe cutter Leaning Uneven Burr Pipe Shaper Downwards Union pipe Pipe Hard mold Expander Pipe Smooth surface Improper expanding damaged leaning crack uneven surface thickness The length is equal...
Need help?
Do you have a question about the GWC18MC-K3NNE1D and is the answer not in the manual?
Questions and answers