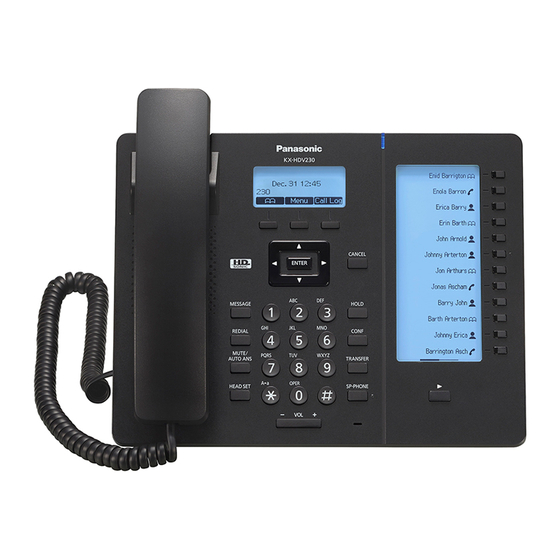
Panasonic KX-HTS Series Setup Reference Manual
Draft version (tested with hts824 version 1.5) "lcr" sip trunk service with built-in router
Hide thumbs
Also See for KX-HTS Series:
- Manual (91 pages) ,
- Setup reference manual (15 pages) ,
- Quick start manual (2 pages)
Advertisement
Quick Links
Download this manual
See also:
Setup Reference Manual
Advertisement

Summary of Contents for Panasonic KX-HTS Series
- Page 1 Draft Version Setup Reference guide for KX-HTS Series (Tested with HTS824 Version 1.5) “LCR” SIP Trunk service with Built-in Router Version 0.1(PSN) 22th.June, 2017...
-
Page 2: Table Of Contents
Attention: This document was created based on the results of test environment accounts. Panasonic cannot guarantee SIP Trunk operation in all environments, however as a result of completing this Inter-Operability Test Panasonic will provide technical support for any issues experienced an assist as far as possible in providing a resolution. - Page 3 Built-in Router Example HTS has a Built-in Router functions so advanced routing configuration can be managed by the HTS and the internet router/modem simply providing internet access. WAN Network: 10.0.0.0 / Subnet Mask: 255.255.255.248 (/24) PBX assigned WAN-1 IP: 10.0.0.1 ...
-
Page 4: Sip Trunk, Extension Port Number And Nat Configuration
(1) SIP Trunk, Extension Port Number and NAT Configuration SIP Extension & SIP Trunk Common Select [PBX Configuration] - [2. Extension] - [7.SIP Extension Property] [SIP Extension & SIP Trunk Common] 1. Voice (RTP) UDP port No.(Server): Leave at 12000- 2. -
Page 5: Network Settings
(2) Network Settings Network Configuration WAN Setting Select [Network Configuration] - [3.WAN] – [1.WAN Setting] and Select [WAN 1 Channel] Click [Modify] HTS WAN-1 IP: 10.0.0.1 (Example) Select the appropriate the Connection Type. In this example, use the Static IP address Option. 1. - Page 6 LAN Settings Go to [Network Configuration] - [4.LAN] - [2.LAN Settings] 1. IP Address: 192.168.0.101 2. Subnet Mask: 255.255.255.0 3. DHCP Mode: Server [ DHCP server ] 4. IP Pool Staring Address: Leave 192.168.0.102 5. IP Pool Ending Address: Leave 192.168.0.254 6.
-
Page 7: Trunk Port Attribution
(3) Trunk Port Attribution Select [PBX Configuration] - [3.Trunk] - [1.Port] and click [Edit / CO Line Number 1 to 8] [CO Line Number 1] 1. Attribution: SIP Carrier - 1 2. Trunk Group: Leave at 1 Click [Apply] Click [Apply Now] Example, Configure “CO-Line 1-2: SIP Carrier-1, Other CO-Line: No Connect”... - Page 8 (4) Provisioning the SIP Trunk SIP Trunk Property - Common Select [PBX Configuration] - [3.Trunk] - [7. SIP Trunk Property] - [Common] 1. DNS SRV Record Resolve Ability: Leave Disable [Register] 2. Register Sending Interval (s): Leave at 3600 3.
- Page 9 SIP Trunk Property continued – SIP Carrier-1 [SIP Carrier-1] 1. Provider Name: Enter a name – reference only 2. SIP Server Name: trunksip2.lcrcom.es 3. SIP Server IP Address: Leave at 0.0.0.0 4. SIP Server port Number: 4399 5. SIP Server Domain: Not required 6.
- Page 10 SIP Trunk Property continued – SIP Carrier-1 [Calling Party] 1. Header Type: Leave From Header 2. Host Name: Leave BLANK 3. Format: Leave Without “+” 4. Send CLIP of caller when call from SIP Leave Enable Carrier is forwarded to same SIP carrier: *CLI will be converted to PBX No by LCR [Called Party] 5.
- Page 11 SIP Trunk Property continued – SIP Carrier-1 [Session] 9. Session Timer Ability: Leave Enabled (Passive) 10. Session Expire Timer: Leave at 180 11. Session Incoming Refresher Request: Leave UAC 12. Session Refresh Method Leave re-INVITE [DSP] Leave Default [Option] Leave Default Click [Apply]...
-
Page 12: Incoming Call Routing
(5) Incoming Call Routing DDI Table [PBX Configuration] - [3.Trunk] - [3.DDI] 1. DDI Number: Enter the DDI number in the format (as below) Example Landline Number: 910 123 001 Enter: 913123001 2. Name: Determined by the installer (optional setting) 3. -
Page 13: Outgoing Call Cli
(6) Outgoing Call CLI CLIP [PBX Configuration] - [Target Extension] Click (Example: Extension 101) [Port - Extension 101 / CLIP] 1. Extension Name: HTS Ext Name101 (Example) 2. SIP Carrier -1: 910123001 (Example) Click [Apply] Click [Apply Now] Click [Save &... - Page 14 (7) CLIR Outgoing Call (Anonymous calls) *Note: HTS does not support CLIR as function. END OF DOCUMENT...


Need help?
Do you have a question about the KX-HTS Series and is the answer not in the manual?
Questions and answers