Table of Contents
Advertisement
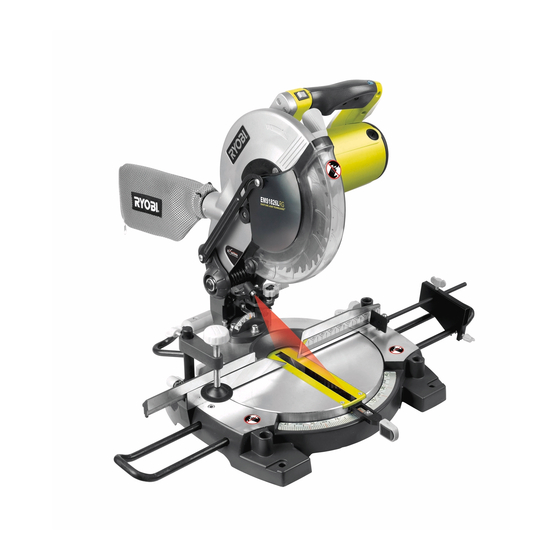
OWNER'S OPERATING MANUAL
254mm SLIDE COMPOUND MITRE SAW
SPECIFICATIONS
Input............................1800 Watt
Blade Diameter ..........254mm
Blade Arbor ................16mm
No Load Speed ..........4500 r.p.m.
Cutting Capacity
Mitre Cross Cuts ........@ 90
Mitre Cuts ..................@ 45
Bevel Cuts ..................@ 90
Compound Mitre Cuts @ 45
Net Weight..................18 kg
IMPORTANT NOTE:
This Ryobi 254mm Slide Compound Mitre Saw is designed for light
duty consumer use, it is ideal for all cutting jobs around the home
and for light craftwork such as the construction of toys and
furniture. It is not designed for trade or industrial use and is not
covered by the Ryobi warranty for use in these applications.
THANK YOU FOR BUYING A RYOBI SLIDE COMPOUND MITRE SAW
Your new Mitre Saw has been engineered and manufactured to Ryobi's high standard for
dependability, ease of operation, and operator safety. Properly cared for, it will give you years of
rugged, trouble free performance.
CAUTION: Carefully read through this entire owner's manual before using your
new Mitre Saw.
Pay close attention to the Rules for Safe Operation, Warnings and Cautions. If you use your Mitre Saw
properly and only for what it is intended, you will enjoy years of safe, reliable service.
Thank You again for buying Ryobi tools.
MODEL CSS1000
0
x 90
0
- 75mm x 305mm
0
x 90
0
- 75mm x 215mm
x 45
- 75mm x 255mm
0
0
0
x 45
0
- 75mm x 165mm
DOUBLE
INSULATED
Advertisement
Table of Contents

Subscribe to Our Youtube Channel
Related Manuals for Ryobi CSS1000


Summary of Contents for Ryobi CSS1000
- Page 1 THANK YOU FOR BUYING A RYOBI SLIDE COMPOUND MITRE SAW Your new Mitre Saw has been engineered and manufactured to Ryobi's high standard for dependability, ease of operation, and operator safety. Properly cared for, it will give you years of rugged, trouble free performance.
-
Page 2: Rules For Safe Operation
Keep work area well lit. 5. KEEP CHILDREN AND VISITORS AWAY. Visitors should Due to Ryobi's continued wear safety glasses and be kept a safe distance from work product refinement policy, area. - Page 3 The following tools (not included) are needed for checking adjustments and assembly of your mitre saw. Combination Square Phillips Screwdriver 17mm Combination Wrench 10mm Combination Wrench Fig 1 Trigger Switch Safety Lock-Off Switch Fig 2 Blade Lock Button Upper Blade Guard (obscured.
-
Page 4: Dust Bag
■ LOCK DOWN PIN To attach the vice, push the round attachment rod Your CSS1000 features a lock down pin for easier into the vice attachment hole and turn the rear transportation. To unlock the head pull the pin out and pull the saw arm to the upright position. -
Page 5: Blade Guard
■ FENCE The rear fence on your slide compound mitre saw has been provided to hold your workpiece securely against when making all cuts. ■ SELF-RETRACTING LOWER BLADE GUARD The lower blade guard is made of shock-resistant, see-through plastic that provides protection from each side of the blade. - Page 6 ADJUSTMENTS WARNING: To prevent accidental Depress the blade lock button while rotating the starting that could cause possible blade. The blade lock button will move into the blade serious personal injury, assemble all lock position. (Fig 10) parts to your saw before connecting it to the power supply.
-
Page 7: Special Note
SPECIAL NOTE: Your CSS1000 mitre cutting and bevel cutting angles have been preset at the factory but can and will be misaligned by rough handling and transportation. It is essential that your new saw be realigned before use. Please adhere to the following resetting instructions. -
Page 8: Mitre Saw
■ SQUARING THE BLADE TO THE MITRE OPERATIONS TABLE AT 45 ■ APPLICATIONS Move the saw arm to the 45 bevel position. (Fig 17) (Use only for the purposes listed below) Fig 17 • Cross Cutting wood & plastic • Cross Cutting mitres, joints, etc. for picture frames, moldings, door casings and fine joinery. -
Page 9: Bevel Cut
■ BEVEL CUT Fig 19 A bevel cut is made by cutting across the grain of the workpiece with the blade angled to the fence and mitre table. A bevel cut is made with the mitre table set at zero degree position and the blade set at an angle between 0 and 45 . -
Page 10: Compound Mitre Cut
■ COMPOUND MITRE CUT Fig 21 A compound mitre cut is a cut made using a mitre angle and a bevel angle at the same time. This type of cut is used to make picture frames, cut molding, make boxes with sloping sides, and for certain roof framing cuts. - Page 11 • Align the cutting line on the workpiece with the Fig 23 edge of the saw blade. • Grasp the stock firmly with one hand and secure it against the fence. Tighten the vice to secure the workpiece. WARNING: To avoid serious personal injury, always keep your hands outside the no hands zone;...
- Page 12 ■ CUTTING LARGER WORKPIECES WITH SLIDE ACTION WARNING: When cutting large workpieces with the slide action, the workpiece is placed squarely against the rear Never place undue force fence and is firmly locked in the vice. on the saw handle in a Grasp the saw handle firmly, press down the lock-off switch and depress the trigger switch.
- Page 13 ■ CUTTING COMPOUND MITRES To aid in making the correct settings, the compound angle setting chart below has been provided. Since compound cuts are the most difficult to accurately obtain, trial cuts should be made in scrap material, and much thought and planning made, prior to making your required cut. NUMBER OF SIDES PITCH OF SIDE...
-
Page 14: Cutting Crown Molding
■ CUTTING CROWN MOLDING ■ LAYING MOLDING FLAT ON THE MITRE TABLE Your compound mitre saw does an excellent job of cutting crown molding. In general, compound mitre To use this method for accurately cutting crown saws do a better job of cutting crown molding than molding for a 90 inside or outside corner, lay the any other tool made. -
Page 15: Cutting Warped Material
■ CUTTING WARPED MATERIAL When cutting crown molding by this method the bevel angle should be set at 33.85 . The mitre angle (See Figures 28 & 29) should be set at 31.62 either right or left, depending on the desired cut for the application. See the chart below for correct angle settings and correct positioning of crown molding on mitre table. -
Page 16: Maintenance
Take care not to expose this tool to rain. WARNING: Do not at any time let brake fluids, gasoline, petroleum based Due to Ryobi's continued product refinement products, penetrating oils, etc. come policy, product features and specifications can and into contact with plastic parts. They will change without notice. - Page 17 NOTES...
- Page 18 NOTES...
- Page 19 NOTES...
- Page 20 RYOBI TECHNOLOGIES AUSTRALIA PTY. LTD. GUARANTEE Subject to the guarantee condition below, this Ryobi tool from misuse, neglect, abuse, or used for a purpose for (hereinafter called “the product”) is guaranteed by Ryobi which it was not-designed or is not suited; and no (hereinafter called “the Company”) to be free from...
Need help?
Do you have a question about the CSS1000 and is the answer not in the manual?
Questions and answers