Table of Contents
Advertisement
Quick Links
quick start guide
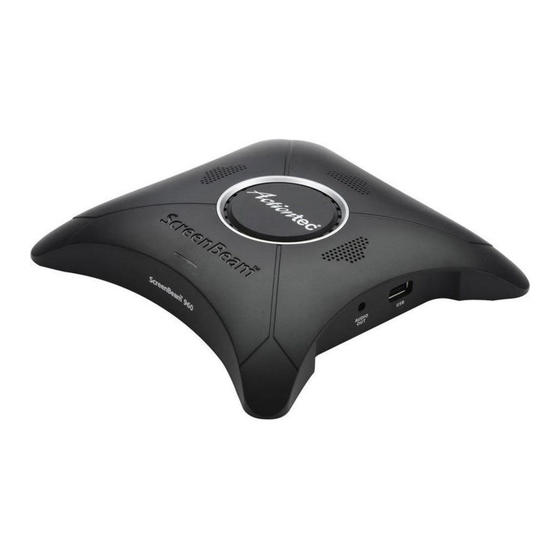
ScreenBeam 960
Wireless Display Receiver
Quick Start Guide
This Quick Start Guide provides the instructions on how to install ScreenBeam 960
receiver, connect client devices, and setup for deployment. Refer to the support
website for the full deployment guide, latest updates, and best practices.
Before Beginning Deployment
Before deploying Actiontec ScreenBeam products, check for the latest firmware,
release documentation and tech tips.
For ScreenBeam receiver's deployment guide, firmware upgrades, and release
z
notes, go to:
https://support.screenbeam.com/960
For Miracast
or native macOS/iOS wireless display connection tutorial, go to:
™
z
https://www.screenbeam.com/setup
For ScreenBeam Central Management System (CMS) software, go to:
z
https://support.screenbeam.com/cms
For Open Source information, go to:
z
Package Contents
ScreenBeam 960 receiver
z
Power supply
z
HDMI cable
z
1 |
screenbeam.com
https://opensource.actiontec.com
Quick Start Guide (this document)
z
Regulatory documents
z
ScreenBeam
Documentation
For FAQs, troubleshooting tips
and support, visit:
https://support.screenbeam.com
Need Help?
To open a ticket for support, visit:
https://support.screenbeam.com/ticket
960
|
™
Advertisement
Table of Contents

Subscribe to Our Youtube Channel
Related Manuals for ActionTec ScreenBeam 960


Summary of Contents for ActionTec ScreenBeam 960
-
Page 1: Quick Start Guide
Wireless Display Receiver Quick Start Guide This Quick Start Guide provides the instructions on how to install ScreenBeam 960 receiver, connect client devices, and setup for deployment. Refer to the support website for the full deployment guide, latest updates, and best practices. -
Page 2: Minimum System Requirements
Note: For VGA connection details, refer to the Setup Requirements ScreenBeam 960 User Guide. ScreenBeam 960 receiver Optional: If the display has USB HID touch capability, insert the HID USB connector into the USB port of the receiver. -
Page 3: Wired Connection
ScreenBeam ™ B. Set Up Network Connection C. Connect Client Device ScreenBeam requires network connection for various This section provides instructions on how to connect using purposes; Wireless display over LAN support and management native screen mirroring from the most common operating of the receiver. - Page 4 Verify the iOS device’s Wi-Fi is on and connected to the Verify the macOS device’s Wi-Fi is on and connected to the same network to which the ScreenBeam 960 is connected. same network to which the ScreenBeam 960 is connected.
- Page 5 D. Configure ScreenBeam Receiver Using Local Management on ScreenBeam Local management interface can configure and update a single ScreenBeam 960 can be configured by using the ScreenBeam ScreenBeam. LMI is not needed when using ScreenBeam CMS. CMS software or accessing the ScreenBeam’s local management interface (LMI).
- Page 6 quick start guide Method 2: Wireless P2P Direct Connection Change the Administrator’s Password Using a Windows 10/8.1 device, connect the device to the Select the Administrator Password text box and enter ScreenBeam per Section B above. the new password. Once connected, use a web browser and enter Select Apply/Save button to save any changes.
-
Page 7: Supported Features
Optional: Select a Wake up mode. Setup and Instructions Select Apply/Save button to save any changes. Connect the USB Type-A end to the ScreenBeam 960 receiver’s USB port. F. Using Interactive Touch Display Connect the USB Type-B end to the USB Touch input on the display or projector. -
Page 8: Support Information
Verify the ScreenBeam 960 obtains a valid IP address. PN: 0530-0796-004 © 2018 All rights reserved. Actiontec and the Actiontec logo are registered trademarks, and ScreenBeam is a trademark of Actiontec Electronics, Inc. All other names are properties of their respective owners. Specifications subject to change without notice.
Need help?
Do you have a question about the ScreenBeam 960 and is the answer not in the manual?
Questions and answers