Table of Contents
Advertisement
Quick Links
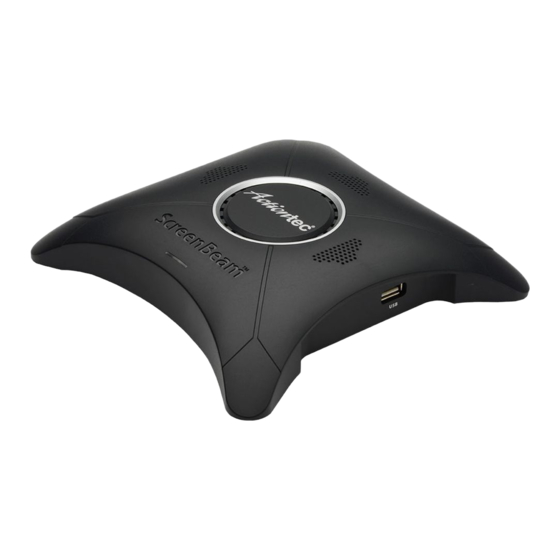
ScreenBeam Enterprise 950P
Wireless Display Receiver
Quick Start Guide
This Quick Start Guide provides step-by-step instructions
on how to setup your Actiontec ScreenBeam Enterprise
Receiver. After completing the steps described in this
Guide, you will be able to place the Receiver at your site
and provide wireless display access for users.
A
Before You Begin
Before deploying Actiontec ScreenBeam products, check
for the latest software and release documentation.
•
For user guides and software upgrades, go to:
https://actiontec.zendesk.com/
•
For Open Source information, go to:
http:/opensource.actiontec.com
B
Package Contents
•
ScreenBeam 950P Wireless Display Receiver
•
Power adapter
•
HDMI cable
•
Regulatory notice
•
Quick Start Guide (this document)
1
Catalog # SBWD950P
C
Setup Requirements
•
Windows 8.1 or Windows 10 laptop with Miracast
wireless display enabled
1
•
TV/Projector/Monitor with HDMI input
•
Wi-Fi channel scanner tool or utility
Important!
If the Receiver is deployed with Central Management
System (CMS), connect the Receiver to the local network
and follow the CMS Deployment Guide. Visit
http://www.actiontec.com/sbcms for more details and
purchase information.
D
Connect Receiver to Display
1.
Place the Receiver next to the TV display.
2.
Using an HDMI cable, connect one end to the Receiver's
HDMI port and the other end to the HDMI port on
the TV.
3.
Turn on the TV and switch to the HDMI input to which
the Receiver is connected.
4.
Connect one end of the Receiver's power adapter to the
Receiver's power port, and the other end to an electrical
wall socket.
5.
Wait about 30 seconds, then verify the TV displays
ScreenBeam's Ready to Connect screen.
E
Connect Laptop to Receiver
1.
Learn how to connect your device:
http://www.actiontec.com/setupsb
2.
On the Windows 8.1 laptop, go to Devices > Project
> Add a wireless display. For Windows 10, go to
Action Center > Connect > Select the Actiontec
wireless display receiver.
3.
Verify the name on the list is the same as the Receiver's
name shown on the Ready to Connect screen (bottom
left corner).
4.
Select the name of the Receiver to connect.
Note: The PIN is randomly generated and will appear
on the Ready to Connect screen.
F
Log Into Local Management
1.
On the laptop, open a web browser.
2.
Enter the following URL into the browser's address
text box:
http://192.168.16.1
3.
When the Actiontec Login console page appears,
enter the following:
Username: Administrator
Password: WiDi
Click OK.
4.
5.
The Device Configuration webpage appears.
Flip this Guide over to continue
NEXT
Advertisement
Table of Contents

Related Manuals for ActionTec ScreenBeam Enterprise 950P


Summary of Contents for ActionTec ScreenBeam Enterprise 950P
- Page 1 Quick Start Guide > Add a wireless display. For Windows 10, go to • Wi-Fi channel scanner tool or utility Action Center > Connect > Select the Actiontec wireless display receiver. This Quick Start Guide provides step-by-step instructions Important! on how to setup your Actiontec ScreenBeam Enterprise Verify the name on the list is the same as the Receiver’s...
- Page 2 Intel Pro WiDi support and additional information, go to: enter the new password. wireless network administrator. We recommend using http://www.actiontec.com/prowidi either MetaGeek inSSIDEer for Windows or WiFi Analyzer Click Apply to save changes. for Android to scan for the least congested wireless channel for the Receiver.
Need help?
Do you have a question about the ScreenBeam Enterprise 950P and is the answer not in the manual?
Questions and answers