
Related Manuals for Pelonis FS45-3ER


Summary of Contents for Pelonis FS45-3ER
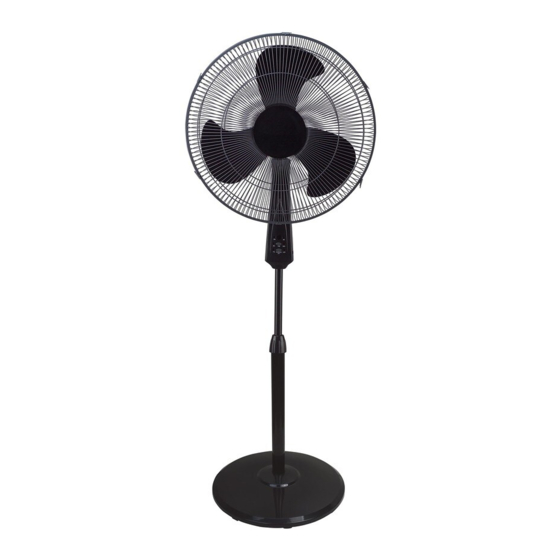
- Page 1 145x210mm /YDX/2017.10.10 OWNER’S MANUAL 18'' STAND FAN MODEL: FS45-3ER ITEM: 809481 READ AND SAVE THESE INSTRUCTIONS...
-
Page 2: Rules For Safe Operation
CAUTION Read Rules for Safe Operation and Instructions carefully. WARNING 1. This appliance has a polarized plug (one blade is wider than the other). To reduce the risk of electric shock, this plug is intended to fit in a polarized outlet only one way. - Page 3 ASSEMBLY OF CHASSIS & COLUMN UNIT 1. Unscrew the bent anchor bolt from the Extension Pole. (Fig.1) 2. Insert the extension pole into the chassis and tighten the bent anchor bolt (Fig.2) 3. From the extension pole, loosen the height adjustment ring and adjust the internal pole to the desired height.
- Page 4 Clip Fig.5 Fig.6 Fig.7 OPERATING INSTRUCTIONS I. Remote Controller (Fig.8) “ ” ON/OFF KEY The key is for switching on the fan. The fan will be started at low speed. Press the key again, it will be switched off. “ ”...
-
Page 5: Batteries Instructions
V. Height Adjustment The height of the fan can be adjusted by loosening the height adjustment ring, carefully carefully raising or lowering the fan and firmly re-tightening the height adjustment ring. BATTERIES INSTRUCTIONS (not included) 1. Press down on the battery compartment cover and slide it out. -
Page 6: User Servicing Instructions
USER SERVICING INSTRUCTIONS a) Grasp plug and remove from the receptacle or other outlet device. Do not unplug by pulling on cord. b) Open fuse cover. Slide open fuse access cover on top of attachment plug towards blades. c) Remove fuse carefully. Insert the tip of your tool into fuse slot (close with the terminal), then prize the fuse gradually and slowly, but not overexert. - Page 7 1-866-646-4332 Email us at: customerservice@supportuscenter.com For questions or comments,please write to: Midea America Corporation Customer Care Center 11411 NW 107th Street, Suite 12 Miami, FL 33178...
-
Page 8: One (1) Year Limited Warranty
ONE (1) YEAR LIMITED WARRANTY Please read all instructions before attempting to use this product. Midea America Corporation warrants as limited herein to the original purchaser of retail thateach new Fan, shall be free of defects in material and workmanship for aperiod of one (1) year from the date of original purchase. - Page 9 MANUAL DEL USUARIO VENTILADOR DE PIE DE 18"(45,72cm) MODELO: FS45-3ER ARTÍCULO: 809481 LEA Y GUARDE ESTAS INSTRUCCIONES...
-
Page 10: Normas De Seguridad
PRECAUCIÓN Lea las normas de seguridad y las instrucciones atentamente. ADVERTENCIA 1. Este aparato tiene un enchufe polarizado (una pata es más ancha que la otra). Para reducir el riesgo de descarga eléctrica, el enchufe está diseñado para encajar en un tomacorriente polarizado de una sola manera. - Page 11 MONTAJE DEL CHASIS Y LA COLUMNA 1. Aflojar el perno de anclaje del tubo de extensión (Figura 1). 2. Insertar el tubo de extensión en el cahsis y ajustar el perno (Figura 2). 3. Aflojar el anillo de ajuste de altura desde el tubo de extensión y colocar el tubo interno a la altura deseada (Nota: Si no encuentra el tubo interno, puede haberse caído dentro del tubo de extensión) (Figura 3) 4.
-
Page 12: Instrucciones De Uso
Centro Centro giratorio giratorio Ajustar Ajustar Ranura Aflojar Pin de Tuerca plástica sujeción Aspas Clip Figura 5 Figura 6 Figura 7 INSTRUCCIONES DE USO I. Control remoto (Figura 8) “ ” ENCENDIDO/APAGADO Este botón enciende el ventilador. El ventilador se encenderá en velocidad baja. -
Page 13: Instrucciones Para
V. Ajuste de altura La altura puede ajustarse aflojando el anillo de ajuste de altura, levantando o bajando el ventilador con cuidado y volviendo a ajustar el anillo firmemente. Control remoto INSTRUCCIONES PARA PILAS (no incluidas) Cubierta de 1. Presione la tapa del compartimento de pilas la batería Batería para retirarlo. - Page 14 INSTRUCCIONES DE SERVICIO DE USUARIO a) Desconectar de la toma de corriente sujetando el enchufe. No tire del cable. b) Abrir la tapa del fusible. Deslice la cubierta de acceso al fusible en la parte superior del enchufe accesorio para abrirla. c) Retirar el fusible con cuidado.
-
Page 15: Servicio Y Soporte
SERVICIO Y SOPORTE En caso de reclamos de garantía o si se necesita servicio para este ventilador, por favor, póngase en contacto con nosotros a los siguientes números: Gratis: 1-866-646-4332 Envíenos un mensaje de correo electrónico a: customerservice@supportuscenter.com Para preguntas o comentarios, por favor escriba a: Midea America Corporation Customer Care Center 11411 NW 107th Street,... - Page 16 GARANTÍA LIMITADA DE UN (1) AÑOS ● Por favor lea todas las instrucciones antes de intentar utilizar este producto. Midea America Corporation ntiza de forma limitada, como se explicita aquí, al comprador original que cada Ventilador nuevo estará libre de defectos de materiales o mano de obra por el período de un (1) años desde la fecha de la compra original.
Need help?
Do you have a question about the FS45-3ER and is the answer not in the manual?
Questions and answers