
Related Manuals for DAS company S38


Summary of Contents for DAS company S38
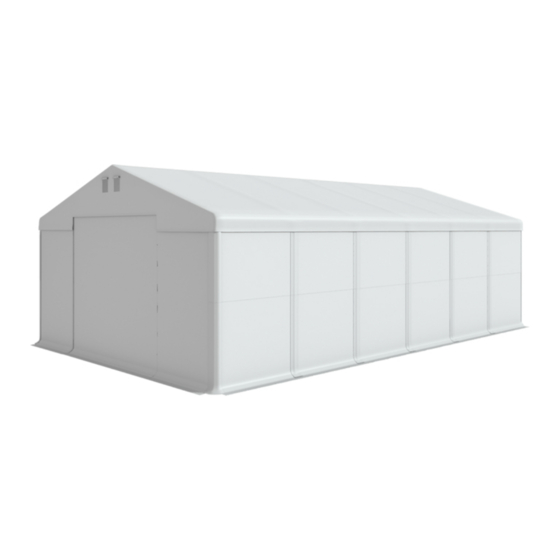
- Page 1 Tent 4m type S38 Instrukcja montażu namiotu PL/EN Instrukcja montażu - Namiotu www.dascompany.com biuro@dascompany.com...
-
Page 2: Warunki Gwarancji
8. Jeżeli wada towaru polegać będzie na tym, że towar nie będzie posiadać właściwości o których Das Company zapewniał, lub jeżeli towar lub jego element będą uszkodzone, Das Company usunie na własny koszt i we własnym zakresie wskazane usterki w terminie 30 dni od daty otrzymania uwzględnionego zgłoszenia gwarancyjnego. -
Page 3: Terms Of Warranty
1 825 000 PLN (hereinafter referred as “Das Company”) grants for sold goods the warranty under the conditions described below. 2. The warranty for goods sold by Das Company is given for a period of one year from the date of purchase of the goods by the purchaser and is only valid on the territory of Poland. - Page 4 17. Składając zamówienie kupujący zgodnie z Rozporządzeniem Min. Finansów z dn. 17 grudnia 2010 r., Dz.U. Nr 249, Poz. 1661, akceptuje wysyłane drogą elektroniczną faktury za towary zakupione w Das Company sp. z o.o., z siedzibą w Krakowie, na adres podany przez kupującego w zamówieniu.
- Page 5 16. If the Customer places the order according to the Ordinance of the Finance Minister from 17th of December 2010, Journal of Laws No. 249, Entry 1661, they accept the invoice for the products bought from Das Company Sp. Z o.o. with the headquarters in Kraków sent via e-mail disclosed by the Customer in the order placement process.
- Page 6 20. Gwarancja nie obejmuje uszkodzeń powstałych na skutek zaniedbań lub niewłaściwego użytkowania. 21. Namioty z konstrukcją S38 (summer) i SP38 (summer plus) nadają się jedynie do użytku w okresie letnim. 22. Namioty z plandeką PE nadają się jedynie do użytku w okresie letnim.
-
Page 7: Terms Of Use
20. The guarantee does not cover the damage that is the result of negligence or incorrect use. 21. The tents with S38 (summer) and SP38 (summer plus) construction can be only used in the summer. 22. The tents using PE cover can be only used in the summer. - Page 8 Tent 4m type S38 Instrukcja montażu namiotu E xt ra E xt ra 4 x 4 4 x 6 4 x 8 Obrazek Nazwa Rura noga Φ38 (1895mm) Pipe leg Φ38 (1895mm) Rura Φ38 (1930mm) Pipe Φ38 (1930mm) Rura Φ38 (940mm) Pipe Φ38 (940mm)
- Page 9 Tent 4m type S38 Instrukcja montażu namiotu KROK 1 Namiot powinien być rozłożony na równej powierzchni. D l a n a m i o t ó w o p a r z y s t e j d ł u g o ś c i b o k u np. 4m, 6m, 8m, 10m, 12m, …...
- Page 10 Tent 4m type S38 Instrukcja montażu namiotu KROK 2/a KROK Połączone elementy powinny wyglądać jak na rysunku . Zamontuj na wjazdach, po obu stronach namiotu, obejmy (nr.S0) używając śrub (nr.15), połącz obejmy ze sobą linką stalową (nr.C42). Linka powinna przechodzić przez już zamontowaną linkę (nr.C41).
- Page 11 S38 Instrukcja montażu namiotu KROK 3 Unieś namiot z jednej strony i zamontuj stopy (nr.1). Stopa namiotu powinna być skierowana oczkiem na zewnątrz. Następnie unieś namiot z drugiej strony i powtórz czynności. Ścian ki b oczne zamo ntuj za po mocą rzepó w b ezposre dnio d o dachu .
- Page 12 Tent 4m type S38 Tent installation instructions STEP 1 The tent should be put on a flat surface. F o r t e n t s w i t h e v e n l e n g t h o f t h e s i d e e.g.: 8m, 10m, 12m, 20m, 30m…...
- Page 13 Tent 4m type S38 Tent installation instructions STEP 2/a KROK The combined elements should look like this. Install, on the entrences, on the both side of tent bracket (nr.S0) using screws (nr.15), conncect brackets together with link cable (nr.C42), cable should go through the already installed cable (nr.C41).
- Page 14 S38 Tent installation instructions STEP 3 Gently raise the tent on its one side and mount pipes (No.1). Three symmetrical holes in pipe should be faced down. Then lift the tent on the other side and repeat the step.
Need help?
Do you have a question about the S38 and is the answer not in the manual?
Questions and answers