
Related Manuals for Perel E300W-F


Summary of Contents for Perel E300W-F
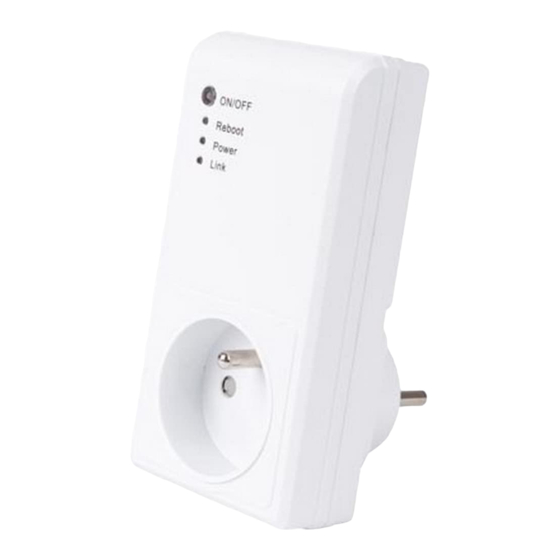
- Page 1 E300W-F/E300W-G SMART WIFI SOCKET USER MANUAL...
-
Page 2: Safety Instructions
If in doubt, contact your local waste disposal authorities. Thank you for choosing Perel! Please read the manual thoroughly before bringing this device into service. If the device was damaged in transit, do not install or use it and contact your dealer. -
Page 3: Operation
E300W-F/E300W-G Operation ● Insert the device into a mains socket. ● Download the [WiFi Socket] app in Apple ® App Store or Google ® Play, and install on your smartphone. De-activate the filter or firewall prior to installing. Tap the [WiFi Socket] icon. - Page 4 E300W-F/E300W-G Click here to save all data. You can fill in your e-mail address and password in this area. Click here to show/hide the password. Click [OK] to complete the registration. You will return to the login screen. V. 02 – 03/11/2017...
- Page 5 E300W-F/E300W-G Adding a Smart Socket To add a smart socket, tap the [+] button. Make sure your smartphone is connected to the network. Enter the password. Switch on the smart socket by holding the on-off button pressed. Tap the [Start] button on your smartphone. The smart socket will now connect to your network.
- Page 6 E300W-F/E300W-G Operating the Smart Socket Activate the connected smart socket by tapping the [on-off] symbol in the app. Connected smart socket activated. Tap here to enter the setting page. V. 02 – 03/11/2017 ©Velleman nv...
-
Page 7: Lock Setting
E300W-F/E300W-G Hold pressed to delete the connected smart phone. Lock Setting Tap here to lock/unlock the smart socket. V. 02 – 03/11/2017 ©Velleman nv... - Page 8 E300W-F/E300W-G Assigning an Icon Tap here to edit the icon, name, etc. of the smart socket. Save the modifications. Assign an icon and name your smart socket. Tap [+] to add an icon. V. 02 – 03/11/2017 ©Velleman nv...
- Page 9 E300W-F/E300W-G Timer, Countdown, Absence Timer Select your option: [Timer]. Tap [+] to enter the time setting page. Tap here to save your settings. Set the switch-off time. V. 02 – 03/11/2017 ©Velleman nv...
- Page 10 E300W-F/E300W-G Tap here to save your settings. Set the switch-on time. The timer is set. The smart socket will switch off at 17:05 and switch on at 17:07). V. 02 – 03/11/2017 ©Velleman nv...
- Page 11 E300W-F/E300W-G Hold pressed to delete the timer setting. Countdown Select your option: [Countdown]. Tap [+] to enter the countdown setting page. V. 02 – 03/11/2017 ©Velleman nv...
- Page 12 E300W-F/E300W-G Tap here to save your settings. Set your countdown and activate the function. Absence Select your option: [Absence]. Tap [+] to enter the absence setting page. V. 02 – 03/11/2017 ©Velleman nv...
- Page 13 E300W-F/E300W-G Set he start time, start date, end time and end date. Tap here to return to the device list. The absence function can be set to one group only. V. 02 – 03/11/2017 ©Velleman nv...
- Page 14 E300W-F/E300W-G Tap here to return to the menu. RF Device Setting Adding a New RF Device Tap here to enter the [RF Devices] page. Next, tap [+] to add an RF device. V. 02 – 03/11/2017 ©Velleman nv...
- Page 15 E300W-F/E300W-G Tap here to save your settings. Enter the device name. Select the icon for your RF device. Select the RF device type. Specify the receiver socket. V. 02 – 03/11/2017 ©Velleman nv...
- Page 16 E300W-F/E300W-G The RF device has been successfully added. Now, pair your RF device. Pairing an RF Device Tap here to enter the [RF Devices] settings page. V. 02 – 03/11/2017 ©Velleman nv...
- Page 17 E300W-F/E300W-G After pairing, tap [ON] or [OFF] to switch the device on or off. In learning mode, pair the RF device by tapping [LEARN]. Operation Tap [EDIT] to enter the configuration page. Use these options to control the RF device (appearance according to function).
- Page 18 E300W-F/E300W-G The RF Device as a Timer Tap here to enter the timer setting page. Tap here to save the settings. The timer will activate from at 17:07 Monday to Sunday. V. 02 – 03/11/2017 ©Velleman nv...
- Page 19 E300W-F/E300W-G The timer function is ready. RF Device Setting Tap [CHANGE PASSWORD] to check your password. V. 02 – 03/11/2017 ©Velleman nv...
-
Page 20: Logging Out
E300W-F/E300W-G Tap here to save your new password. To change your password: first, enter the old password, then enter the new password and confirm. Logging Out Tap [LOG OUT] to log out. Also, log out first if you want to log in under a new ID. - Page 21 E300W-F/E300W-G Tap [OK] to return to the login page. Tap [CANCEL] to cancel the action. V. 02 – 03/11/2017 ©Velleman nv...
-
Page 22: Cleaning And Maintenance
RED Declaration of Conformity Hereby, Velleman NV declares that the radio equipment type [E300W-F] / [E300W-G] is in compliance with Directive 2014/53/EU. The full text of the EU declaration of conformity is available at the following internet address: www.velleman.eu. - Page 23 Velleman® Service and Quality Warranty Since its foundation in 1972, Velleman® acquired extensive experience in the electronics world and currently distributes its products in over 85 countries. All our products fulfil strict quality requirements and legal stipulations in the EU. In order to ensure the quality, our products regularly go through an extra quality check, both by an internal quality department and by specialized external organisations.
- Page 24 Made in PRC Imported for PEREL by Velleman nv Legen Heirweg 33, 9890 Gavere, Belgium www.perel.eu...
Need help?
Do you have a question about the E300W-F and is the answer not in the manual?
Questions and answers