Subscribe to Our Youtube Channel
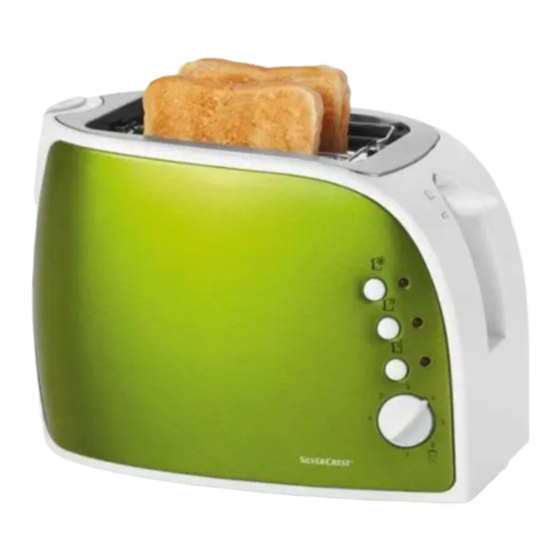
Summary of Contents for Silvercrest STOS 826 A1
- Page 1 KITCHEN TOOLS 2-Slice Toaster STOS 826 A1 2-Slice Toaster Operating instructions KOMPERNASS GMBH BURGSTRASSE 21 · D-44867 BOCHUM www.kompernass.com ID-Nr.: STOS826A1-07/10-V1...
- Page 2 STOS 826 A1...
-
Page 3: Table Of Contents
CONTENT Intended Application Technical data Important safety instructions Items supplied Tips on usage Appliance description Setup Before taking into use Adjusting the browning level Toasting Interrupting the toasting process Warming function Thaw function Crumb tray Bread roll holder Cleaning and care Storage Disposal Warranty and Service... -
Page 4: Intended Application
• The appliance may not be used in close vicinity to flammable material. • Never cover the toaster when it is in use. • This appliance is not intended for use by indivi- duals (including children) with restricted physical,... -
Page 5: Tips On Usage
Setup • Unwrap the power cable from the cable winder on the underside of the appliance. • Place the toaster on a dry and level surface. Before taking into use Heat the appliance up at least five times, at the maximum setting (7), without the insertion of bread slices. -
Page 6: Interrupting The Toasting Process
If you wish to interrupt the toasting process, press the STOP button 6. The toaster switches itself off. The control lamp extin- guishes. The slices of bread are ejected. Warming function The warming function 5 makes it possible for you to warm bread without browning it. -
Page 7: Cleaning And Care
• As soon as the toaster switches itself off, check the level of browning. Should the bread roll have the desired level of browning, turn it over to brown the other side. • Switch the toaster back on. • When you no longer require the bread roll hol- der 1, push the bread roll holder button 9 upwards . -
Page 8: Warranty And Service
Warranty and Service The warranty for this appliance is for 3 years from the date of purchase. The appliance has been ma- nufactured with care and meticulously examined be- fore delivery. Please retain your receipt as proof of purchase. In the event of a warranty claim, please make contact by telephone with our Service Depart- ment.


Need help?
Do you have a question about the STOS 826 A1 and is the answer not in the manual?
Questions and answers