Advertisement
Quick Links
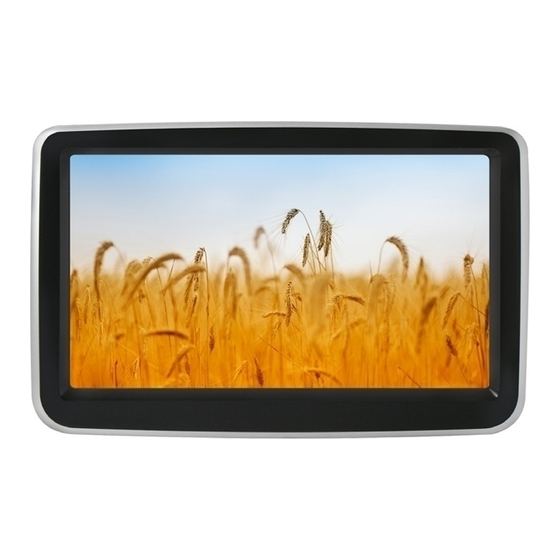
8" TFT/LCD
NAVIGATION - USB/SD PLAYER
MERCEDES
Compatibilità / Compatibility
ITALIANO
ENGLISH
Classe A W176
Sistema Radio audio 20 NTG 4.5
Classe B W242 - W246 dal 11/2011
Sistema Radio audio 20 NTG 4.5 - display 5,8"
Sistema Radio audio 20 con Navigatore Becker Map Pilot NTG 4.5 - display 5,8"
Solo auto con funzione AUX-IN / Only cars with AUX-IN function
MANUALE ISTRUZIONI
INSTRUCTIONS MANUAL
VM 075
Advertisement

Subscribe to Our Youtube Channel
Summary of Contents for Phonocar VM 075
- Page 1 Sistema Radio audio 20 NTG 4.5 - display 5,8” Sistema Radio audio 20 con Navigatore Becker Map Pilot NTG 4.5 - display 5,8” Solo auto con funzione AUX-IN / Only cars with AUX-IN function MANUALE ISTRUZIONI INSTRUCTIONS MANUAL VM 075...
-
Page 2: Connessioni • Connections
Precauzioni • Warnings IT/GB • Per l’installazione rivolgersi al personale tecnico qualificato. • Usare solo con impianto elettrico a 12V DC con negativo a massa. • Scol- legare il terminale negativo della batteria del veicolo quando si effettuano le connessioni dell’apparecchio. • Quando si sostituisce il fusibile, utilizzarne uno con lo stesso valore di amperaggio. - Page 3 CONNESSIONI • CONNECTIONS IT/GB ✫ NON COLLEGARE DO NOT CONNECT MARRONE/BROWN TV-V-IN INGRESSO VIDEO / VIDEO INPUT VIOLA/PURPLE NON ATTIVO / NOT ACTIVE GRIGIO/GREY L-OUT USCITA AUDIO SINISTRA / LEFT AUDIO OUTPUT GIALLO/YELLOW V-OUT USCITA VIDEO / VIDEO OUTPUT BLU/BLUE TV-L-IN INGRESSO AUDIO SINISTRA / LEFT AUDIO INPUT VERDE/GREEN...
-
Page 4: Installazione • Installation
INSTALLAZIONE • INSTALLATION IT/GB Sganciare il cassettino portaoggetti. Appoggiare il cassettino sulla pedana. Detach object-holder. Lean the drawer on the car mat. Smontare le bocchette dell’aria (attrezzo speciale originale Smontare le bocchette d`aria centrali, destra e sinistra. Mercedes Ref. 140589023300). Dismount the central ventilatio outlets, left and right. - Page 5 INSTALLAZIONE • INSTALLATION IT/GB Scollegare la radio originale. Cablaggio e antenna del dispositivo. Cable and Antenna of the device. Cable and Antenna of the device. Collegare il cablaggio originale dell`auto a quello del di- Vista lato superiore monitor originale Mercedes. spositivo.
- Page 6 INSTALLAZIONE • INSTALLATION IT/GB Smontare la mascherina cromata tramite (torx 20) e i Vista cruscotto dopo aver asportato la mascherina. ganci a pressione. View of the dashboard without the frame. Dismount the Chromed frame with (torx20) and the hooks. Smontare il supporto del monitor originale. Risultato dopo lo smontaggio del supporto.
- Page 7 INSTALLAZIONE • INSTALLATION IT/GB Posizionare l` antenna GPS sotto il cruscotto e passare il Collegare i rimanenti connettori. cavo antenna fino al monitor. Connect the remaining connectors. Place the GPS antenna under the dashboard and take the cable antenna to the monitor. Montare il monitor.
- Page 8 FUNZIONI MONITOR • SCREEN-FUNCTIONS IT/GB • Il sistema è stato progettato per essere controllato dal touch screen e dal joystick originale. • The system has been developed for touch-screen-handling and original joystick. CONTROLLI DAL TOUCH SCREEN / HANDLING FROM TOUCH SCREEN •...
- Page 9 IMPOSTAZIONI • SETUP IT/GB MENÙ PRINCIPALE / MAIN MENU MENÙ OPZIONI / OPTION Data-ora. / Date-time MENÙ APPLICAZIONI / APPS MENU MENÙ OPZIONI / OPTION Illuminazione / Lighting MENÙ OPZIONI / OPTION MENÙ SISTEMA / SYSTEM Selezionare il file per la navigazione Select navigation-file MENÙ...
- Page 10 IMPOSTAZIONI • SETUP IT/GB MENÙ IMPOSTAZIONI AUDIO / AUDIO SETTINGS Inserire il jack nella presa originale. Insert the jack into the original socket. MENÙ IMPOSTAZIONI AUDIO AVANZATE. MENU FOR ADVANCED AUDIO-SETUP...
- Page 11 NAVIGAZIONE • A/V • FOTO / NAVIGATION • A/V • PHOTO IT/GB Inserire la micro SD card nello slot e impostare il file Menù riproduzione foto. mobilenavigator.exe come file esecutivo nel setup del Menu for PHOTO-reproduction. dispositivo (vedi pag. 9) Il VM075 è...
- Page 12 DECLARATION OF CONFORMITY to the directives 1999/5/EC R&TTE IT Phonocar dichiara che il VM075 è conforme ai requisiti essenziali e a tutte le altre disposizioni pertinenti stabilite dalla direttiva 1999/5/CE. GB Phonocar declares that this unit VM075 is in compliance with the essential requirements and other revelant provisions of Directive 1999/5/EC.


Need help?
Do you have a question about the VM 075 and is the answer not in the manual?
Questions and answers