Advertisement
Quick Links
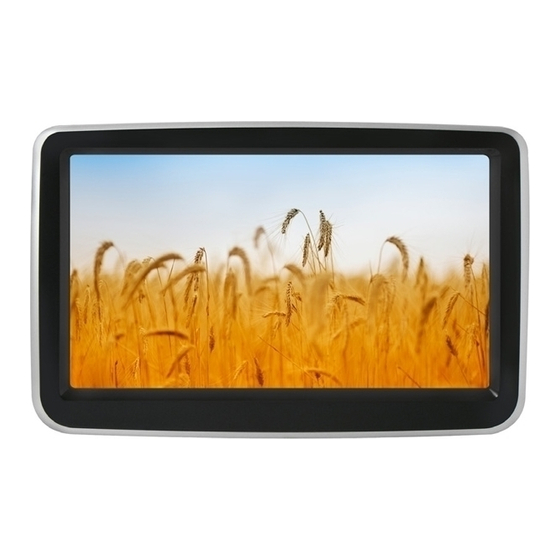
8" TFT/LCD
NAVIGATION - USB/SD PLAYER
MERCEDES
Compatibilità / Compatibility
ITALIANO
ENGLISH
Classe A W176
Sistema Radio audio 20 NTG 4.5
Classe B W242 - W246 dal 11/2011
Sistema Radio audio 20 NTG 4.5 - display 5,8"
Sistema Radio audio 20 con Navigatore Becker Map Pilot NTG 4.5 - display 5,8"
MANUALE ISTRUZIONI
INSTRUCTIONS MANUAL
VM 075
Advertisement

Summary of Contents for Phonocar VM 075
- Page 1 Sistema Radio audio 20 NTG 4.5 Classe B W242 - W246 dal 11/2011 Sistema Radio audio 20 NTG 4.5 - display 5,8” Sistema Radio audio 20 con Navigatore Becker Map Pilot NTG 4.5 - display 5,8” MANUALE ISTRUZIONI INSTRUCTIONS MANUAL VM 075...
-
Page 2: Connessioni • Connections
CONNESSIONI • CONNECTIONS IT/GB 1 Alimentazione 1 Power 2 Ingresso segnale DVD 2 DVD 3 Ingressi: AUX IN originale / Comandi al Volante 3 Original AUX / Can bus 4 Reset 4 Reset 5 Micro SD Card 5 SD card 6 LVDS 6 LVDS 7 Ingresso iPOD... - Page 3 CONNESSIONI • CONNECTIONS IT/GB MARRONE/BROWN TV-V-IN INGRESSO VIDEO / VIDEO INPUT VIOLA/PURPLE NON ATTIVO / NOT ACTIVE GRIGIO/GREY L-OUT USCITA AUDIO SINISTRA / LEFT AUDIO OUTPUT GIALLO/YELLOW V-OUT USCITA VIDEO / VIDEO OUTPUT BLU/BLUE TV-L-IN INGRESSO AUDIO SINISTRA / LEFT AUDIO INPUT VERDE/GREEN FRENO A MANO / BRAKE BLU/BLUE...
-
Page 4: Installazione • Installation
INSTALLAZIONE • INSTALLATION IT/GB Sganciare il cassettino portaoggetti. Appoggiare il cassettino sulla pedana. Detach object-holder. Lean the drawer on the car mat. Smontare le bocchette dell’aria (attrezzo speciale originale Smontare le bocchette d`aria centrali, destra e sinistra. Mercedes Ref. 140589023300). Dismount the central ventilatio outlets, left and right. - Page 5 INSTALLAZIONE • INSTALLATION IT/GB Scollegare la radio originale. Cablaggio e antenna del dispositivo. Cable and Antenna of the device. Cable and Antenna of the device. Collegare il cablaggio originale dell`auto a quello del di- Vista lato superiore monitor originale Mercedes. spositivo.
- Page 6 INSTALLAZIONE • INSTALLATION IT/GB Smontare la mascherina cromata tramite (torx 20) e i Vista cruscotto dopo aver asportato la mascherina. ganci a pressione. View of the dashboard without the frame. Dismount the Chromed frame with (torx20) and the hooks. Smontare il supporto del monitor originale. Risultato dopo lo smontaggio del supporto.
- Page 7 INSTALLAZIONE • INSTALLATION IT/GB Posizionare l` antenna GPS sotto il cruscotto e passare il Collegare i rimanenti connettori. cavo antenna fino al monitor. Connect the remaining connectors. Place the GPS antenna under the dashboard and take the cable antenna to the monitor. Montare il monitor.
- Page 8 • Choose a listening-Volume which will allow you to hear external noises (car-horn, sirens etc.) • When placing the cables, keep away from all car security-devices. S.p.A. - Via F.lli Cervi, 167/C • 42124 Reggio Emilia (Italy) • Tel. ++39 0522 941621 • www.phonocar.com • e-mail:info@phonocar.it...


Need help?
Do you have a question about the VM 075 and is the answer not in the manual?
Questions and answers