Sign In
Upload
Download
Table of Contents
Contents
Add to my manuals
Delete from my manuals
Share
URL of this page:
HTML Link:
Bookmark this page
Add
Manual will be automatically added to "My Manuals"
Print this page
×
Bookmark added
×
Added to my manuals
Manuals
Brands
ATV Manuals
Drums
aDrums EXS-3
User manual
ATV EXS-3 User Manual
Hide thumbs
Also See for EXS-3
:
User manual
(36 pages)
1
2
Table Of Contents
3
4
5
6
7
8
9
10
11
12
13
14
15
16
17
18
19
20
21
22
23
24
25
26
27
28
29
30
31
32
33
34
35
36
37
38
39
40
41
42
43
44
page
of
44
Go
/
44
Contents
Table of Contents
Bookmarks
Table of Contents
Table of Contents
Setup (EXS-5)
Package Contents
Assembly Guide
Connecting the Pads
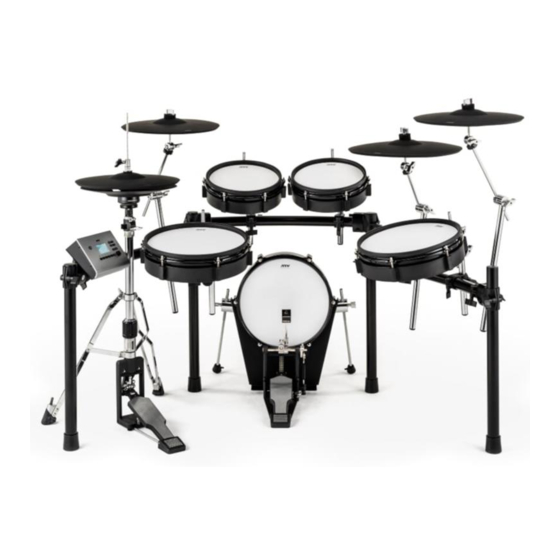
Setup(Exs-3)
Package Contents
Assembly Guide
Connecting the Pads
1 XD3 Drum Sound Instrument
Top Panel
Connections on the Rear Panel
Power On/Off
Connecting Audio Equipment
Turning the Power off
2 Performing
Home Screen
Changing the Drum Kit
Song Playback
Using the Metronome
Using the Visualizer
3 Menu Functions and Settings
Song
Metronome
Recording
INST LEVEL (Adjusting the Volume of each Pad)
Setup
4 Important Notice
Important Safety Information
Important Information about Use
Specifications
Support
Advertisement
Quick Links
1
Assembly Guide
2
Xd3 Drum Sound Instrument
3
Connections on the Rear Panel
4
Changing the Drum Kit
5
Recording
6
Setup
Download this manual
EXS-3
EXS-5
User's Manual
EN
JA
Table of
Contents
Previous
Page
Next
Page
1
2
3
4
5
Advertisement
Table of Contents
Need help?
Do you have a question about the EXS-3 and is the answer not in the manual?
Ask a question
Questions and answers
Related Manuals for ATV EXS-3
Drums ATV aDrums EXS-3 User Manual
(36 pages)
Drums ATV aDrums EXS-5 User Manual
(44 pages)
Drums ATV EXS-1 User Manual
(32 pages)
Drums ATV aDrums EXS-3CY Quick Start Manual
(22 pages)
Drums ATV EXS-5SK artist Assembly Manual
(3 pages)
Drums ATV aD5 Quick Start Manual
(16 pages)
Drums ATV aFrame Quick Start Manual
Electrorganic percussion (18 pages)
Drums ATV aD5 Reference Manual
(46 pages)
Drums ATV aDrums artist Setup Manual
(2 pages)
Drums ATV ad5 Quick Start Manual
(16 pages)
This manual is also suitable for:
Exs-5
Table of Contents
Print
Rename the bookmark
Delete bookmark?
Delete from my manuals?
Login
Sign In
OR
Sign in with Facebook
Sign in with Google
Upload manual
Upload from disk
Upload from URL


Need help?
Do you have a question about the EXS-3 and is the answer not in the manual?
Questions and answers