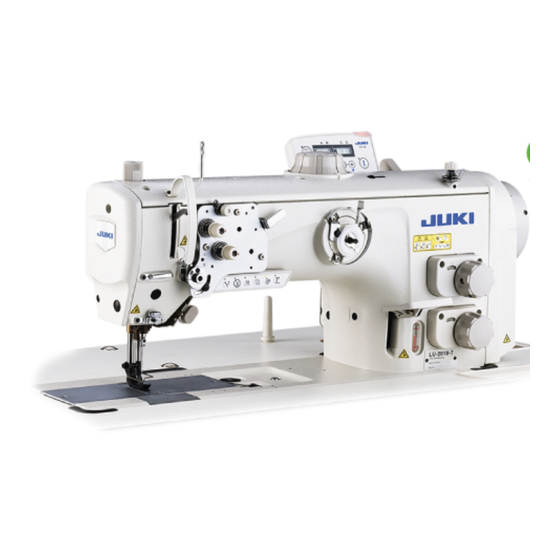
JUKI LU-2810 Series Engineer's Manual
Direct-drive, 1-needle, unison-feed lockstitch machine with a vertical-axis large hook/ direct-drive, 1-needle, unison-feed lockstitch machine with a vertical-axis large hook with an automatic thread trimmer
Hide thumbs
Also See for LU-2810 Series:
- Instruction manual (37 pages) ,
- Engineer's manual (143 pages) ,
- Specification (3 pages)
Table of Contents
Advertisement
Quick Links
Advertisement
Table of Contents


Need help?
Do you have a question about the LU-2810 Series and is the answer not in the manual?
Questions and answers