Advertisement
Wiring diagram
PCB front view
ST2
1
1
Warning
Do not use a
switching
power supply
because of the
interference
radiation that
may disturb
the reading of
the badges
B
Request-to-exit PB1
E
Alarm Input
M
Common PB1, E and 4
O
Relay 1 contact
C
Common
T
Relay 2 N/O contact
I1
Anti-tamper switch
V1
Varistor
ST1
Jumper for reset
ST2
Jumper for relay 1
RL1 Door relay
RL2 Alarm relay
This device comes with a varistor.
The varistor must be connected on the strike terminal
(electromagnet...) operated by the device.
If this product operates more than one strikes, each of them
should have a varistor.
The varistor controls the overload produced by the strike coil –
back emf.
If you are using a « Shear Lock » electromagnetic lock, it is recommended to use a
separate power supply than the one connected to the DGPROX.
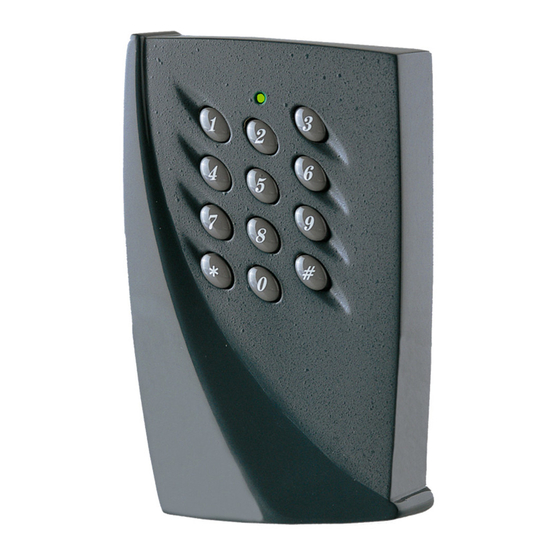
PIN Code and/or Badge
STAND-ALONE PROXIMITY SYSTEM
3
N/C contact RL1 (magnet)
N/O contact RL1 (strike)
3
Input voltage
230V~
12V ~ or =
12 Power
supply
V
Po
wer supply
1
Data
2
Buzzer
3
Green LED
4
Common M
DGPROX
strike
V1
Auxiliary reader
(terminal connections)
12 V 1 4 5 3 2
See wiring diagram auxiliary reader
ST1
I1
ST2
3
1
3
2
1
RL2
RL1
2
1 E M B
3
5
T
C
PB1
O
12
V
Advertisement
Table of Contents

Related Manuals for CDVI DGPROX


Summary of Contents for CDVI DGPROX
-
Page 1: Wiring Diagram
The varistor controls the overload produced by the strike coil – back emf. If you are using a « Shear Lock » electromagnetic lock, it is recommended to use a separate power supply than the one connected to the DGPROX. -
Page 2: Technical Features
Distance between the minimum 24 inches (60 cm) second reader and the maximum 45 yards (50 meters) DGPROX unit (cable minimum 7 x 0.6 mm AWG22) Warning: Do not use a switching power supply because of radiation interference, which may disturb the reading of the badges. - Page 3 Setting a new master code Enter the master code twice (for the first use, the master code default is 12345). 2 beeps will sound and the orange LED illuminates to confirm that you are in programming mode. Enter *3 then 5-digit for the new master code. The LED goes out for 1 second and an audible beep indicates that the new master code is accepted.
-
Page 4: Alarm Function
Take off the jumper from position 2-3 to go back to a normal mode. Operating instructions Mode 00: Present the badge in front of the DGPROX one audible beep will sound to confirm that the badge is valid, then enter the PIN code. - Page 5 User Name User Name User Name User Name number number Number number Time delays Function n° Values Programmed values Keypad key-in delay 10 = 10 sec, 99 = 99 sec Door relay 01 = 1 sec, 99 = 99 sec 00 = without alarm «...
- Page 6 Wiring diagram auxiliary reader DGPROX Reader Power supply Power supply Data Buzzer Green LED Common Red LED It is recommended to use a separate power supply for the auxiliary reader. 1 E M B Distance : minimum 60cm maximum 50 m...
- Page 7 Template • DGPROX 29 mm Wiring Access Area 30 x 40 mm 22 mm 45 mm 68 mm 86 mm...
- Page 9 Template • DGLI and DGLP Auxiliary reader 25 mm Block terminal 43x15 mm FCC statement: NOTE: This equipment has been tested and found to comply with the limits for a Class B digital device, pursuant to Part 15 of the FCC Rules. These limits are designed to provide reasonable protection against harmful interference in a residential installation.
Need help?
Do you have a question about the DGPROX and is the answer not in the manual?
Questions and answers