Advertisement
Quick Links
Advertisement

Related Manuals for Clearlite Bathrooms Trombone Door Set

Summary of Contents for Clearlite Bathrooms Trombone Door Set
- Page 1 Installa on Instruc ons Trombone Door Set Please read these Instruc ons carefully May 2018...
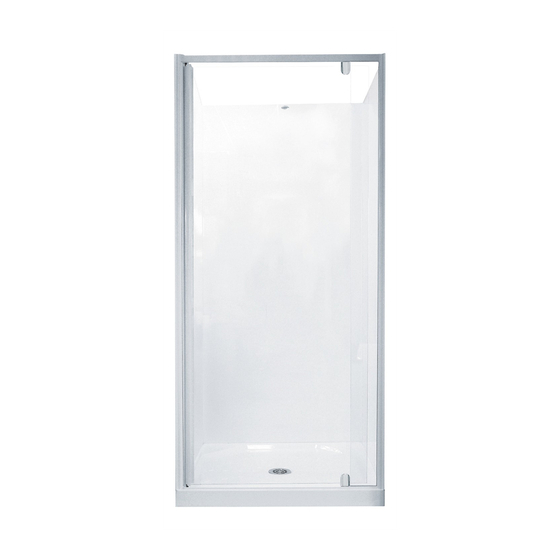
- Page 2 Size Minimum Door Width Maximum Door Width P640 640mm 700mm P700 700mm 760mm P760 760mm 840mm P840 840mm 940mm P940 940mm 1000mm Tools Required Components A - Door Wall Receiver X2 Drill Caulking Gun B - Door Assembly Spirit level Masking tape ...
- Page 3 The Door can be installed either le or right hand hinged by simply rota ng 180 degrees. Important : The Door must always open outwards Installing a Door Only Installing the Wall Receivers 1. Place the Wall Receiver hard against the inside edge of the tray upstand.
- Page 4 5. Determine which side the Door is to be hinged ensuring that the door opens outwards. Li the Door onto the tray and fully insert one side into a Wall Receiver. 6. Expand the Door out so it fully engages into the opposite Wall Receiver.
- Page 5 Secure the head and Sills 9. From the inside drill a 3.0mm hole approximately 25mm in from the end of the Female Head and Sill sec ons and into the Male Head and Sill sec- ons. 10. Secure the sec ons together using No.6 x 10 Stainless steel screws.
- Page 6 Fit the Drip Seal. The Drip seal is supplied in a 1m length, this will need to be cut to the desired lengths for each side of the pivot . The opening side Drip seal will also need to be notched to fit under the door magnet profile.
Need help?
Do you have a question about the Trombone Door Set and is the answer not in the manual?
Questions and answers