Sign In
Upload
Download
Table of Contents
Contents
Add to my manuals
Delete from my manuals
Share
URL of this page:
HTML Link:
Bookmark this page
Add
Manual will be automatically added to "My Manuals"
Print this page
×
Bookmark added
×
Added to my manuals
Manuals
Brands
Mackie Manuals
Speakers
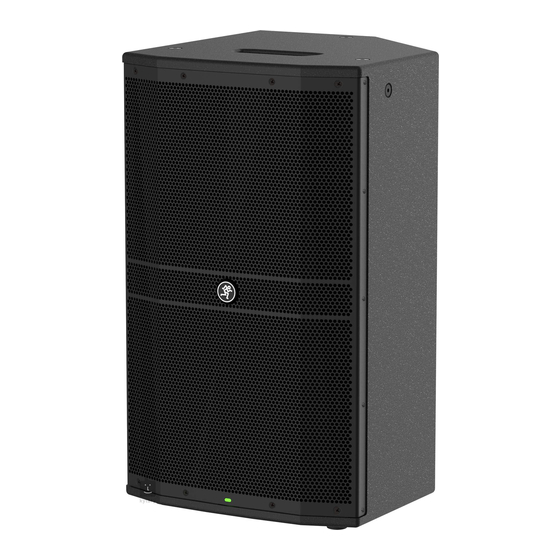
DRM212
Owner's manual
Mackie DRM212 Owner's Manual
Professional powered loudspeaker series
Hide thumbs
1
2
Table Of Contents
3
4
5
6
7
8
9
10
11
12
13
14
15
16
17
18
19
20
21
22
23
24
25
26
27
28
page
of
28
Go
/
28
Contents
Table of Contents
Bookmarks
Table of Contents
Important Safety Instructions
Table of Contents
Contents / Features
Introduction / Getting Started
Hookup Diagrams
DRM Loudspeakers: Rear Panel Features
Power Connection
Power Switch
XLR and 1/4" Combo Inputs
Gain [Ch. 1 and 2]
Direct out [Ch. 1 and 2]
8" Input [Ch. 3/4]
Gain [Ch. 3/4]
MIX out
LCD Display
Speaker Control Knob
Main
Speaker Mode
Sub
EQ Setup
Delay
Configuration
DRM Control Dashboard
Protection Circuitry
Limiting
Overexcursion Protection
Thermal Protection
AC Power
Care and Maintenance
Placement
Room Acoustics
Rigging
Appendix A: Service Information
Appendix B: Technical Information
DRM Dimensions
DRM Block Diagram
Limited Warranty
Advertisement
Quick Links
1
Contents / Features
2
Hookup Diagrams
3
Drm Control Dashboard
Download this manual
DRM212 • DRM215 • DRM315
Professional Powered Loudspeaker Series
O W N E R ' S M A N U A L
Table of
Contents
Previous
Page
Next
Page
1
2
3
4
5
Advertisement
Table of Contents
Need help?
Do you have a question about the DRM212 and is the answer not in the manual?
Ask a question
Questions and answers
Subscribe to Our Youtube Channel
Related Manuals for Mackie DRM212
Speakers Mackie DRM215 Owner's Manual
Professional powered loudspeaker series (28 pages)
Speakers Mackie DRM315 Owner's Manual
Professional powered loudspeaker series (28 pages)
Speakers Mackie DRM12A Owner's Manual
2000w 12 inch arrayable powered loudspeaker (32 pages)
Speakers Mackie DRM212-P Owner's Manual
Professional passive loudspeaker (21 pages)
Speakers Mackie DRM215-P Owner's Manual
Professional passive loudspeaker (21 pages)
Speakers Mackie DRM315-P Owner's Manual
Professional passive loudspeaker (21 pages)
Speakers Mackie DRM12A-P Owner's Manual
Professional passive loudspeaker (21 pages)
Speakers Mackie DRM18S-P Owner's Manual
Professional passive loudspeaker (21 pages)
Speakers Mackie DLM12 Owner's Manual
2000w powered loudspeakers with dl2 digital mixer (29 pages)
Speakers Mackie DLm8 Specifications
2000w powered loudspeakers (9 pages)
Speakers Mackie DLM8 Quick Start Manual
2000w powered loudspeakers & subwoofer (13 pages)
Speakers Mackie MACKIE SRM350 V2 User Manual
Active sound reinforcement speaker (20 pages)
Speakers Mackie MR5 Owner's Manual
Mackie high resolution active studio monitor owner's manual (16 pages)
Speakers Mackie HR824 Owner's Manual
Mackie owner's manual high resolution active studio monitor hr824 (20 pages)
Speakers Mackie S215 User Manual
Mackie two-way loudspeaker user's manual s215 (12 pages)
Speakers Mackie S410s User Manual
Mackie user's manual passive subwoofer s410s (12 pages)
This manual is also suitable for:
Drm215
Drm315
Table of Contents
Print
Rename the bookmark
Delete bookmark?
Delete from my manuals?
Login
Sign In
OR
Sign in with Facebook
Sign in with Google
Upload manual
Upload from disk
Upload from URL


Need help?
Do you have a question about the DRM212 and is the answer not in the manual?
Questions and answers