Table of Contents
Advertisement
Available languages
Available languages
Quick Links
MODELS
MODELOS
OSF1613MW_MB_13ESM1.indd 1
OSF1613MB
OSF1613MB
OSF1613MW
OSF1613MW
Instruction Manual
16" STAND FANS
P L E A S E R E A D A L L I N S T R U C T I O N S B E F O R E U S I N G
Manual de Instrucciones
VENTILADORES DE PEDESTAL DE 40,6 cm
L E A T O D A S L A S I N S T R U C C I O N E S A N T E S D E U S A R
7/18/13 8:53 AM
Advertisement
Table of Contents

Subscribe to Our Youtube Channel
Related Manuals for Oster OSF1613MB


Summary of Contents for Oster OSF1613MB
- Page 1 OSF1613MB OSF1613MB MODELS OSF1613MW OSF1613MW MODELOS Instruction Manual 16” STAND FANS P L E A S E R E A D A L L I N S T R U C T I O N S B E F O R E U S I N G...
-
Page 2: Important Safeguards
IMPORTANT SAFEGUARDS When using electrical appliances, basic safety precautions should always be followed to reduce the risk of fire, electric shock, and injury to persons. These precautions include: • Read all instructions before using this appliance. • Use fan only for purposes described in the instruction manual. •... -
Page 3: Description Of The Appliance
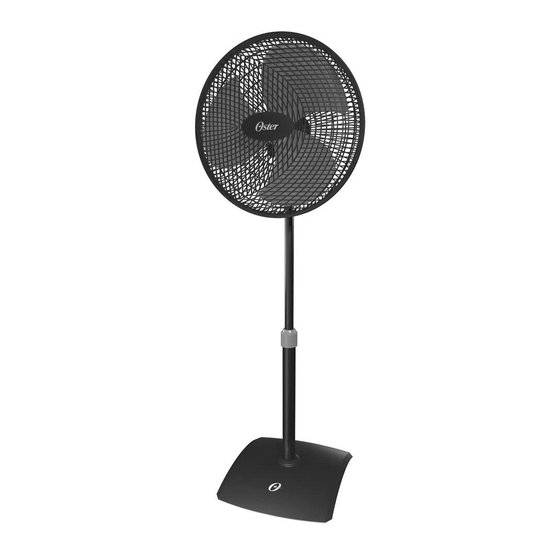
DESCRIPTION OF THE APPLIANCE A. Front Grill I. Oscillation Button B. Fan Blade Lock Nut J. Handscrew C. Fan Blade K. Expandable Pole D. Rear Grill Nut L. Height Adjustment Knob E. Rear Grill M. Base F. Motor Shaft N. Weight G. -
Page 4: Fan Head Assembly
4. Secure the fan blade onto the motor shaft by turning the blade cap counter-clockwise (make sure the blade is firmly in position). 5. Center the front grill, ensuring the Oster™ logo is horizontal and parallel to the floor, and press onto rear grill after aligning snaps. -
Page 5: Height Adjustment
OPERATING INSTRUCTIONS 1. Set fan on a dry, level surface. 2. Plug power cord into the appropriate outlet. 3. Turn the knob at the top of the motor housing to select the desired fan speed or turn it off: “0” for Off, “1” for Low Speed, “2” for Medium Speed, and “3” for High Speed. 4. - Page 6 FAN STORAGE FAN STORAGE When storing your fan please use the original box. It is important to keep it in a safe, dry location. • Store your fan in the original box or an appropriately sized box. • Protect the fan head from dust. •...
-
Page 7: Precauciones Importantes
PRECAUCIONES IMPORTANTES Para disminuir el riesgo de incendio, descarga eléctrica y lesiones personales, se deben seguir siempre las precauciones básicas de seguridad al utilizar artefactos eléctricos. Dichas precauciones comprenden: • Leer todas las instrucciones antes de utilizar este artefacto eléctrico. •... - Page 8 DESCRIPCION DEL ARTEFACTO A. Rejilla delantera I. Botón de oscilación B. Tuerca de fijación de las J. Tornillo manual aspas del ventilador K. Poste extensible C. Aspas del ventilador L. Perilla de ajuste de altura D. Tuerca de la rejilla posterior M.
-
Page 9: Instrucciones De Operacion
(asegúrese de que las aspas estén firmes en su posición). 5. Centre la rejilla delantera, asegurándose de que el logotipo de Oster™ esté horizontal y paralelo al piso y presione hacia la rejilla posterior después de alinear los cierres de resorte. -
Page 10: Mantenimiento Y Limpieza
Ensamblado final Fije el conjunto del cabezal del ventilador en el conjunto del poste o base y gírelo manualmente en el sentido de las agujas del reloj, hasta que esté apretado. INSTRUCCIONES PARA EL FUNCIONAMIENTO 1. Coloque el ventilador en una superficie seca y nivelada. 2. - Page 11 Instrucciones para la limpieza de las aspas del ventilador Este ventilador está equipado con una rejilla desmontable que permite que el cliente retire la rejilla y los componentes sin necesidad de usar herramientas. Asegúrese de que el ventilador esté desconectado antes de desmontar y limpiar las aspas del ventilador.
- Page 12 Damages resulting from transportation or handling of appliance. g) Glass containers, light bulbs and accessories. h) Industrial or commercial use of appliance. At the end of this warranty policy, the authorized Oster service centers will continue at your disposal to grant you ®...
- Page 13 Al término de su póliza de garantía, los centros de servicio Oster autorizados, seguirán a sus órdenes para ® brindarle el servicio que usted se merece, siempre con la confianza de la marca Oster ® P OR T U GU ÊS 1 A NO DE G A R A N TI A LI MI TA D A Sunbeam Products, Inc.
- Page 14 NOME/ ENDEREÇO/ CONTATO/ CORREIO ELETRÔNICO TELEFONE/ FAX For additional service centers in your area, please visit: www.oster.com/ Para más centros de servicio cerca de su área visite www.oster.com/ Para mais centros de serviço próximos a sua área, visite: www.oster.com ARGENTINA Buenos Aires Electro Service S.A./ Esmeralda 870 (1007)/ es@electroservicesa.com.ar ............
- Page 15 NOME/ ENDEREÇO/ CONTATO/ CORREIO ELETRÔNICO TELEFONE/ FAX For additional service centers in your area, please visit: www.oster.com/ Para más centros de servicio cerca de su área visite www.oster.com/ Para mais centros de serviço próximos a sua área, visite: www.oster.com NICARAGUA Managua H&L Electronics/ Centro Comercial Zumen, 3c arriba 15 vrs Sur/ hylelectronics@yahoo.com ......
- Page 16 PARA MÉXICO SÓLAMENTE - FOR MEXICO ONLY VENTILADOR DE PEDESTAL OSTER ® MODELOS: OSF1613MB, OSF1613MB-LA013, OSF1613MW, OSF1613MW-LA013 IMPORTADOR: SUNBEAM MEXICANA, S.A. DE C.V. AV. JUÁREZ No. 40-201, EX–HACIENDA DE SANTA MÓNICA, TLALNEPANTLA, ESTADO DE MÉXICO, C.P. 54050, R.F.C. SME570928G90, TEL. 53660800 PAÍS DE ORIGEN: CHINA...
Need help?
Do you have a question about the OSF1613MB and is the answer not in the manual?
Questions and answers