Advertisement
AKW M11 DigiPump
Installation and User Care Instructions
R d ALL i t
Read ALL instructions carefully BEFORE installation and leave with the end user
EU Reg Des:
000717541-0001/2/3
GB and World-Wide
Patents Pending
ti
f ll BEFORE i t ll ti
d l
ith th
Box contents for
Electric
or
Mixer
Shower
Shower
1x
1x
15mm
1x
22mm
1x
6x
3x
The following items are NOT
required or included if an AKW
shower interface is to be installed:
1x
1x
2x
2x
Quantities depend on type of
Shower kit and waste ordered.
UK
d
1x
1x
10x
3x
2x
2x
4x
4x
Advertisement
Table of Contents

Subscribe to Our Youtube Channel
Related Manuals for Akw M11 DigiPump


Summary of Contents for Akw M11 DigiPump
- Page 1 EU Reg Des: 000717541-0001/2/3 GB and World-Wide Electric Mixer Patents Pending Shower Shower 15mm 22mm The following items are NOT required or included if an AKW shower interface is to be installed: Quantities depend on type of Shower kit and waste ordered.
-
Page 2: Table Of Contents
Note: Increased Head/Lift conditions will affect the pump’s performance. Declaration of Conformity We declare that the AKW M11 DigiPump shower waste water pump conforms to the requirements of the EMC Directive 89/336/EEC, Low Voltage Directive 73/23/EEC and the following harmonised European and national standards in the confirming assessment. - Page 3 5 amp fuse. The IP45 rating of the AKW pump product refers to the inner casing containing the SELV electrical control gear. The pump motor which operates at SELV and is located within the outer cover.
-
Page 4: Mechanical And Plumbing Installation
Mechanical And Plumbing Installation Positioning The AKW M11 DigiPump shower waste water pump must be installed by a suitably qualified, competent person eg. NIC EIC, in accordance with current IEE Wiring Regulations (BS7671), building regulations and local by-laws. This product is rated at IP45 and suitable to be installed in Zone 1 or Zone 2 of a shower room only if these instructions are fully complied with. - Page 5 Electric Shower Installation Fit one flow sensor to cold Flow Direction From Flow Sensor water-feed pipe 12V DC or compatable Sensor Cable electric shower. 230V AC Supply Cable routing and Fit Strainer before Sensor separation must conform to wiring Regs BS7671. Ensure Sensor and Strainer are in an easily accessible location.
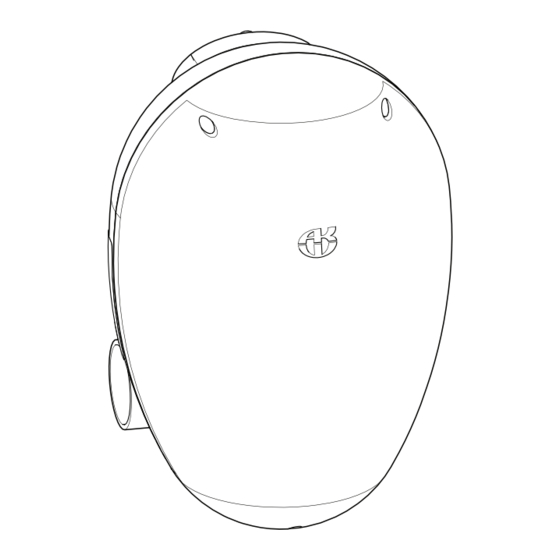
- Page 6 The pump unit must be located on a vertical surface with the inlet/outlet connections at the bottom of the unit in horizontal alignment, with the AKW case logo uppermost. 100mm (4in) The unit must be located away from the direct line of water jets whenever possible.
-
Page 7: Fixing Pump To Surface
Fixing pump to surface Remove front cover with a screwdriver. Disconnect cable. Remove pump assembly from the back plate to access the fixing holes. Fit to a finished surface. Do not tile up to Pump case. Using the back plate as a template mark the fixing holes. -
Page 8: Fixing Pump To Surface
Loosen the pump head housing, rotate and fully tighten home. The pipework to this high performance pump must be clamped down effectively- AKW advise and recommend you clamp pipework either side of joints, junctions or connections and at a maximum of 500mm between other supports... -
Page 9: Plumbing Connections
Plumbing Connections This AKW M11 DigiPump is rated for: Max Head: 1.0m (39in) Max Lift: 0.5m (19in) Combined Lift and Head: 1.5m (59in) MAX. For best performance locate within 1m (39in) of shower and minimise the number of lifts, bends and the length of all pipes connecting the Pump to the waste outlet pipe. - Page 10 Fitting Supply Flow Sensor To Electric Shower The electric shower has one supply line – cold water – fit one flow sensor to this line. Install the filter which is a Y-Pattern strainer, in the correct position to the shower water supply line and then fit the flow sensor between the filter and the shower heater.
- Page 11 Fitting Supply Flow Sensor To Mixer Shower The Mixer shower has two supply lines – hot and cold water– fit one flow sensor to each line. Install the filter which is a Y-Pattern strainer, in the correct position to the shower water supply line(s) and then fit the flow sensor between the filter and the shower heater.
-
Page 12: Electrical Installation
DO NOT take risks with Plumbing or Electrical Installation. Only a competent trades person should attempt this installation. The AKW M11 DigiPump shower waste pump must be installed in accordance with the current IEE wiring regulations (BS7671) and local by-laws. NIC EIC recommended. - Page 13 Flow Sensor Connection Flow sensor cables Power cable Only remove the Pump adhesive tab at this Spacers hole. Pump spacer connection Seperate the spacers, remove the adhesive backing and snap into position. CONNECTING FLOW SENSOR TO M17 DIGIPUMP Flow Sensor Pump Connects to Brown...
- Page 14 This test can be carried out with or without water present and also the sensor fitted or not. Calibration The AKW M11 DigiPump allows for precise pump control of the shower water by calculating the amount of water the shower is producing. It may be necessary to adjust the pump once installation is complete.
-
Page 15: Commissioning
Commissioning Checks As a general precaution and check before installation, always ensure the supply pipework to the shower has been fully purged with at least 20 litres (2 buckets) of water through it before the flow sensor or shower water heater are fitted. Any building debris in the water supply to the shower heater will adversely affect the sensor function and may also damage the shower heater. -
Page 16: Care And Maintenance
Care and Maintenance The integrity of the case and the RCD device operation must be checked quarterly as part of a routine safety and maintenance activity on the installation. If the case shows any mechanical damage the unit must be isolated electrically and the entire unit replaced. -
Page 17: Problem Solving
Problem solving PUMP WILL START BUT NOT PUMP WATER Confirm plastic pipe inserts are Check Non-Return Valves are NOT used. fitted in inlet and outlet. (see page 1 of instructions) Ensure all push-fit pipe connections are fully sealed and O-rings are not damaged or displaced. - Page 18 Warranty Registration Details IMPORTANT: TO ACTIVATE YOUR WARRANTY PERIOD YOU MUST REGISTER YOUR PRODUCT WITHIN 30 DAYS! Please complete the registration card within 30 days and return to us in the prepaid envelope for your Free Warranty to start. FREE 5-YEAR WARRANTY OFFER To register for your free 5 year warranty please return the registration card within 30 days of installation.
-
Page 19: Warranty
To be free of charge work must only be undertaken by AKW or our approved agents in the UK or the Republic of Ireland and with prior agreement. - Page 20 Droitwich Spa, WR9 0LR by an authorised service person or electrician. Failure to install this AKW product in accordance with supplied instructions or the making of unauthorised modifications will invalidate any warranty and will affect product safety. © 2012 AKW...
Need help?
Do you have a question about the M11 DigiPump and is the answer not in the manual?
Questions and answers