Table of Contents
Advertisement
Quick Links
QUICKSTART
BR/BD 100/250
Start up
1
A
2
A
3
A
D
Warning
These are only brief instructions! Please read and comply with these instructions prior to using or servicing your
appliance.
The non-compliance of the operating and safety instructions may lead to damages of the appliance and to dangers
for the operator and other persons.
B
B
B
E
C
C
C
F
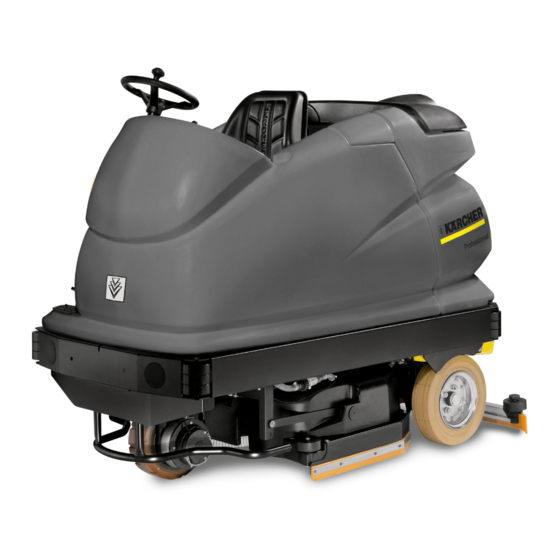
A Tilt the seat towards the front.
B Check if the battery plug is connected to the
appliance.
C Fold the seat backwards.
A Sit on the driver's seat.
B Set main switch to "1".
C Check battery status.
Note
The device is equipped with a safety mechanism
to prevent total discharge, i.e. when the permissi-
ble minimum capacity is reached, then the
machine can only be driven and existing lamps
can be switched on. In such a case, the battery
monitoring symbol on the control console glows
red.
Drive the machine directly to the charging
station; avoid any steep gradients in the proc-
ess.
A Pull seat adjustment lever outwards.
B Slide seat, release lever and lock in place.
C Adjust the seat springs.
D Adjust the seat back.
E Set up the lumbar support.
F Loosen the wing nut to adjust the steering
wheel.
Position the steering wheel.
Tighten the wing nuts.
5.964-044.0 01/11
Advertisement
Table of Contents

Related Manuals for Kärcher BR 100/250


Summary of Contents for Kärcher BR 100/250
- Page 1 QUICKSTART BR/BD 100/250 Warning These are only brief instructions! Please read and comply with these instructions prior to using or servicing your appliance. The non-compliance of the operating and safety instructions may lead to damages of the appliance and to dangers for the operator and other persons.
-
Page 2: Operation
QUICKSTART Start up Note Fill up the fresh water tank completely before starting up the machine to ventilate the water supply system. Warning Risk of damage. Only use the recommended detergents. With respect to different detergents the operator bears the increased risk regarding the operational safety and danger of accident. - Page 3 QUICKSTART Operation Scrubbing suction A Wet clean the floor and vacuum up dirt water. Wet scrubbing A Wet clean the floor and allow the detergent to react. Vacuuming A Suck in the dirt fleet. Polishing A Polishing the floor without the application of liquid.
-
Page 4: Finish Operation
QUICKSTART Finish operation Emptying waste container A Only BR model: Remove bulk waste container and empty it. Empty tanks. Warning Please observe the local provisions regarding the wastewater treatment. A Take the fresh water drain hose or the dirt water drain hose from the support and lower it into a suitable collection device. -
Page 5: Maintenance And Care
QUICKSTART Maintenance and care A Check the flat folded filter, clean if required A Only BR model: Remove bulk waste container and empty it. Warning Please observe the local provisions regarding the wastewater treatment. A Take the dirt water discharge hose from the support and lower above a suited collection device. - Page 6 QUICKSTART Maintenance and care BR model A Check the brushes for wear, replace if required. If the bristles are shorter than 10 mm, the brushes are worn out. BD model A Check the brushes for wear, replace if required. A Clean the outside of the appliance with a damp cloth which has been soaked in mild detergent.
-
Page 7: Troubleshooting
QUICKSTART Troubleshooting Appliance cannot be started A Insert battery plug. B Set main switch to “1”. C Check battery; charge it, if needed Insufficient water quantity A Check fresh water level, refill tank if necessary. B Check hoses for blockages; clean if required. C Clean the fresh water filter. -
Page 8: Fault Indication
QUICKSTART Troubleshooting Fault indication A The display shows the existing faults at intervals of 4 seconds (example: Fault scrubbing funktion H1/022 If the faults continue to be displayed on the console even after 4 seconds, then proceed as follows: Bring the key switch to "0" (switch off the machine).