Table of Contents
Advertisement
OPERATION, MAINTENANCE
G10WMI-2D-T2 (B63)
G25WMI-2A-T2 (B54)
G40WMI-2A-T2 (B50)
G60WJD-2A-T2 (B55)
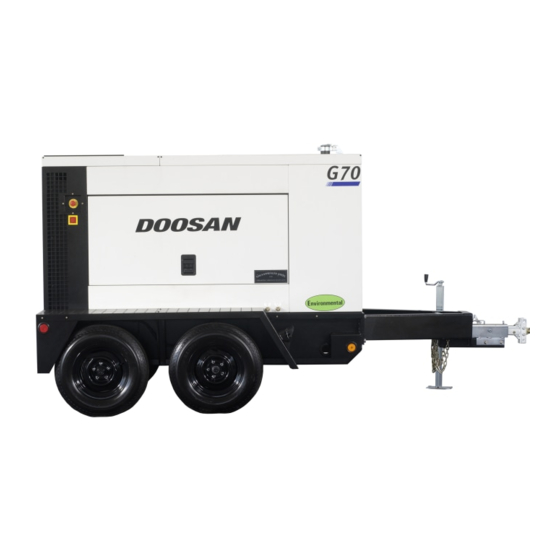
G70WJD-2A-T3 (D63)
G80
G90WJD-2A-T3 (C24)
G125
G145WJD-2A-T3 (C27)
This manual contains important safety information.
Do not destroy this manual.
This manual must be available to the personnel who operate and maintain this machine.
Doosan Infracore Portable Power
1293 Glenway Drive
Statesville, N.C. 28625
www.doosanportablepower.com
Book: 22637300 (8-2-2010) Rev H
MANUAL
GENERATOR MODELS
G185WJD-2A-T3 (C28)
G240WJD-2B-T3 (C31)
G240WCU-2C-T3 (D97)
G290WCU-3B-T3 (C38)
G290WCU-3C-T3 (D77)
G450WCU-2B-T2 (C34)
G450WCU-2C-T2 (D96)
G570WCU-2B-T2 (C37)
G570WCU-2C-T2 (D78)
Advertisement
Table of Contents


Need help?
Do you have a question about the G10WMI-2D-T2 and is the answer not in the manual?
Questions and answers