Advertisement
Advertisement
Table of Contents

Related Manuals for Genexis Pulse


Summary of Contents for Genexis Pulse
- Page 1 Pulse WiFi Repeater/Extender Full Installation Guide...
-
Page 2: Table Of Contents
Notes ....................................20 Revision 1.0. - August 2018 Copyright © 2018 Genexis B.V. All rights reserved. Genexis assumes no responsibility for any inaccuracies in this document. Genexis reserves the right to change, modify, transfer, or otherwise revise this publication without notice. -
Page 3: Models Supported
Models Supported On the label at the bottom of your Pulse (as shown on page 5) you can look up your Pulse model. In the table below, you see a full overview of all the models. Model Port overview Pulse... -
Page 4: Box Content
Box Content Pulse Power adapter Pulse Power adapter The main product in your package is your Pulse. A power adapter is included. This will be used to power your Pulse. - Page 5 Quick Installation Guide The information on this label is needed when confi guring your Pulse. A Quick Installation Guide is included this is used to install your Pulse. On the label you can fi nd information on how to access the web The Quick Installation Guide gives a step by step overview of the steps interface and what the login credentials are.
-
Page 6: Button Overview
The 2.4GHz touch button is located on top of the Pulse. It enables you to turn your Pulse on or off. It enables you to turn the 2.4GHz functionality from the Pulse on or off. Reset button 5GHz touch button* The reset button is located on the side of your Pulse. - Page 7 Button Function Power Flip the switch to turn your Pulse on or off. Reset Press and hold for 5 seconds to perform a factory reset the device. 2.4GHz Touch the touch button to turn on or off. * 5GHz Touch the touch button to turn on or off. *...
-
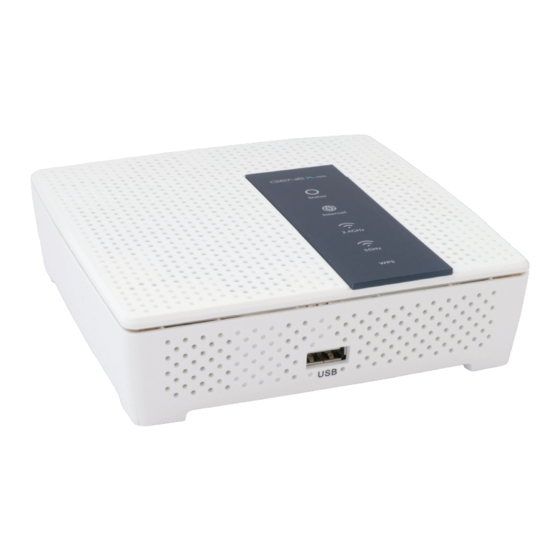
Page 8: Port Overview
Port Overview Front USB 2.0 port Side LAN ports Power switch Reset button Power connector... -
Page 9: Installation
Ethernet cable or via a wireless connection to your router. from obstacles or objects. A connection via Ethernet cable gives the best performance. If desired, it is possible to mount your Pulse on a wall using the wall mount points on the back of the device. 1. Placement... - Page 10 3. Turn on your Pulse • Manually via your web browser Turn on your Pulse by flipping the switch on the side of the device. After approximately 1.5 minutes the Status LED should turn green and stop blinking. Your Pulse is now ready for use.
-
Page 11: Wps Pairing
Initiate WPS pairing on your router › › Press and hold the WPS button on your Pulse until the LEDs Press the WPS button on your router. You may need to consult start blinking. your router’s manual on how to initiate WPS on your router. -
Page 12: Manual Pairing
Connect to your Pulse WiFi Confi gure network settings Consult the information label on the bottom of your Pulse. It shows You will now be presented with the screen above. the SSID of the WiFi network (i.e. Genexis-xxxx). Connect to this WiFi From that screen, select your home network and fi ll in the login network with your computer. - Page 13 Continue with the steps described by “Login to your Pulse settings page”. To get the best performance of your Pulse, connect one side of an Ethernet cable to the WAN port of your Pulse and to one of the LAN ports of your router.
-
Page 14: Led Status
LED Status Activity Description 4 LEDS All together Initiating WPS pairing, the device is booting up or the device is resetting blinking Green Device is powered up successfully No power Yellow Device is paired successfully Device did not pair Device did not pair Green 2.4Ghz is enabled 2.4GHz... - Page 15 Activity Description Green 1000 Mbps connection WAN port Yellow 100/10 Mbps connection Blinking Network activity Green 1000 Mbps connection LAN port Yellow 100/10 Mbps connection Blinking Network activity...
-
Page 16: Troubleshooting
Your Pulse is only connected to the uplink. The Pulse is unable to establish an uplink. Connect to your home network as described on page 11. The Pulse is unable to pair. Connect to your home network as described on page 11. -
Page 17: Advanced Configuration
Advanced Confi guration Change Password In this section you can fi nd the advanced confi gurations for your Pulse when connected to a router and of the FiberTwist + Pulse combination. Continue reading at the sections related to the product/ product We advise you to change the password of your network to keep your combination that you are using. - Page 18 We advise you to change the password of your network to keep your home network safe and private. To change your password, you must be It is possible to change the WiFi Network Name (SSID) of your Pulse connected to the network of your Pulse. Navigate to the network.
-
Page 19: Safety And Care
Operating conditions • Do not operate in temperatures below 0°C or above 40°C. Repair and service • Do not open the housing. The Pulse does not contain user serviceable parts inside. • Please contact your service provider if problems arise. -
Page 20: Notes
Notes Place your spare label here Place your spare label here... - Page 21 © 2018 Genexis B.V. All rights reserved. Rev. 1.0. www.genexis.eu...
Need help?
Do you have a question about the Pulse and is the answer not in the manual?
Questions and answers