Table of Contents
Advertisement
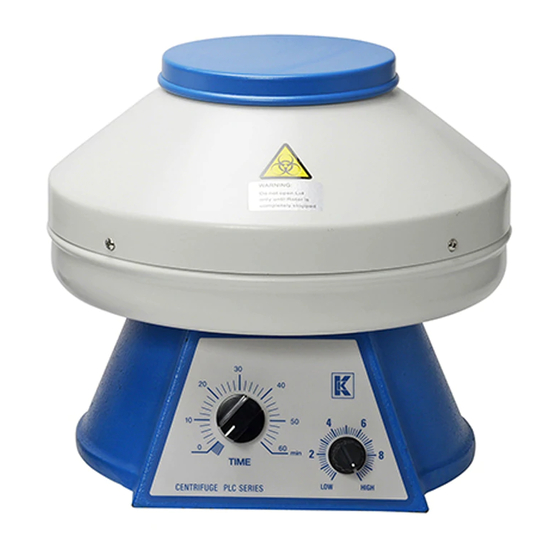
TABLE TOP CENTRIFUGE
PLC-01,PLC-02,PLC-03,PLC-04,PLC-05
USER'S MANUAL
OPERATION / MAINTENANCE
AND PARTS LIST
! Safety Information
1
This manual contains important and safety information.
The user must carefully read and understand the contents of this
manual prior to using this equipment.
2013.0115.2000
Advertisement
Table of Contents


Need help?
Do you have a question about the PLC-01 and is the answer not in the manual?
Questions and answers
THE TIMER IN THE MODEL PLC-03 DOES NOTE MATCH WITH REAL TIME. EXAMPLE TO GET 10 MINE IIN TIMER BUILT IN THE CENTRIFUGE YOU NEED 23 MIN REAL TIME
The timer in the Gemmy PLC-01 model operates by a timer-activated mechanism, but the document does not specify whether it precisely matches real time. It is recommended to measure speed and RCF using a digital speed indicator to achieve accurate values, suggesting that some variation may exist.
This answer is automatically generated