Hama PP-245 Operating Instruction
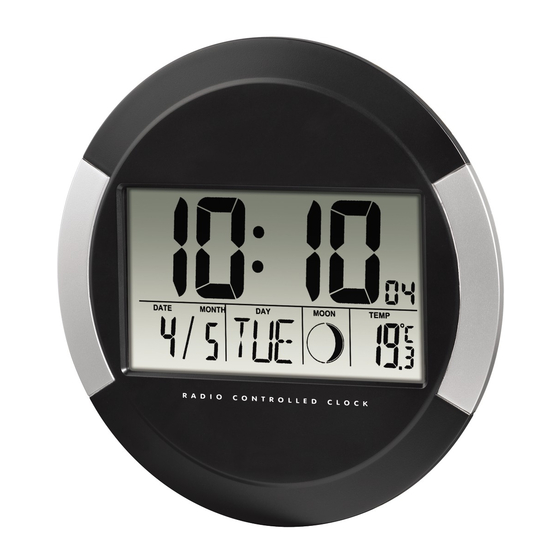
Dcf radio wall clock
Hide thumbs
Also See for PP-245:
- Operating instructions manual (39 pages) ,
- Operating instructions manual (38 pages)

Related Manuals for Hama PP-245


Summary of Contents for Hama PP-245
- Page 1 00104936man_de_en_es_fr_nl_pl.indd Abs1:2-Abs2:1 00104936man_de_en_es_fr_nl_pl.indd Abs1:2-Abs2:1 01.06.10 07:36 01.06.10 07:36...
- Page 2 d Bedienungsanleitung Sehr geehrter Kunde, SETUP • Drücken Sie auf Mode. Die Datumsziffern beginnen zu blinken. Bei extrem schwachem Empfang, etwa auch durch starke Herzlichen Glückwunsch zum Kauf dieser Funkuhr. Bitte legen Sie zunächst die Batterie ein. Passen Sie den Wert mithilfe der Pfeiltasten nach oben oder Gebäudeisolierung (Metallbauteile) oder atmosphärischen Funk- Bitte lesen Sie dieses Anweisungen sorgfältig durch, Danach beginnt die Uhr unmittelbar mit der Suche nach dem...
- Page 3 g Operating Instruction Dear customer, SETUP TIME ZONE Congratulations on your purchase of this radio controlled clock. Please insert the battery fi rstly. You can use this function to view the time for a different time Please carefully read this instruction manual before using your Then the clock will attempt to receive the time signal zone.
- Page 4 f Mode d‘emploi Cher client, chère cliente, PARAMETRAGE • Appuyez sur la touche Mode ; les chiffres de la date Il est possible qu‘une très mauvaise réception du signal, Nous vous remercions d’avoir acheté notre horloge radio- Veuillez commencer par insérer la pile. clignotent ;...
-
Page 5: Instrucciones De Uso
e Instrucciones de uso Estimado cliente: SETUP Pulse Modo (Mode) para volver a la visualización de hora Enhorabuena por la compra de este reloj controlado por radio. Introduzca primero la pila. normal. Lea atentamente este manual de instrucciones antes de utilizar A continuación el reloj intentará... - Page 6 o Gebruiksaanwijzing Geachte klant, SETUP Houd in de normale modus de DOWN-toets ingedrukt en laat van harte gefeliciteerd met de aanschaf van deze radiografi sch Plaats allereerst de batterij. de toets los zodra de juiste taal voor de dag van de week gestuurde klok.
-
Page 7: Instrukcja Obsługi
q Instrukcja obsługi Szanowni Klienci! USTAWIANIE Po ręcznym ustawieniu czasu można przywrócić czas sterowany Gratulujemy Państwu zakupu niniejszego zegara sterowanego Najpierw włożyć baterię. sygnałem radiowym, naciskając jednocześnie przycisk Góra sygnałem radiowym. Zegar próbuje natychmiast odebrać sygnał czasowy. Fale + Dół przez 3 sekundy, aż na wyświetlaczu zaczną migać fale Przed użyciem nowego zegara prosimy o dokładne przeczytanie radiowe symbolu anteny pulsują...
Need help?
Do you have a question about the PP-245 and is the answer not in the manual?
Questions and answers
I have brought my Hamma wall clock from Spain to UK How do I change the 1 Hour difference without it returning back to Spanish time the next day?
To adjust the time on your Hama wall clock PP-245 for the one-hour difference when moving from Spain to the UK:
1. Press and hold the MODE button (14) for about 3 seconds until the hour value blinks.
2. Use the UP button (16) or DOWN button (17) to change the time zone offset. Since the UK is one hour behind Spain, set the offset to -1 hour.
3. Press MODE (14) again to confirm and move through the settings.
4. If no button is pressed for 10 seconds, the setup mode exits automatically.
This will adjust the DCF-received Central European Time by -1 hour to match UK time.
This answer is automatically generated